If you want fertile soil fast, you can get there by using simple, science-backed composting habits that save time and reduce mistakes. Start with good airflow, a 2–3:1 brown-to-green mix, small pieces, and steady moisture, then monitor temps and turn regularly. These practical tricks cut weeks or months off the process, and once you see how easy it can be, you’ll want to apply a few more steps to speed things up even further.
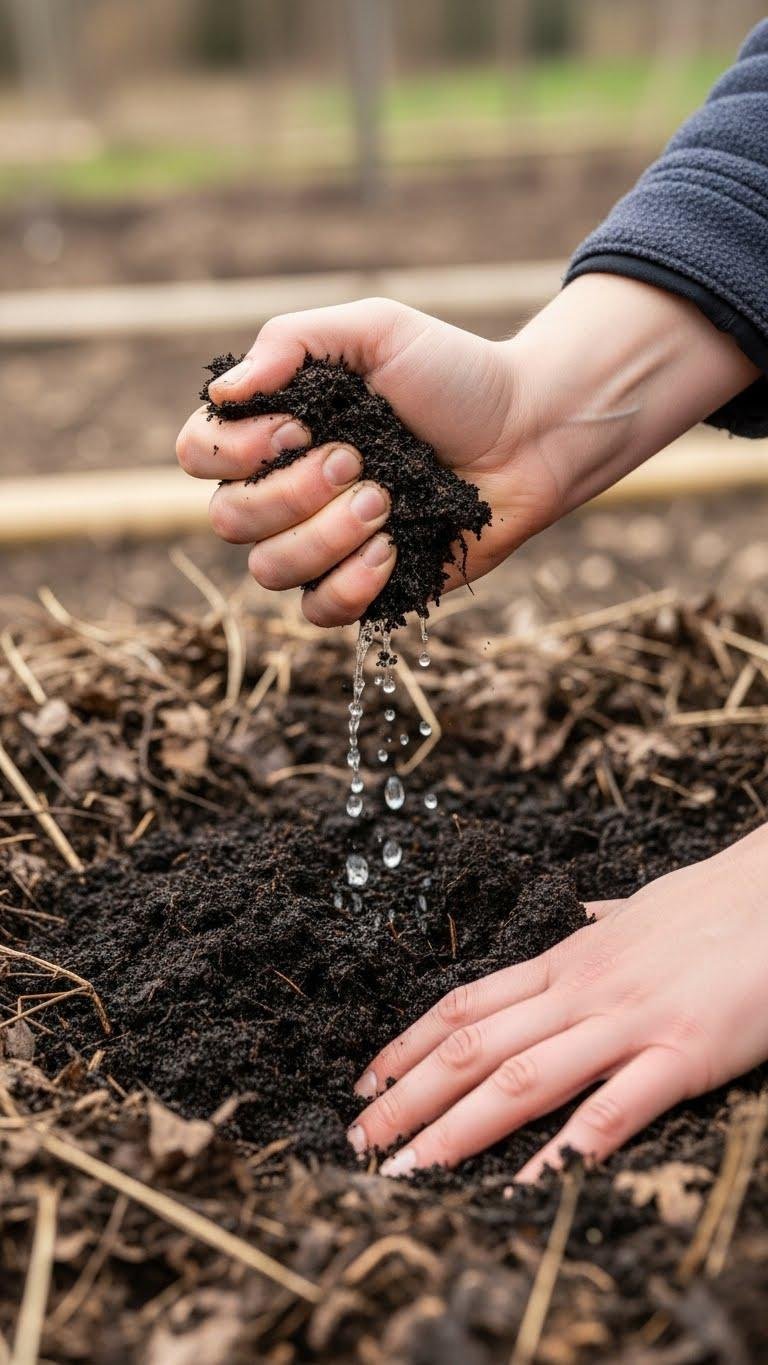
Keep Moisture Like a Damp Sponge
Turn the Pile Every 1–2 Weeks
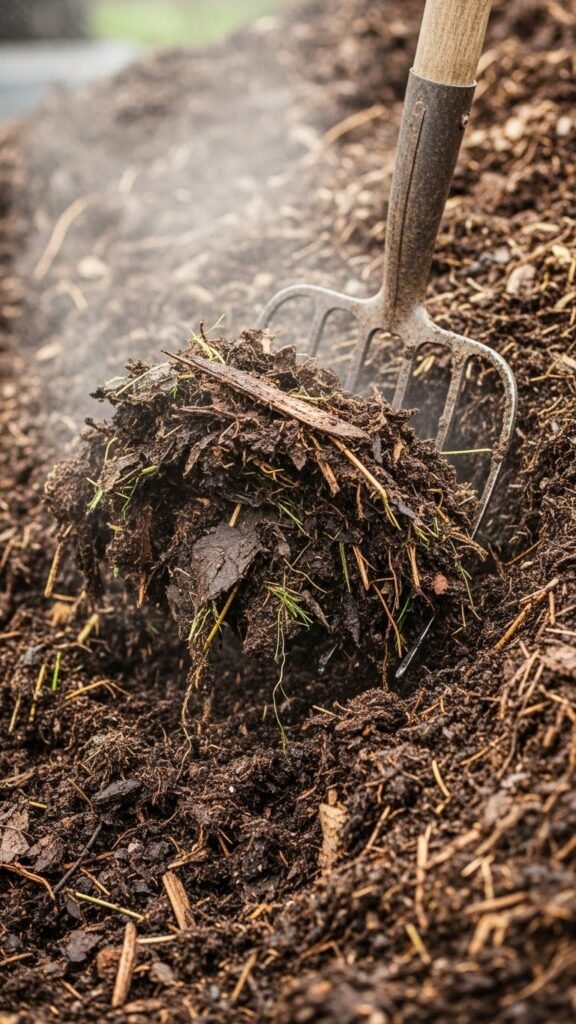
Keeping your compost at the right dampness helps microbes thrive, but they also need oxygen — which is why you should turn the pile every 1–2 weeks.
You’ll loosen material, feed aerobic microbes, and prevent anaerobic pockets. Turning maintains pile insulation while balancing heat and airflow, speeding breakdown. Make it a simple, freeing routine: flip with a fork, check moisture, repeat biweekly.
Use a Compost Thermometer
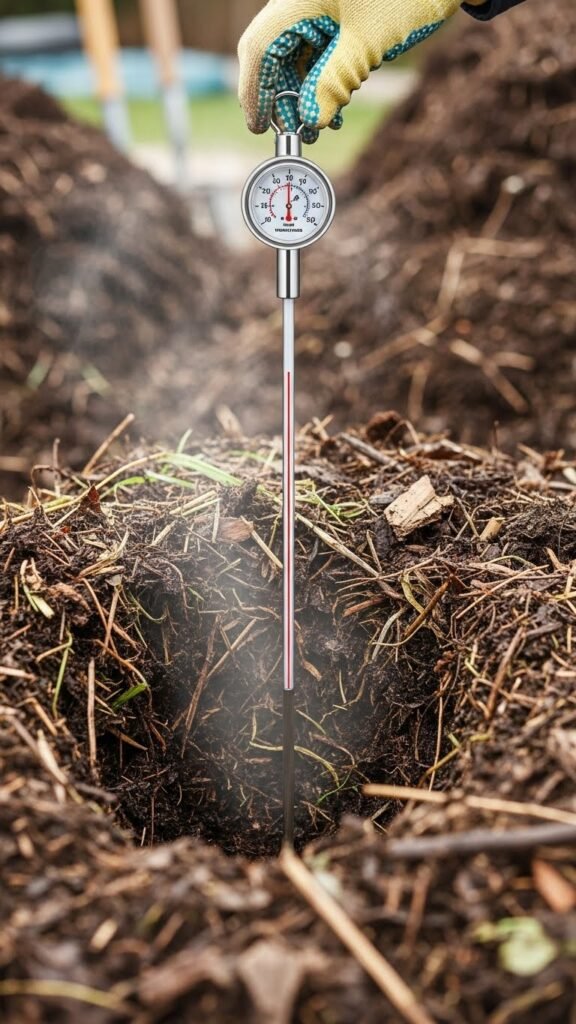
Check the pile’s temperature regularly with a compost thermometer so you know whether decomposition is progressing and when to adjust moisture, aeration, or materials.
Use probe placement toward the center and several depths to get reliable readings. Compare values to temperature charts to decide when to turn the pile or cool it down.
You’ll act confidently, cut guesswork, and speed composting.
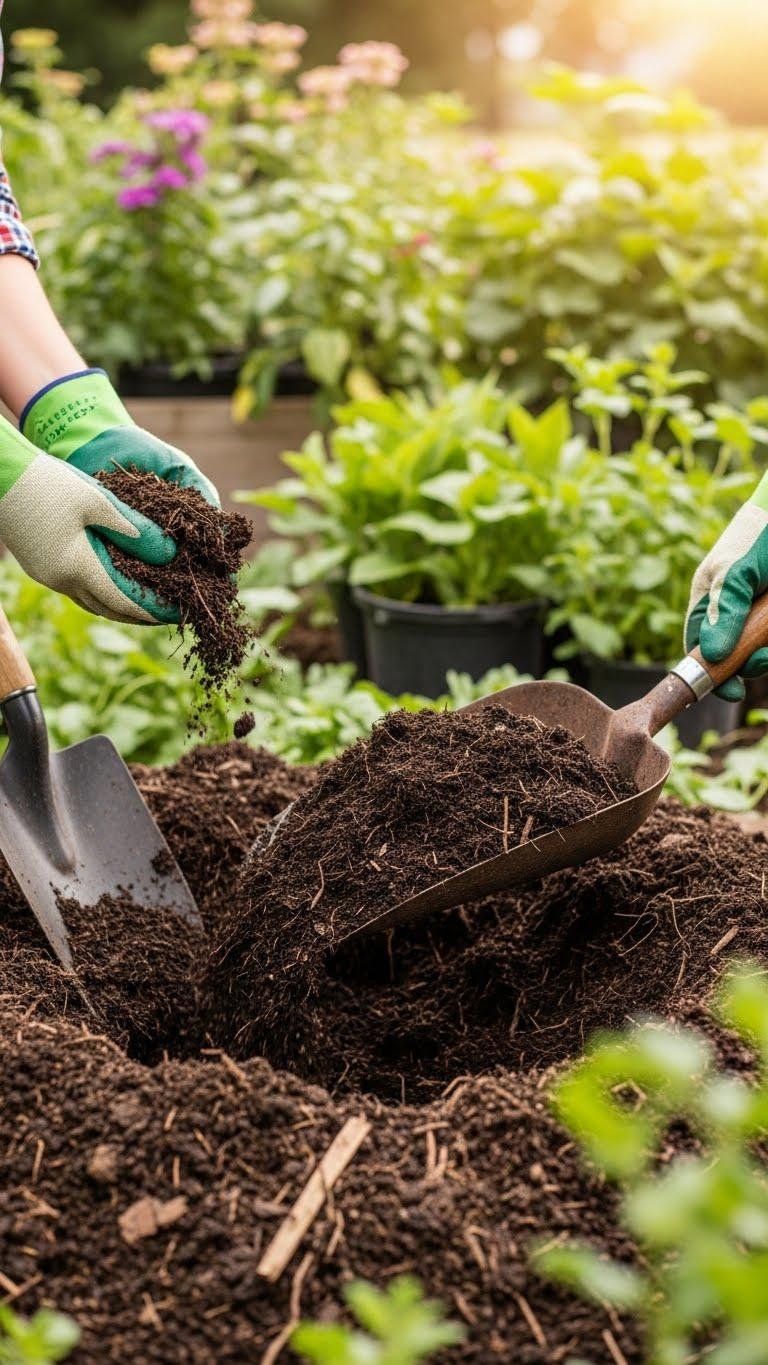
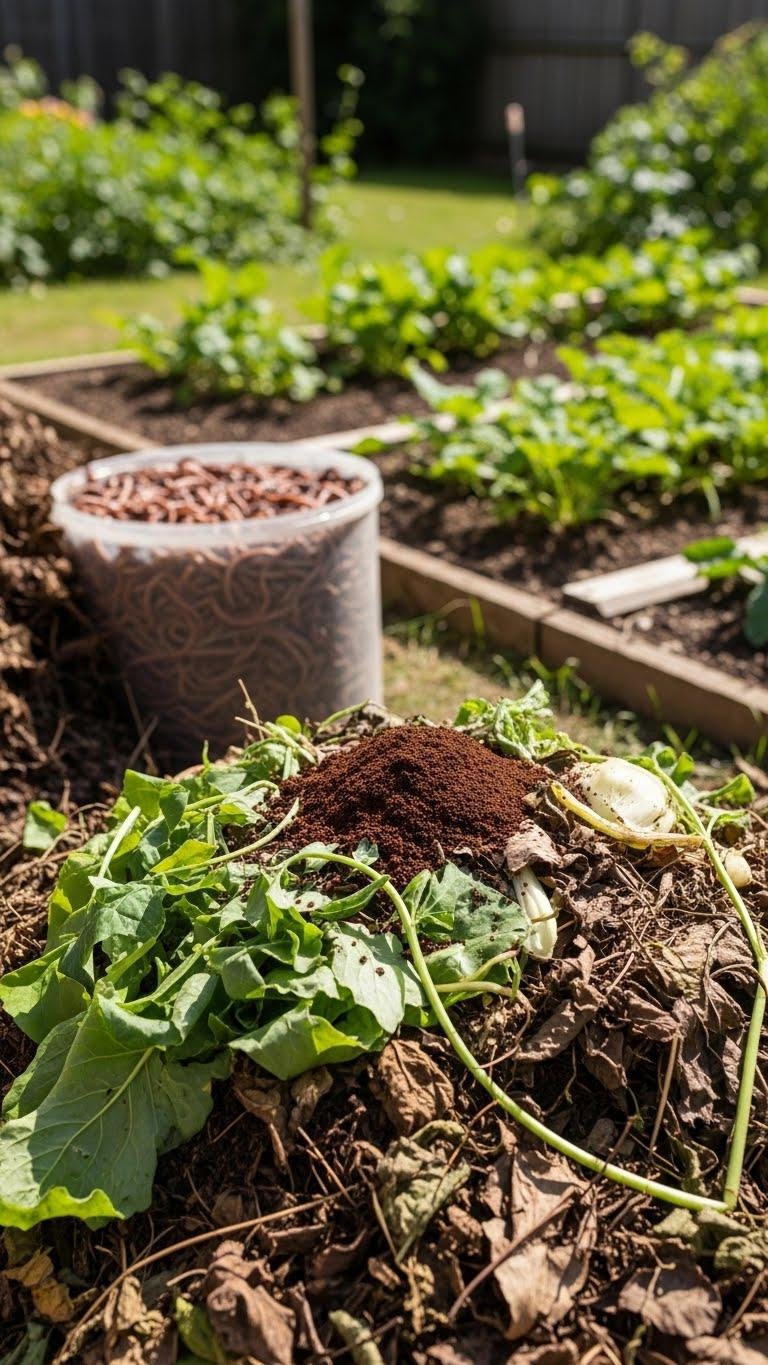
Add Garden Soil or Finished Compost
Paragraphs
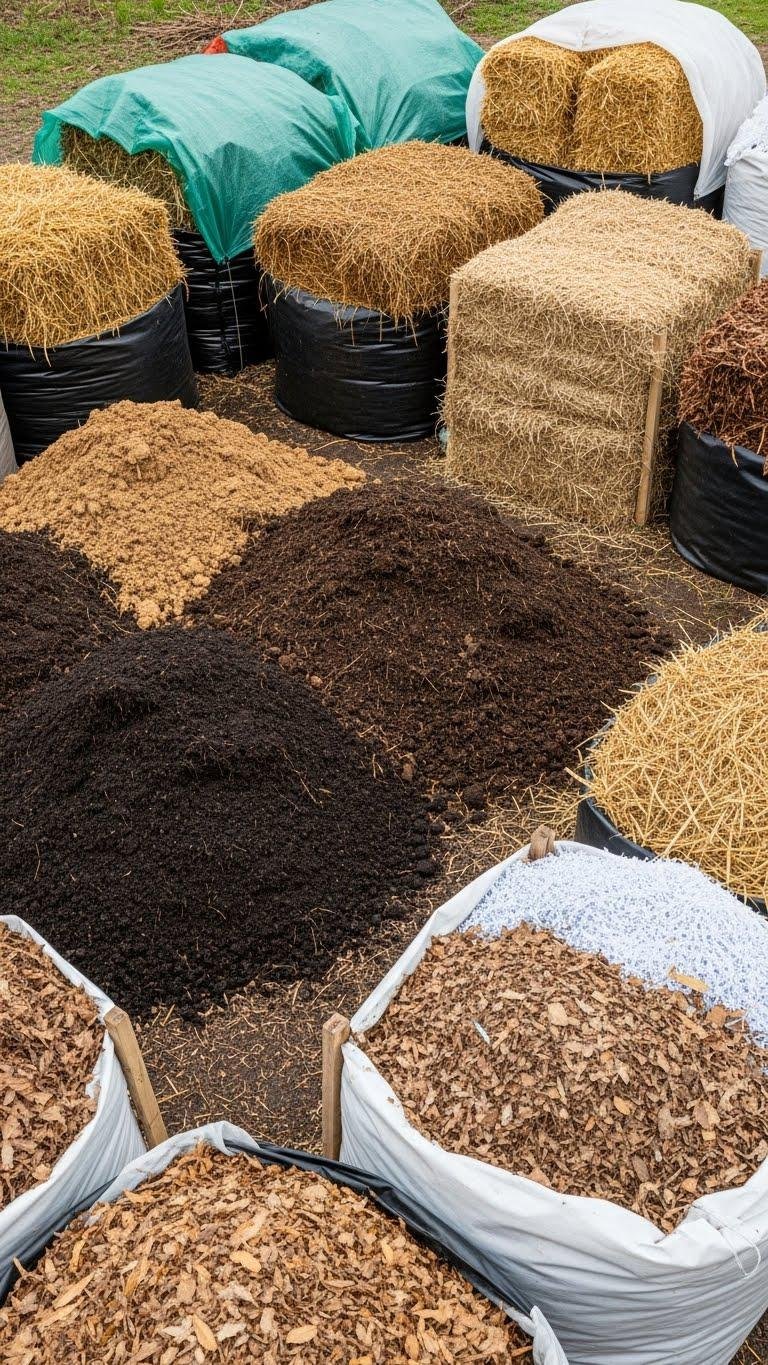
Stockpile Brown Materials in Advance
Once you’ve mixed garden soil or finished compost into your pile to kick-start microbes, plan ahead by stockpiling brown materials so you’ll always have carbon on hand when the greens pile up.
Collect leaves, straw, and shredded paper via seasonal sourcing and neighborhood swaps.
Store loosely in bins or covered piles to keep airflow.
This steady supply speeds decomposition and gives you control.
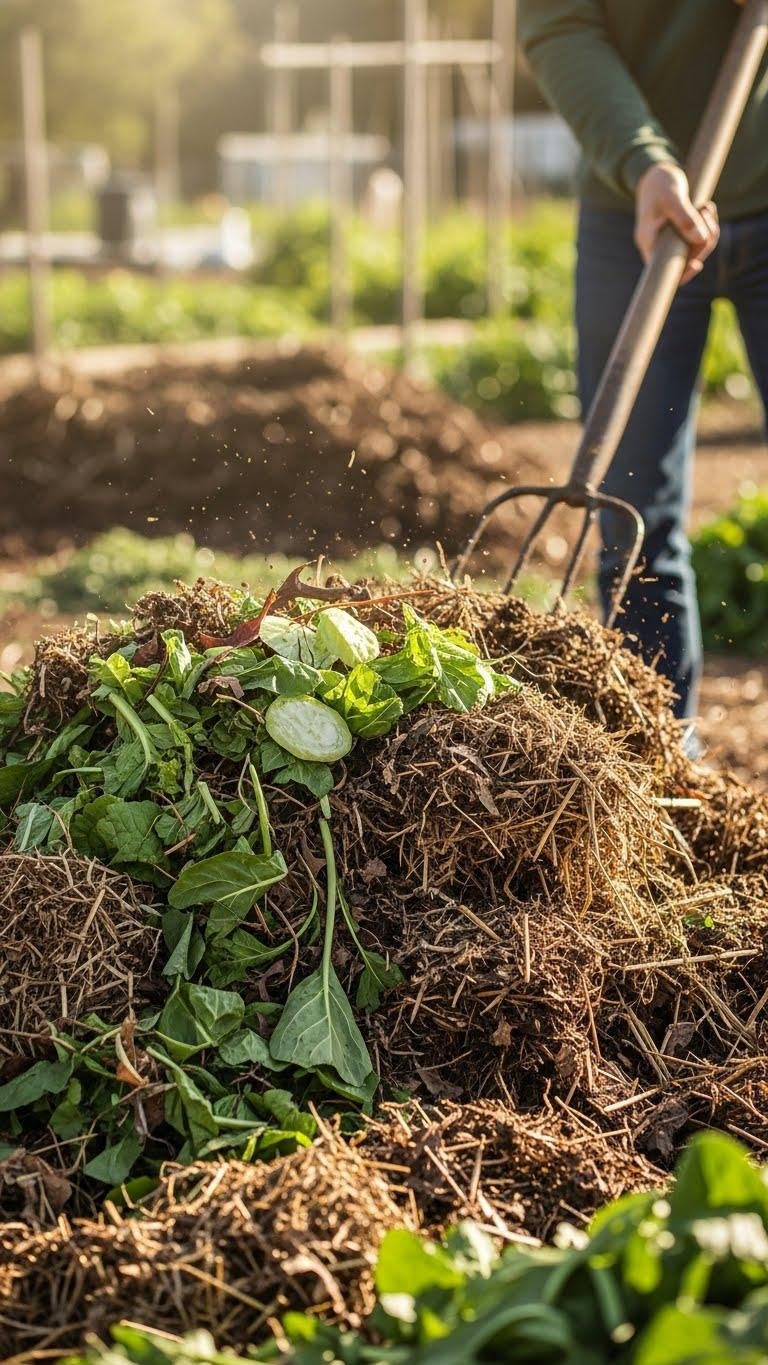
Avoid Meat, Dairy, and Oily Foods
Because meat, dairy, and oily foods attract pests, create strong odors, and slow the composting process, you should keep them out of your backyard pile and worm bin.
You’ll prevent rodent attraction and limit flavor contamination of finished compost. Stick to plant scraps, coffee grounds, and leaves, monitor moisture, and compost confidently—it’s efficient, clean, and keeps your garden independent.
Use Straw or Twigs for Drainage
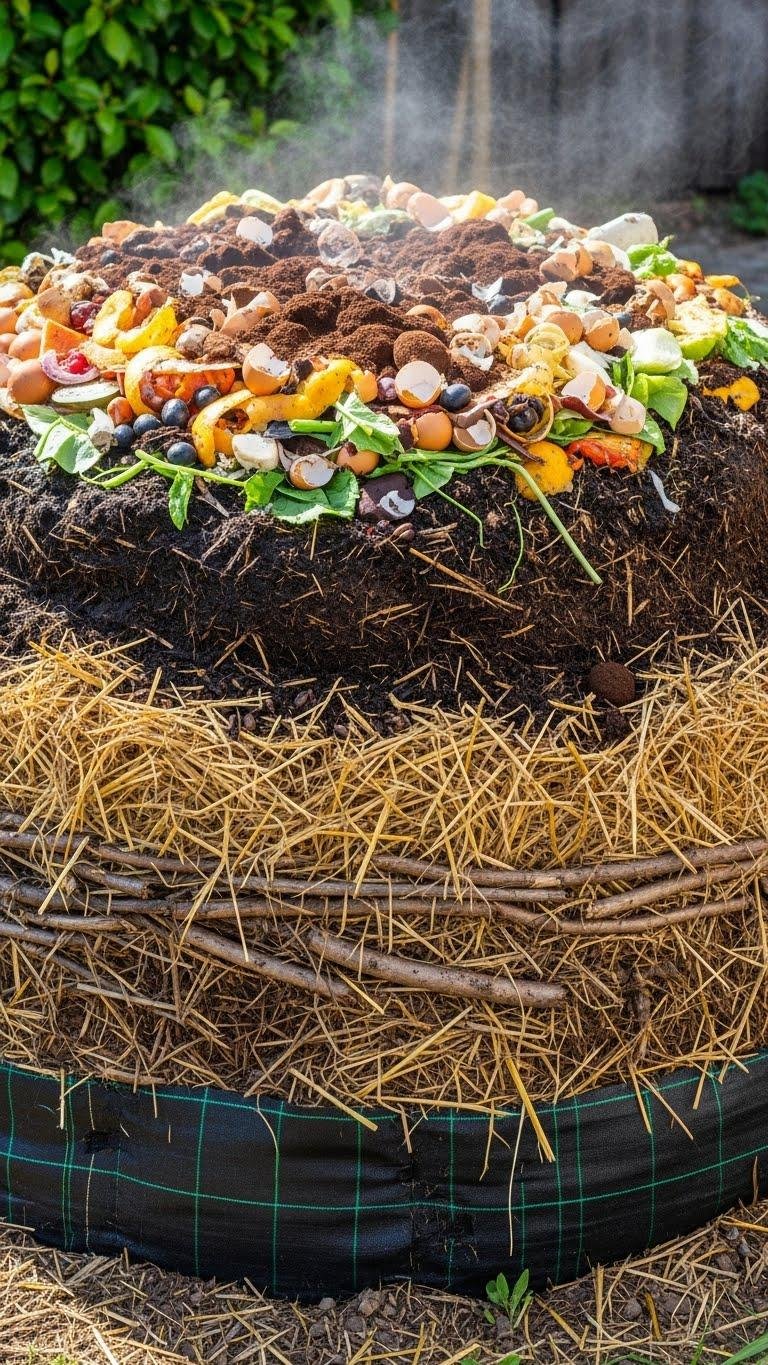
Under a layer of kitchen scraps, add a base of straw or small twigs to improve drainage and keep your pile from becoming waterlogged. You’ll create airflow, reduce rot, and speed decomposition.
Use a weed barrier underneath for clean separation and to prevent roots invading. Layering also acts as a simple rodent deterrent by minimizing exposed food and making the pile less attractive.
Try Hot Composting for Speed
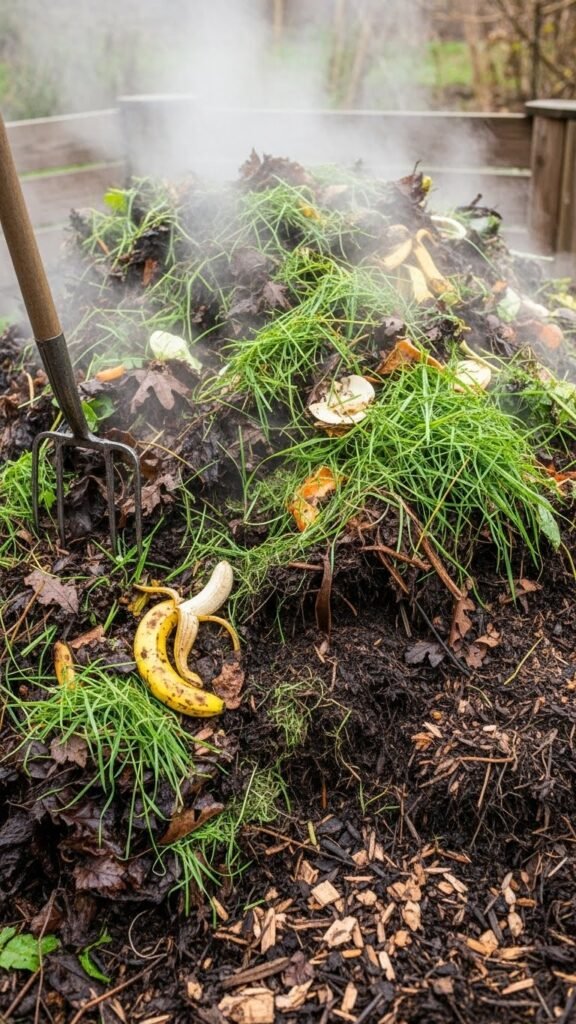
If you want finished compost quickly, try hot composting — it keeps the pile at 120–160°F (49–71°C) by balancing greens and browns, maintaining moisture, and turning regularly.
You’ll speed microbial succession, so heat-tolerant microbes break down material fast.
Practice good oxygen management with frequent aeration and chunked ingredients.
You’ll get fertile compost in weeks, freeing you from slow waits.
Use Cold Composting for Low Effort
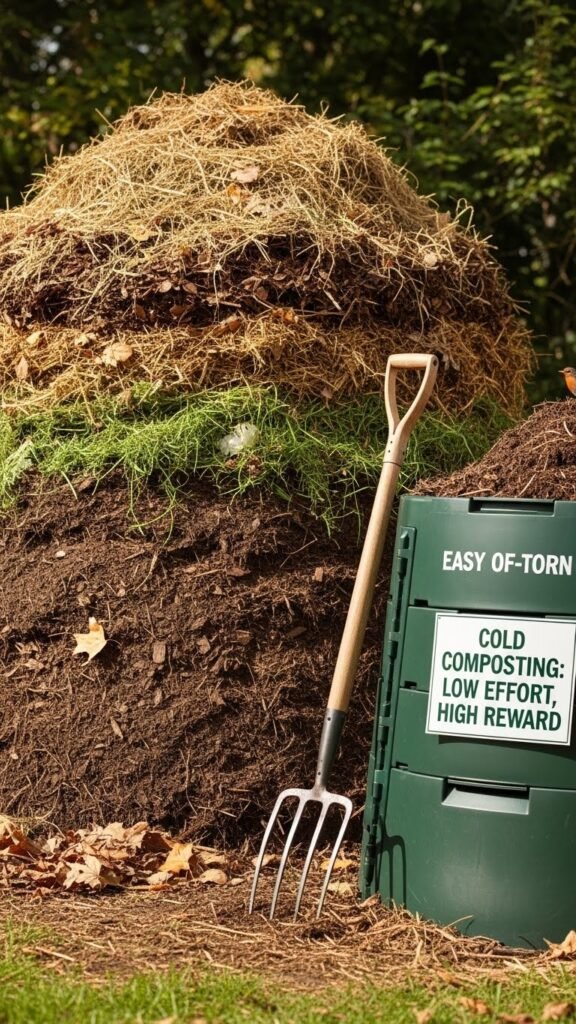
Opting for cold composting lets you recycle kitchen scraps and yard waste with minimal effort — you just add materials and let nature do the work.
You’ll enjoy freedom from strict schedules: embrace minimal maintenance, turn occasionally, and monitor moisture.
Cold composting works year-round with winter composting tips like insulating the bin.
Use secure lids and bury food to aid pest prevention.
Employ Trench or Sheet Composting When Useful

Cold composting is low-effort, but when you want faster soil improvement with virtually no bin fuss, try trench or sheet composting.
You’ll bury kitchen scraps or lay layers on the ground, embrace a no dig mindset, and let microbes work.
Seasonal trenching speeds nutrient release and suppresses weeds.
It’s simple, evidence-based, and gives you freedom to nourish soil without extra gear.
Apply Compost as Mulch Around Plants
Spread a 1–2 inch layer of finished compost around the base of your plants to conserve moisture, moderate soil temperature, and slowly feed roots.
Apply compost leaving a small gap from stems to prevent rot. You’ll gain weed suppression and improved moisture retention while feeding soil life.
Reapply yearly, adjust thickness by plant type, and enjoy healthier, lower-maintenance beds that let you garden freely.
Troubleshoot Odors With More Browns and Turning
If your compost starts to smell sour or ammonia-like, add more brown materials and turn the pile to restore balance.
You’ll prevent anaerobic pockets by mixing leaves, straw or shredded cardboard from community bins with fresh greens from kitchen caddies.
Turn weekly until odor fades; aeration and carbon-rich inputs work, and you’ll keep control while staying flexible and connected to local composting resources.
Protect Finished Compost While It Cures

Once your compost looks dark, crumbly, and smell-free, give it a short curing period before use to stabilize nutrients and kill remaining pathogens; cover the pile with a breathable tarp, burlap, or a shallow bin to keep out excess rain, pests, and heat while allowing air flow.
Use cover bags sparingly, rotate material in curing bins, check moisture weekly, and protect your freedom to reuse.
Harvest Finished Compost From the Bottom
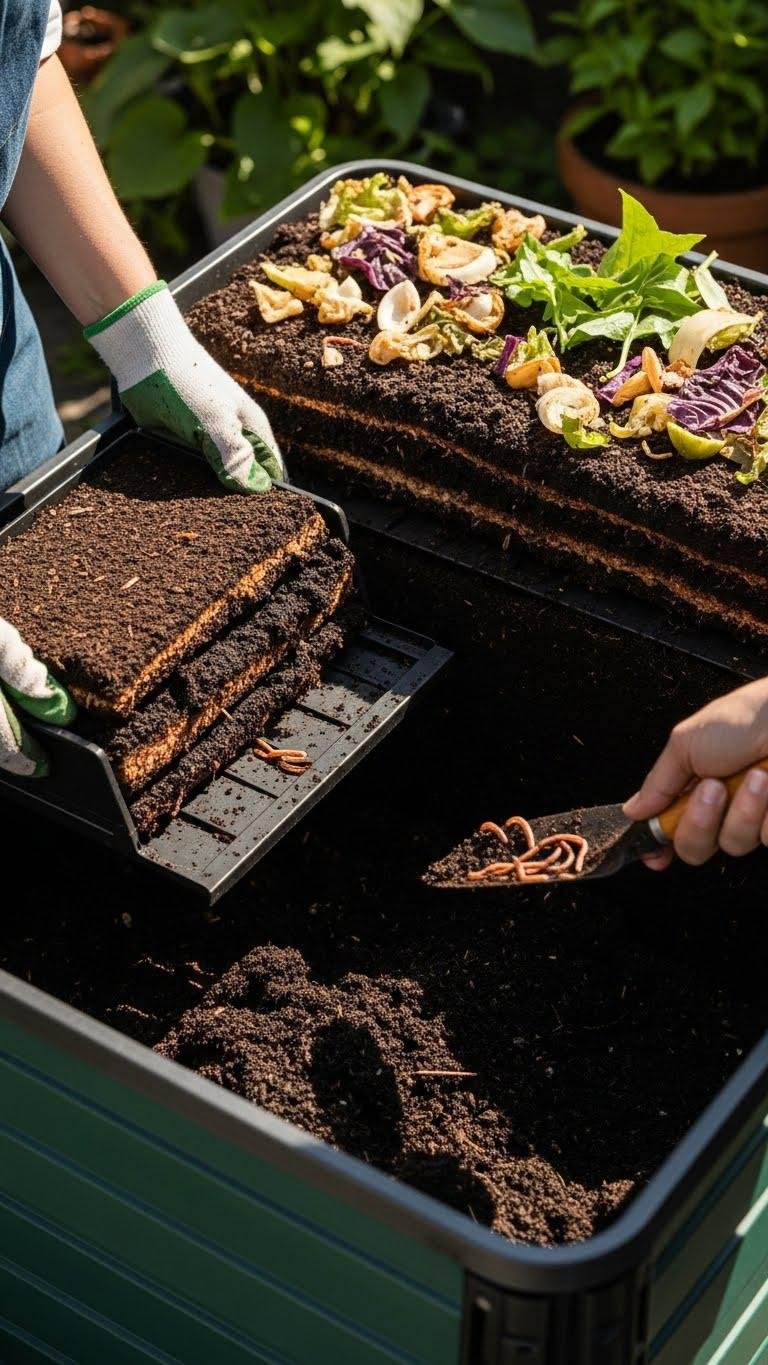
Because gravity and time do the sorting for you, harvest compost from the bottom to collect the darkest, most stable material while leaving immature scraps on top to continue breaking down.
You’ll use cold extraction or a simple pull-out tray, freeing rich soil quickly.
Check for worms during worm harvesting and return them; they boost fertility.
Work confidently and keep routines minimal.