You’ll get better results when you match cutting type and timing to the season, pick vigorous, disease‑free stock, and use sharp, sterilized tools so wounds root instead of rot. Combine the right rooting hormone, airy sterile media, bottom heat and high humidity, and take multiple cuttings to improve odds. Record trials, quarantine new plants, and troubleshoot light, moisture and timing issues—keep going and you’ll learn which hacks transform your propagation success.
Select Healthy, Disease‑Free Stock Plants
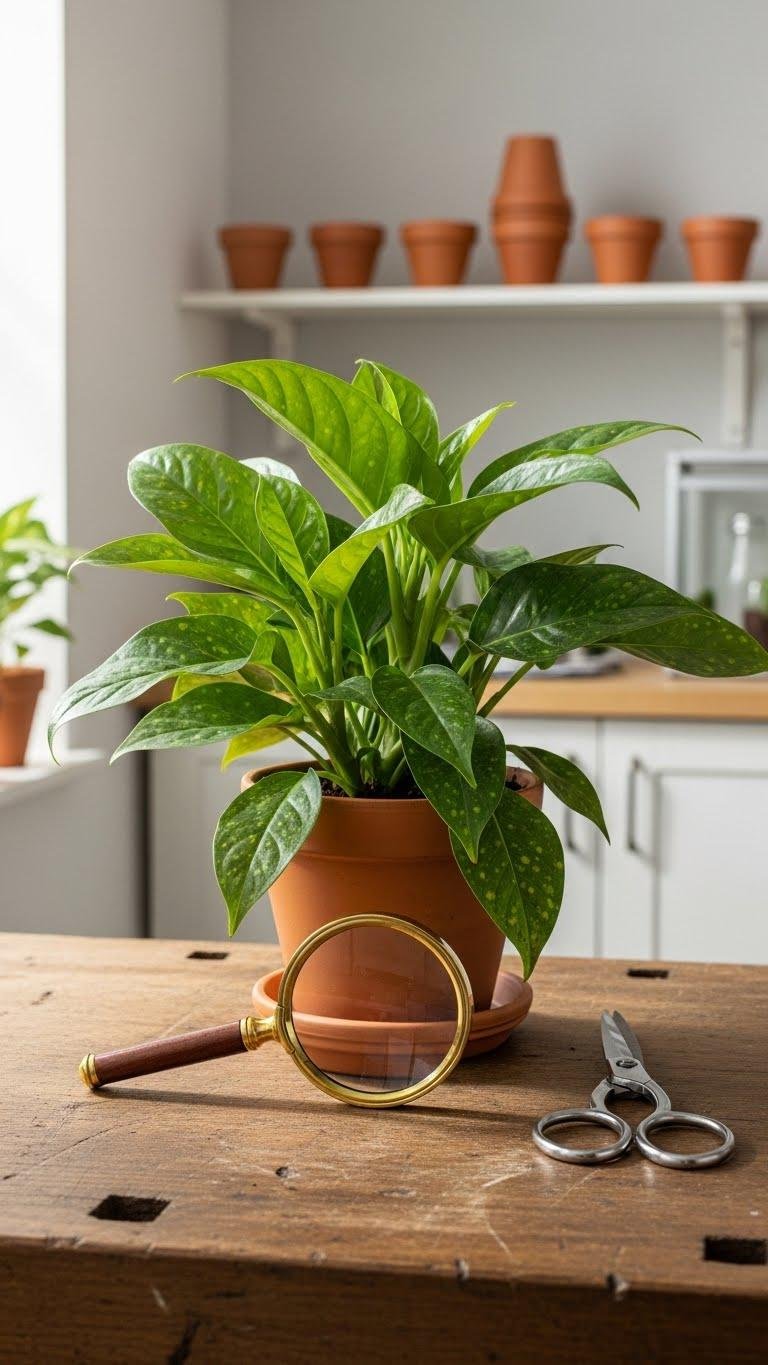
Always start with vigorous, pest‑free stock plants — they determine whether your cuttings root fast and produce true-to-type offspring.
Inspect foliage for spots, wilting, pests, and hidden fungal signs.
Verify source provenance to avoid introduced pathogens and guarantee genetic traits.
Choose vigorous stems, remove diseased material, and quarantine new plants.
That disciplined selection frees you to propagate reliably and confidently.
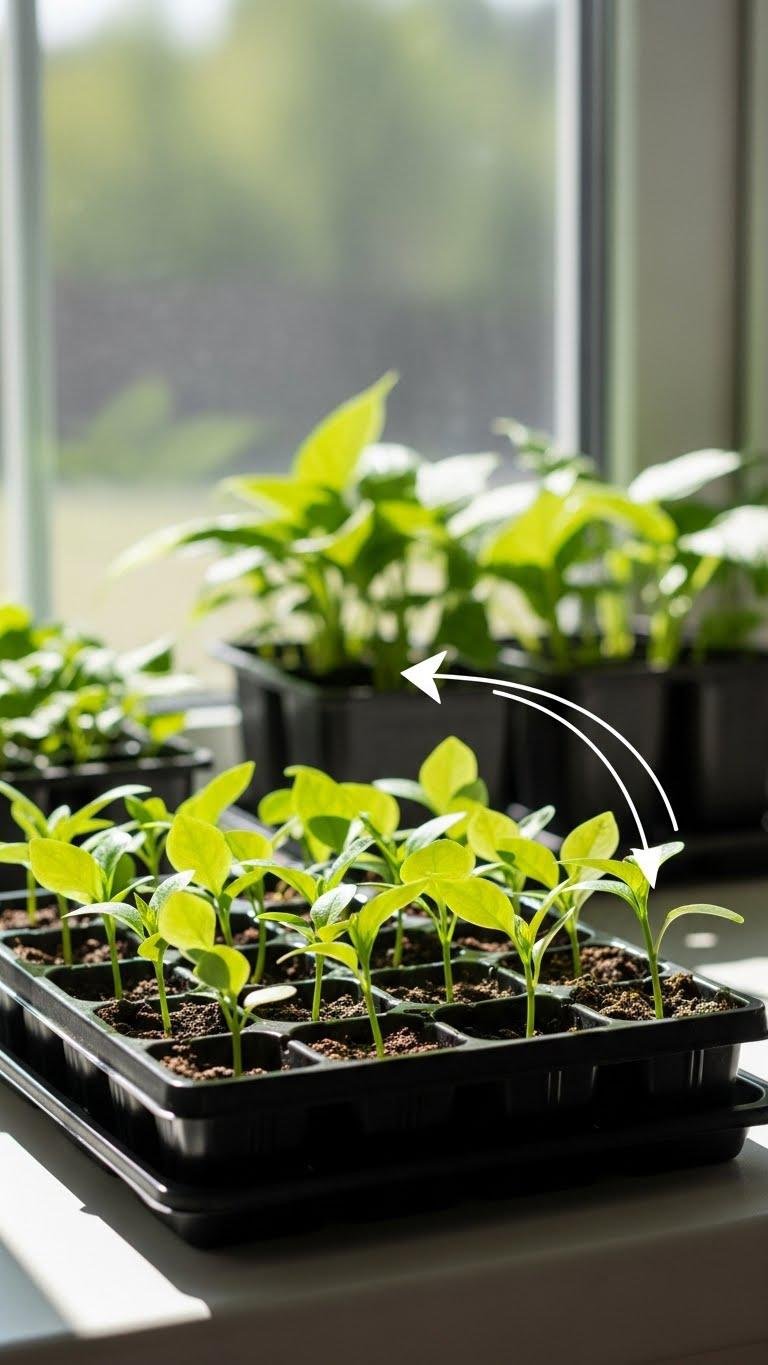
Take Multiple Cuttings to Improve Success Rates
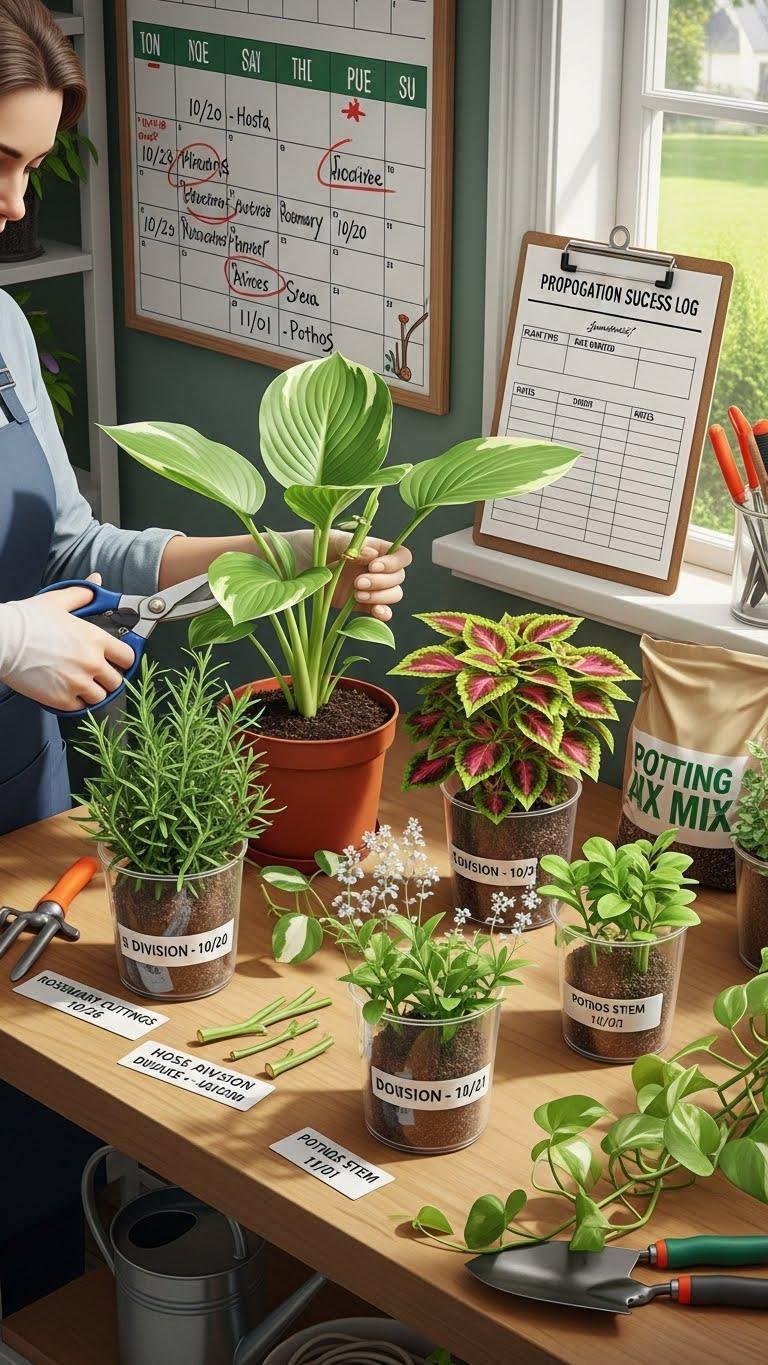
Picking strong, disease‑free stock plants cuts your risk, but you’ll still want to take multiple cuttings to hedge against failures and speed up success.
Take several from varied stems as a batch sampling strategy, label each, and stagger planting dates. Track outcomes with simple success tracking logs so you’ll quickly know which sources and timings free you to scale propagation confidently.
Use Sharp, Sterilized Tools for Clean Cuts
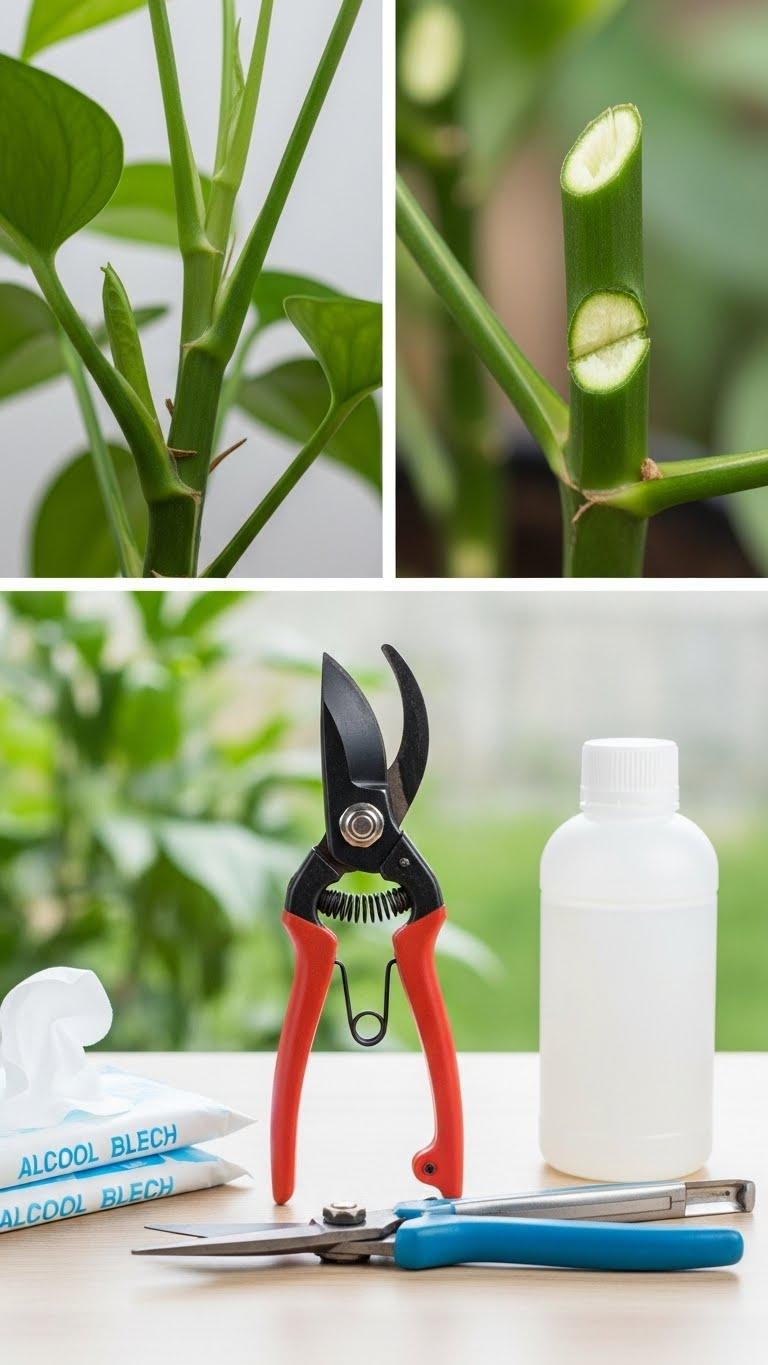
Cut with purpose: sharp, sterilized tools give you clean wounds that seal quickly and cut pathogen transfer dramatically, so you’ll raise your rooting rates and reduce losses.
You’ll practice blade maintenance—sharpen edges, deburr, oil pivots—and follow sterilization methods like alcohol wipes or diluted bleach between plants.
Clean cuts heal faster, lower infection risk, and let you propagate confidently and freely.
Apply Wounding Techniques to Stimulate Roots
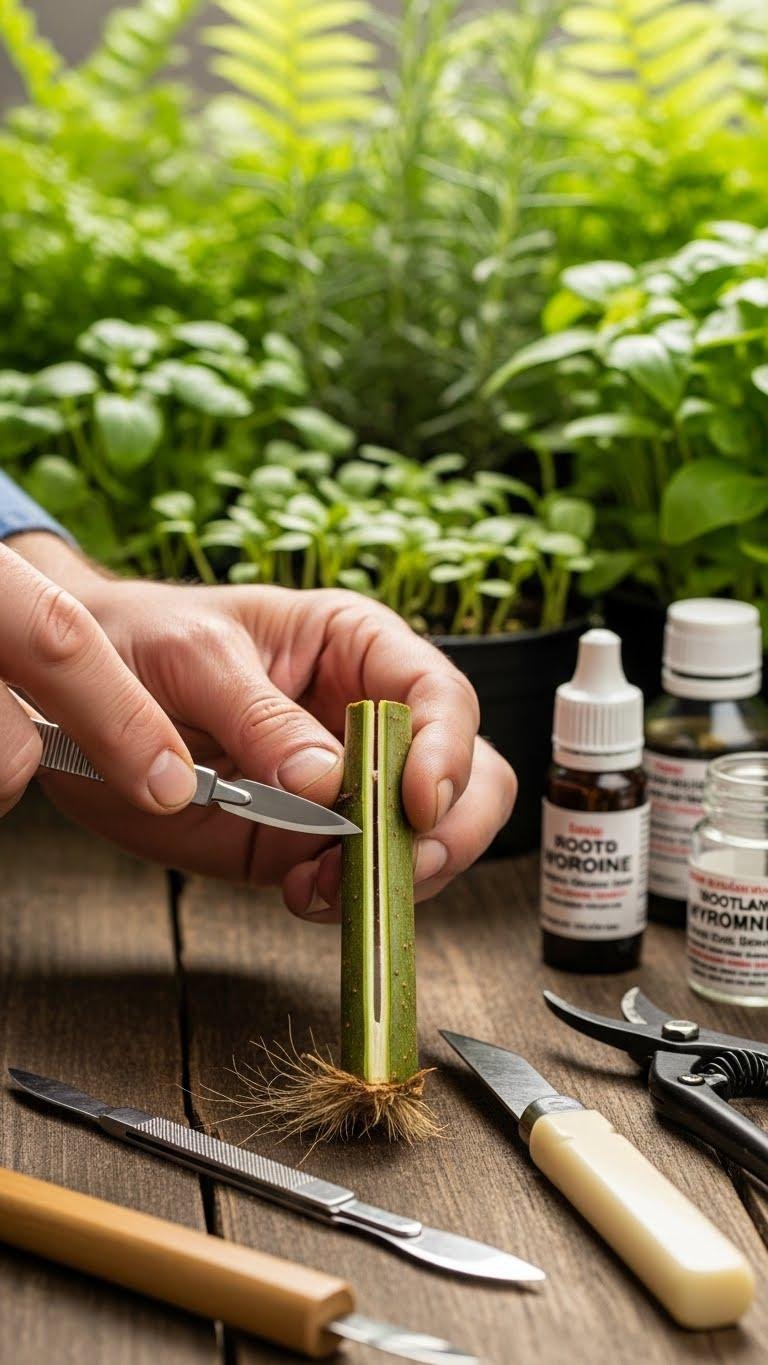
When you nick, scrape, or make a shallow longitudinal slit at the base of a cutting, you’re deliberately triggering the plant’s wound-response hormones and increasing cambial exposure so roots form more readily.
You’ll use intentional wounding sparingly, pairing precise cuts with modest chemical stimulants when needed. Keep wounds clean, controlled, and timed to the cutting’s vigor so you preserve freedom to experiment and succeed.
Use Sterile, Well‑Drained Rooting Media
Regularly use a sterile, well‑drained rooting mix so pathogens don’t outpace the cutting’s slow start and oxygen stays available to forming roots. Choose a sterile mix with consistent particle size to balance moisture and air; coarse components like perlite or grit prevent compaction.
Sanitize tools, replace media between batches, and monitor drainage — you’ll speed rooting while keeping control and avoiding disease.
Maintain High Humidity With Domes or Covers
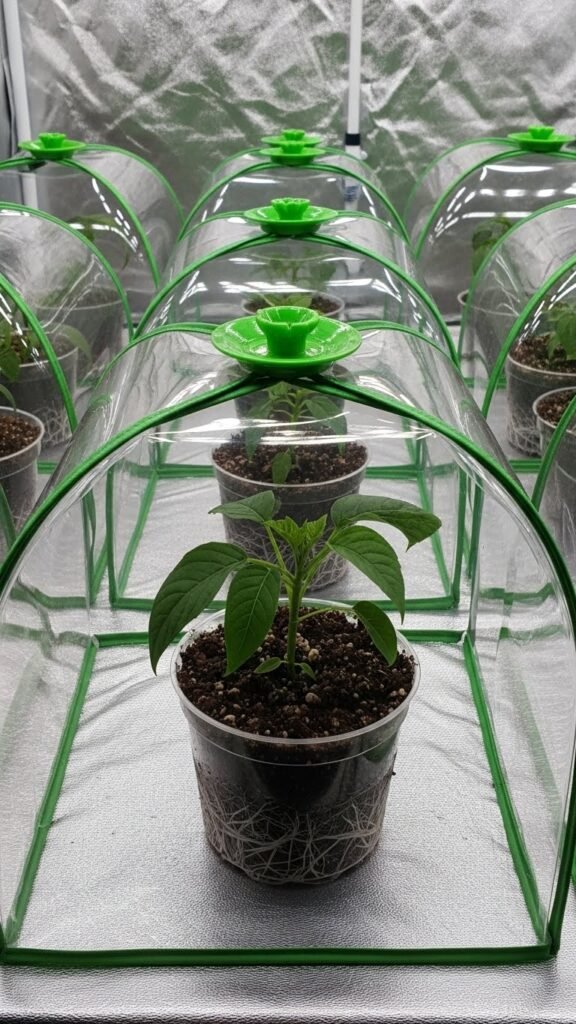
Frequently, you’ll want to keep new cuttings under a clear dome or cover to maintain the high humidity they need while their roots develop; this reduces transpiration stress and prevents wilting without overwatering the rooting medium.
Use humidity tents or individual cloches, monitor moisture, and set strict misting schedules. Vent briefly daily to harden tissue, and inspect for mold so you can act fast.
Provide Bottom Heat to Speed Root Formation

By supplying gentle bottom heat, you speed root formation and reduce the time cuttings spend vulnerable to rot or desiccation.
Use propagation mats or seedling heatpads set to species-specific temperatures, monitor with a thermostat probe, and insulate trays to maintain even warmth.
You’ll encourage consistent, faster rooting while reducing stress — freeing you to propagate more plants with predictable success.
Give Bright, Indirect Light During Rooting
Paragraphs
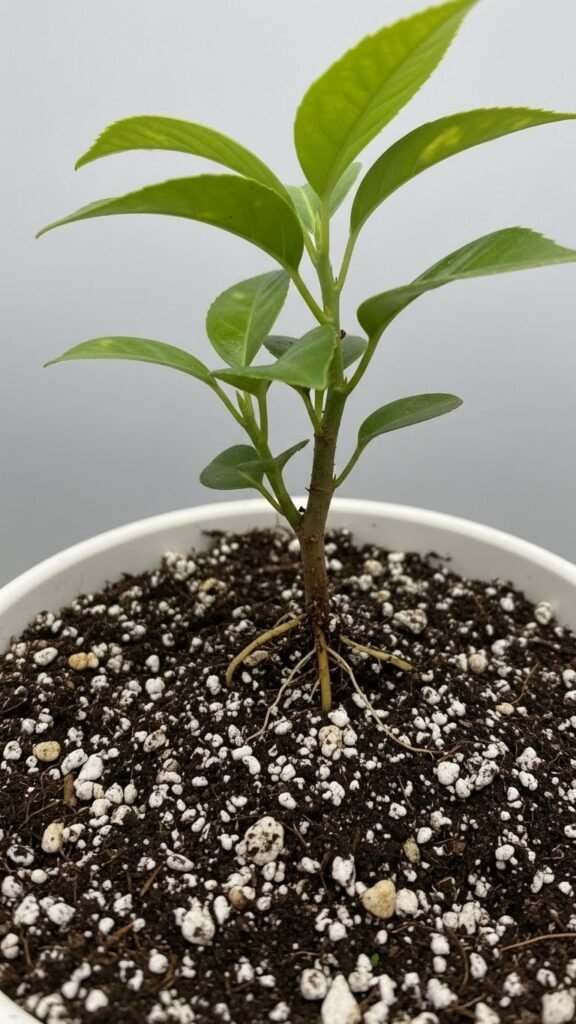
Take Leaf and Leaf‑Petiole Cuttings for Compatible Species
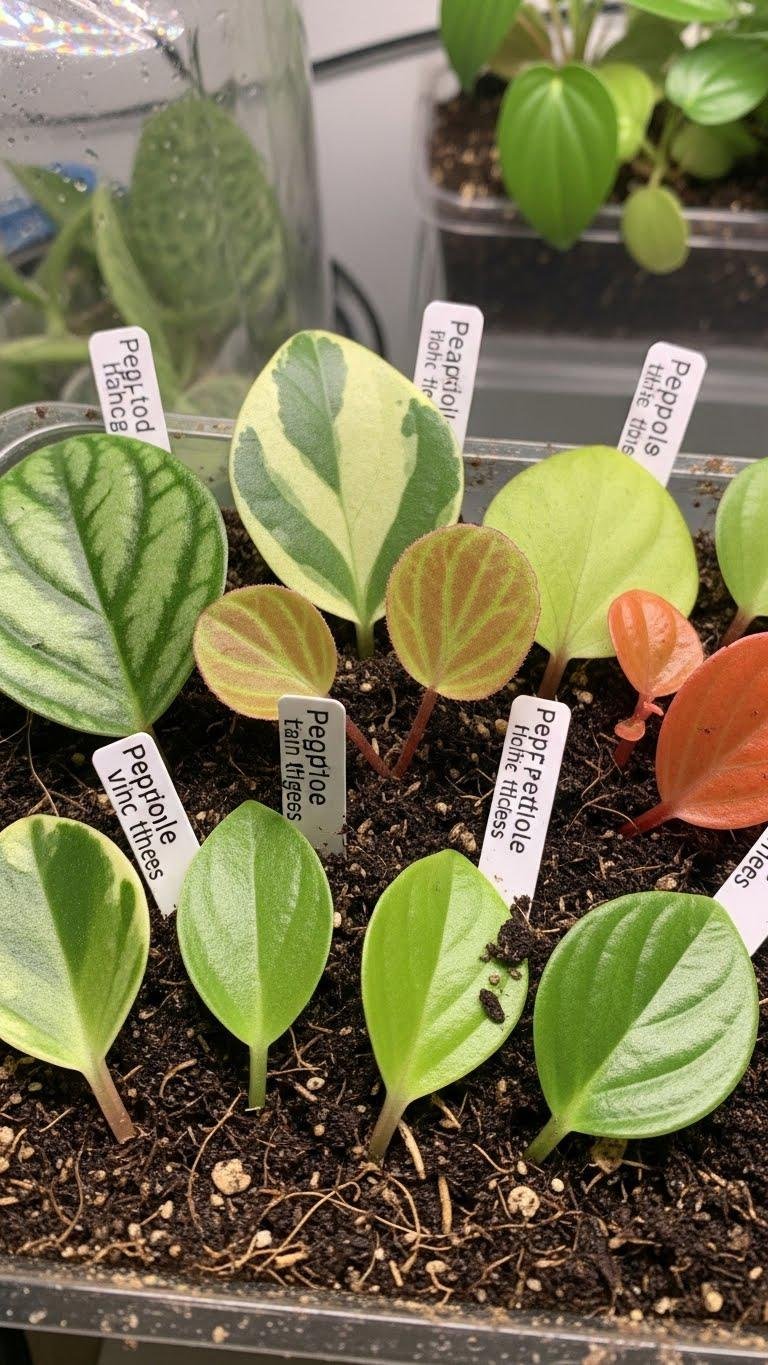
Try leaf and leaf‑petiole cuttings for species that tolerate them, like succulents, begonias, and some peperomias, because they give a fast, space‑efficient way to clone plants without removing a stem.
Choose leaves showing desired variegation selection, note petiole thickness for support, wound cleanly, insert shallowly in moist, airy mix, label, and keep consistent humidity until roots form.
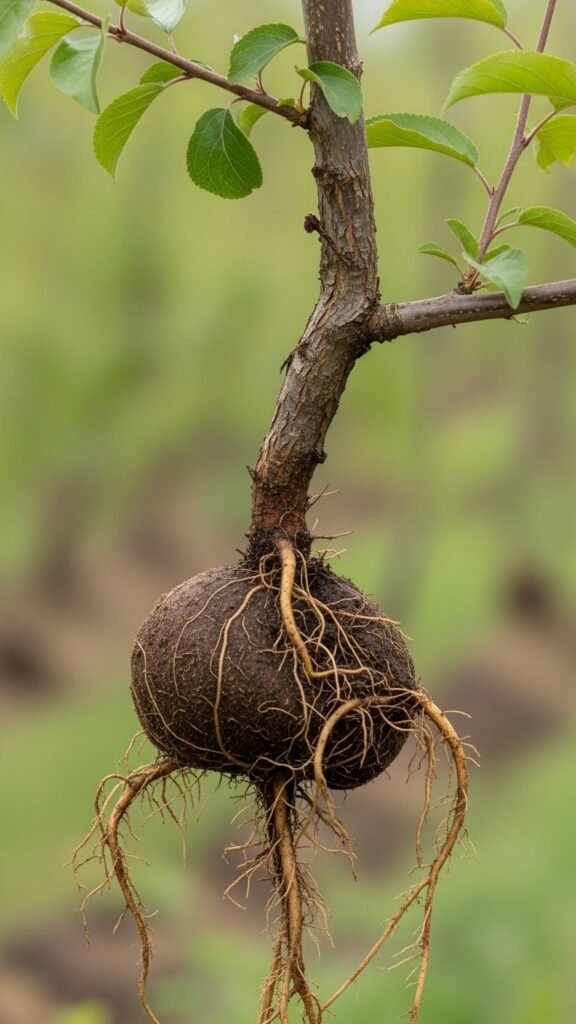
Use Root Cuttings Only for Suitable Species and Timing
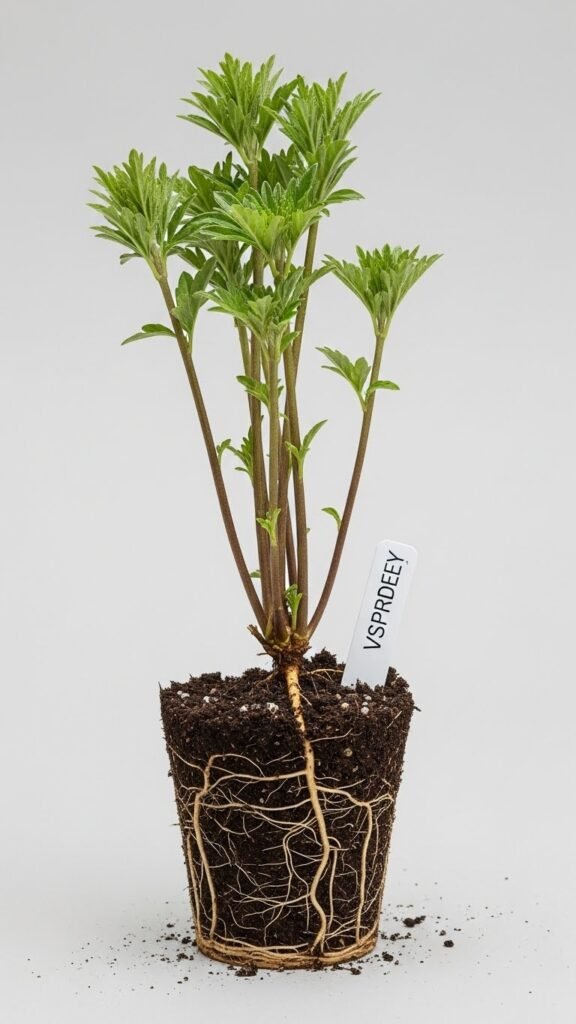
Although root cuttings can produce robust new plants, you should use them only for species and at times that suit the technique. You’ll check species specificity — hardy perennials and some shrubs respond best — and plan around seasonal suitability, cutting roots in dormant or early growth phases.
Work cleanly, label pieces, and give roots firm, moist medium for predictable establishment and freedom to experiment.
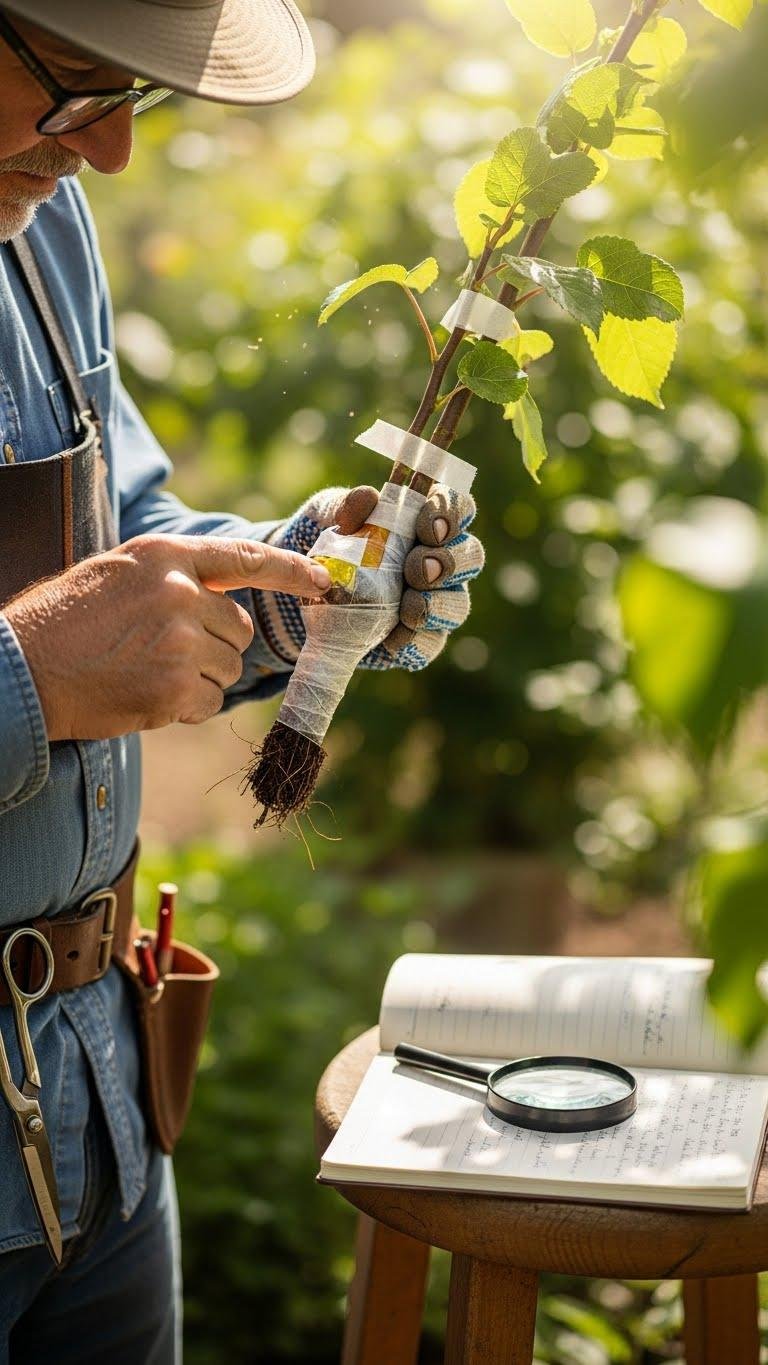
Air Layer Large Branches for Difficult‑to‑Root Trees
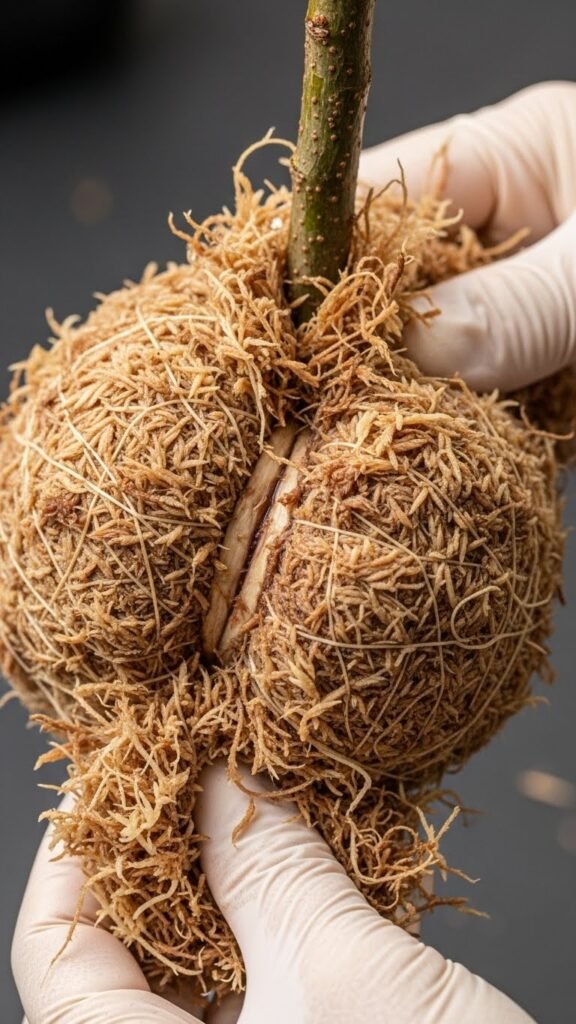
When you need to clone a large, slow‑to‑root tree that won’t respond to cuttings, air layering lets you form roots on an attached branch so you can sever and transplant a well‑established piece.
You’ll perform a clean barkstrike, apply rooting hormone, pack moist sphagnum, wrap securely, and use branch girdling to concentrate hormones.
Monitor moisture and roots before cutting for reliable success.
Divide Clumping Perennials at Optimal Times
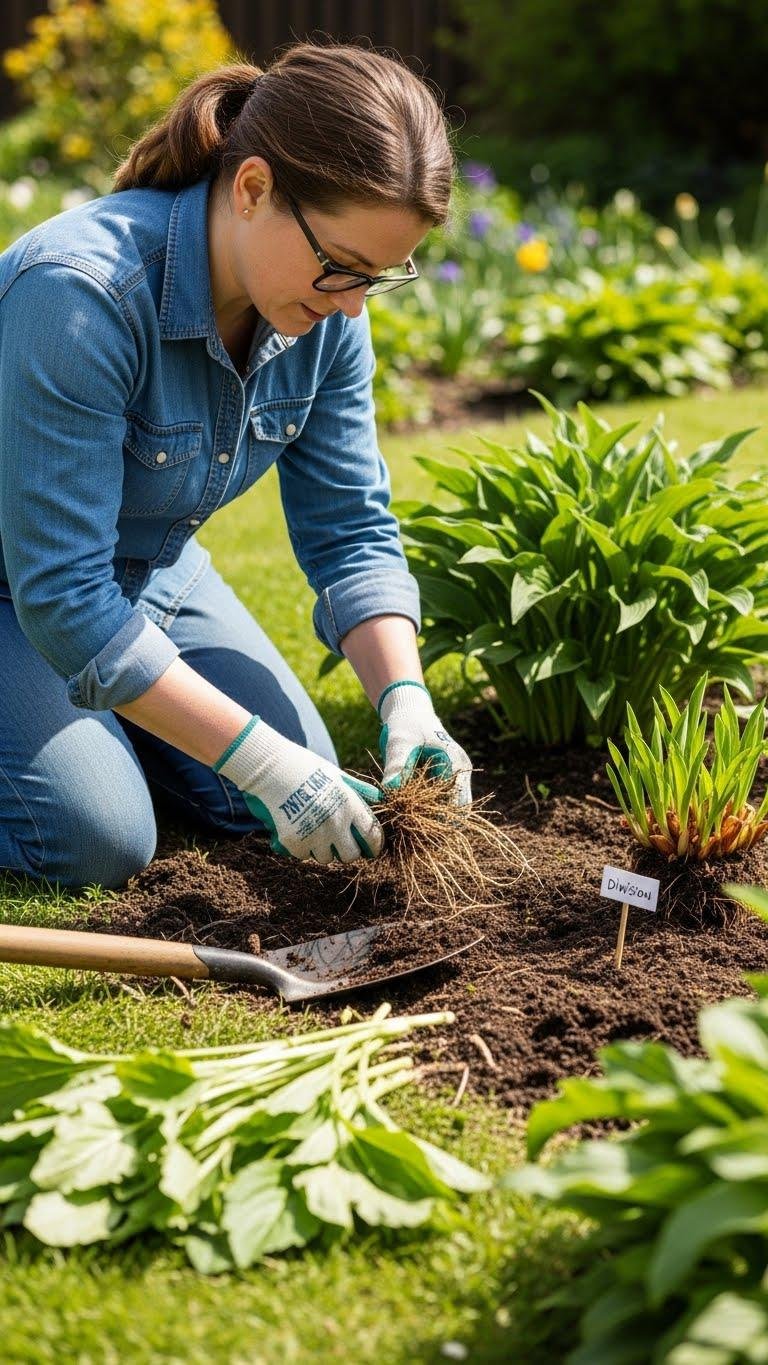
In spring or fall, plan your divisions around plants’ natural growth cycles so you split clumping perennials when they can recover fastest. You’ll dig clumps, tease roots, and trim dead foliage, timing spring divisions for vigorous establishment and fall rejuvenation for root repair.
Work quickly, keep roots moist, label divisions, and space them properly to guarantee durable, independent plants that free your garden to grow.
Separate Offsets and Pups Carefully From Succulents
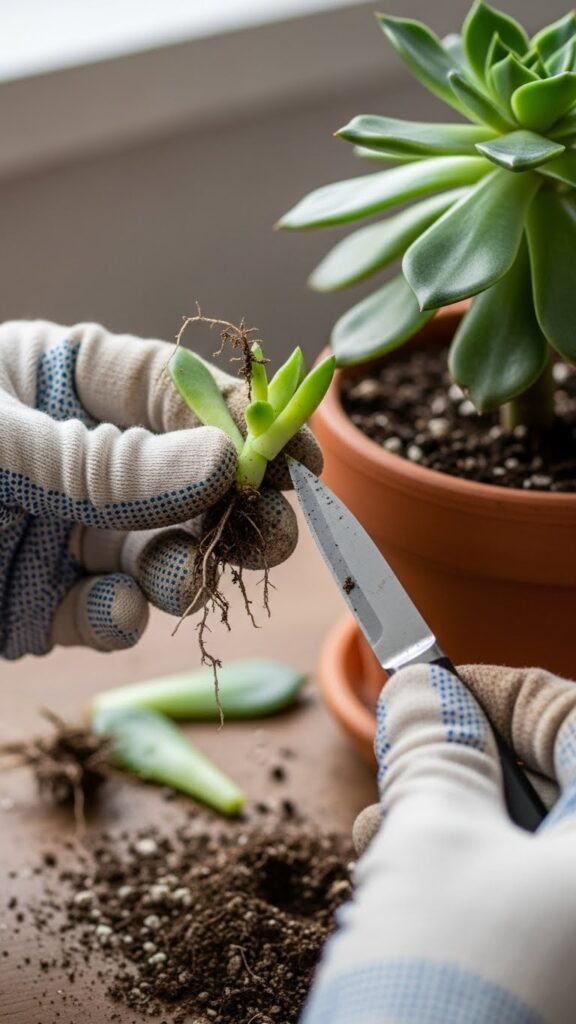
Moving from dividing clumping perennials to succulents, you’ll use gentler techniques because offsets and pups have delicate roots and fleshy tissues that bruise easily.
Work cleanly: stabilize the mother plant, use sterile petiole snipping or a sharp knife, remove offsets with minimal root damage, then let callus development begin in a dry, shaded spot.
Pot when edges seal and roots form.
Choose Compatible Rootstocks for Grafting Success
Because grafting joins two different plants into one working organism, you’ve got to pick a rootstock that’s physiologically compatible with the scion: match growth habit, sap chemistry (alkaline vs. acidic tendencies), and vascular arrangement to minimize graft failure and disease transmission. Prioritize genetic compatibility and appropriate rootstock vigor to control size, yield, and resilience. Test on a few specimens, document results, and choose confidently.
Follow Aftercare to Protect New Grafts
After you finish grafting, protect the union immediately and check it daily for the first two weeks to make sure the graft doesn’t dry out, slip, or get contaminated. You’ll provide gentle support, secure wraps, and sterile dressings.
Monitor callus formation, remove damaged tissue, and allow gradual acclimation to light and wind. Record observations, adjust supports, and act quickly if infection or failure appears.
Sanitize Tools and Work Areas to Prevent Disease
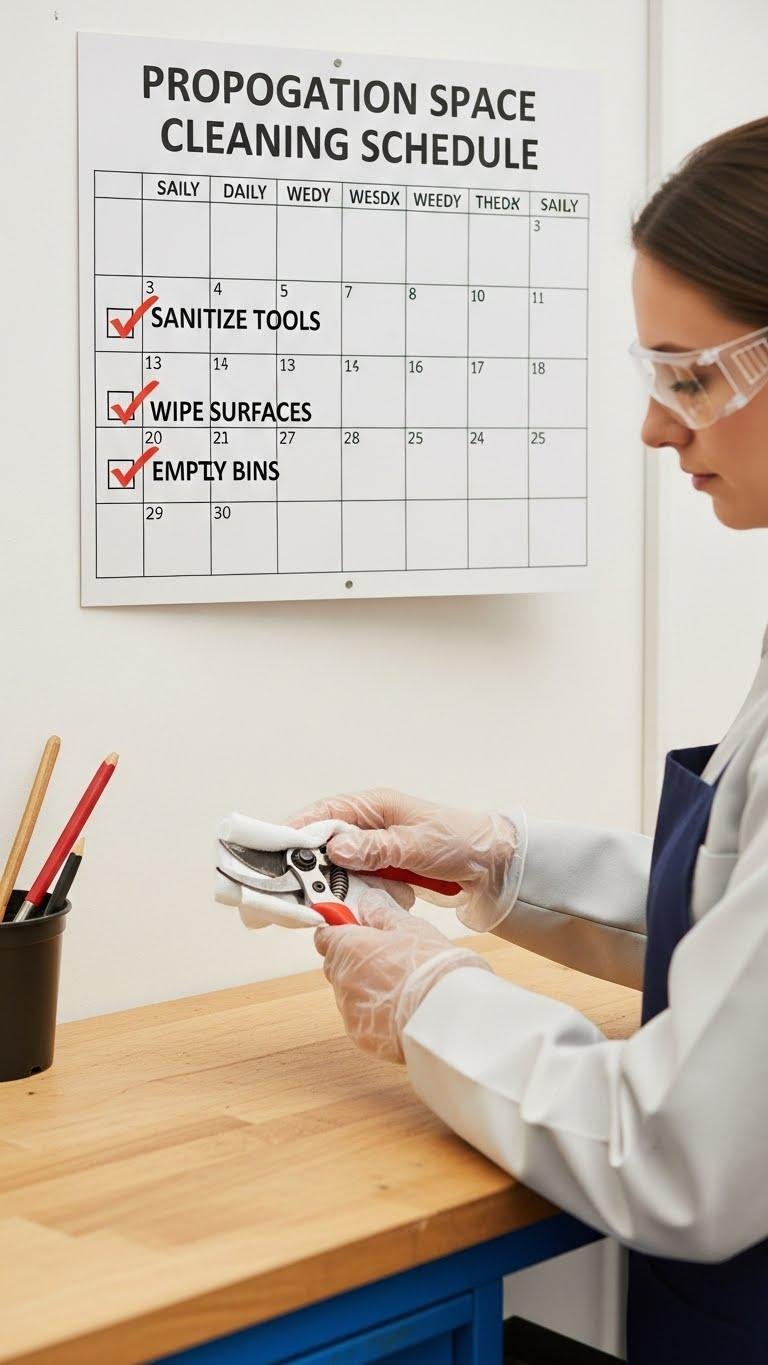
Keep your workbench and tools sterile to stop pathogens before they start spreading; you’ll want a routine cleaning and disinfection protocol you actually follow. You’ll set a clear cleaning schedule, disinfect pruners, trays, and gloves between uses, and dispose of contaminated media.
Practice simple biosecurity training for yourself or staff, record actions, and enforce habits so disease can’t hitch a ride into your propagation space.