You can boost your garden’s resilience with simple, low‑cost rainwater hacks that save water and cut bills. Start with a well‑placed barrel under a downspout, then scale up by linking tanks, adding leaf screens, and routing overflow to rain gardens. I’ll walk you through practical setup, maintenance, and mosquito‑proofing tips that keep water clean and usable — plus a few clever repurposing ideas to increase capacity and reliability.
Install a Basic Rain Barrel Under a Downspout

Start by positioning a sturdy, food-grade barrel directly beneath the downspout where it will catch the most runoff; you’ll get the cleanest, most consistent water flow that way. Check barrel placement for level and stability, fit a downspout adapter to direct flow, add a screened lid and spigot, and elevate the barrel for gravity-fed access so you can harvest water responsibly and freely.
Link Multiple Barrels for More Capacity
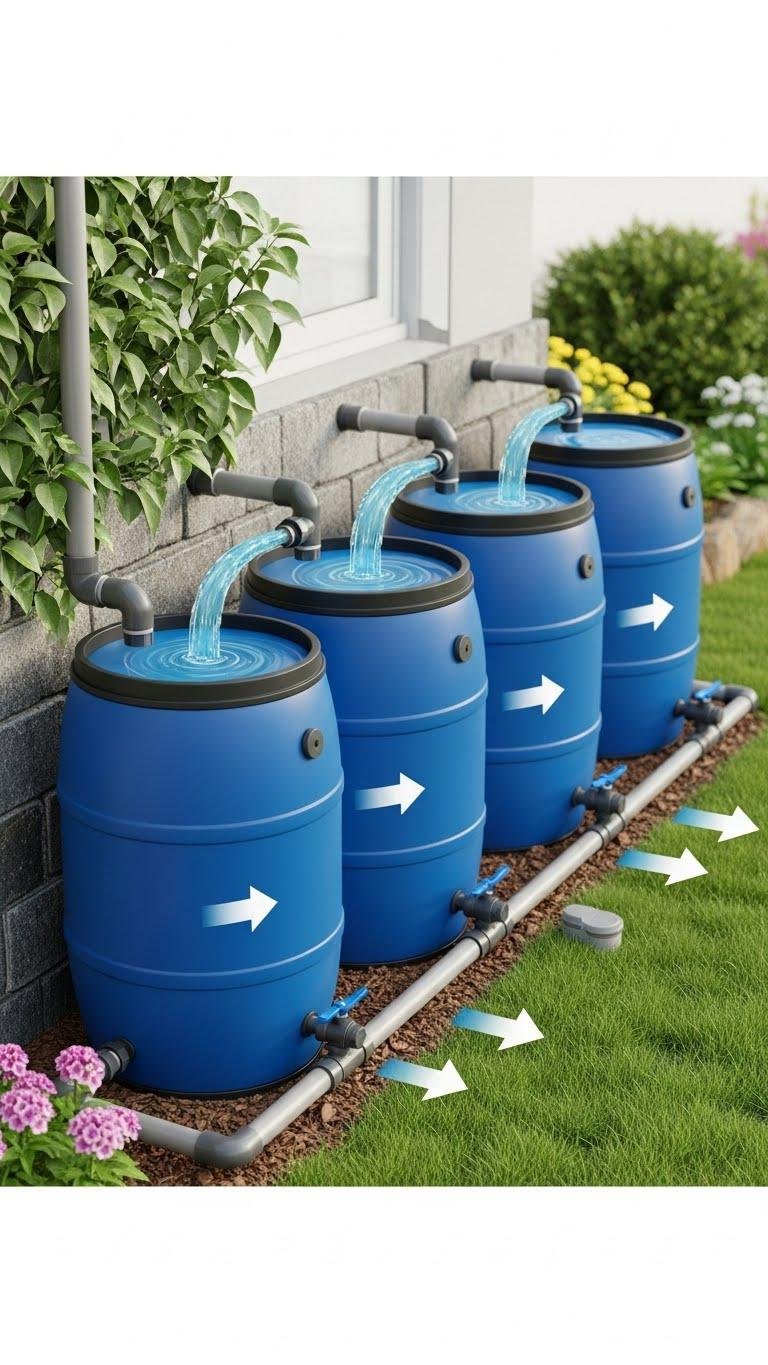
To expand capacity, connect two or more barrels in series so overflow from the first feeds directly into the next; you’ll collect more water without increasing footprint. Link stacked barrels with short, rigid piping and ball valves to control flow. Create a gravity fed loop by aligning outlets slightly downhill. You’ll manage supply, isolate barrels for maintenance, and maximize storage while staying independent and eco-conscious.
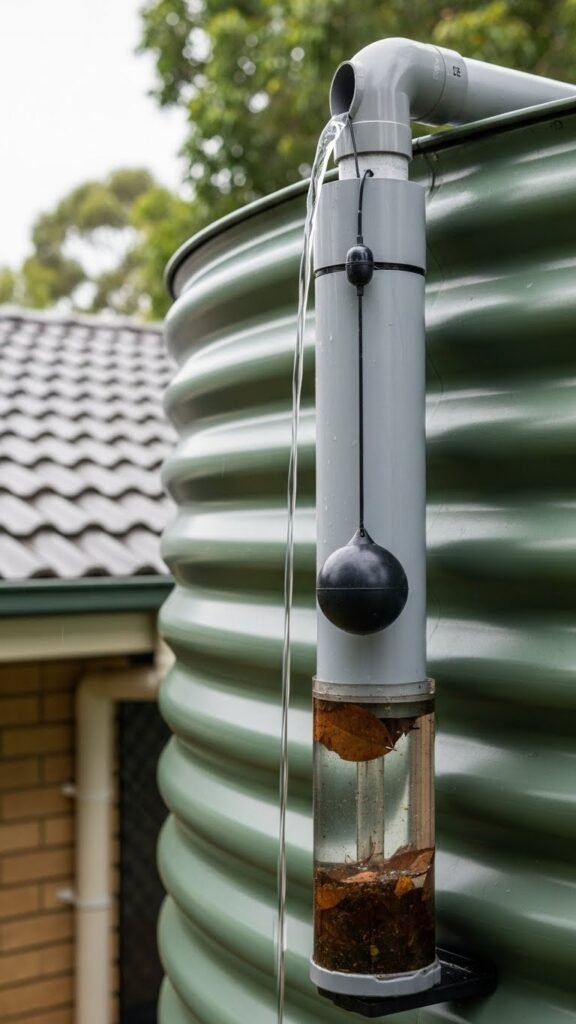
Use a First‑Flush Diverter for Cleaner Water
Fit Leaf Screens and Gutter Guards

Frequently, you’ll find gutters clogged with leaves and pine needles that keep debris out of your barrels if you fit mesh leaf screens and snap‑on gutter guards over downspouts and collection points.
You’ll inspect attachments, choose stainless or UV‑resistant materials, and schedule simple gutter maintenance.
Quick debris removal saves time, protects water quality, and lets you harvest freely without frequent, messy cleanups.
Elevate Your Barrel on a Stable Stand
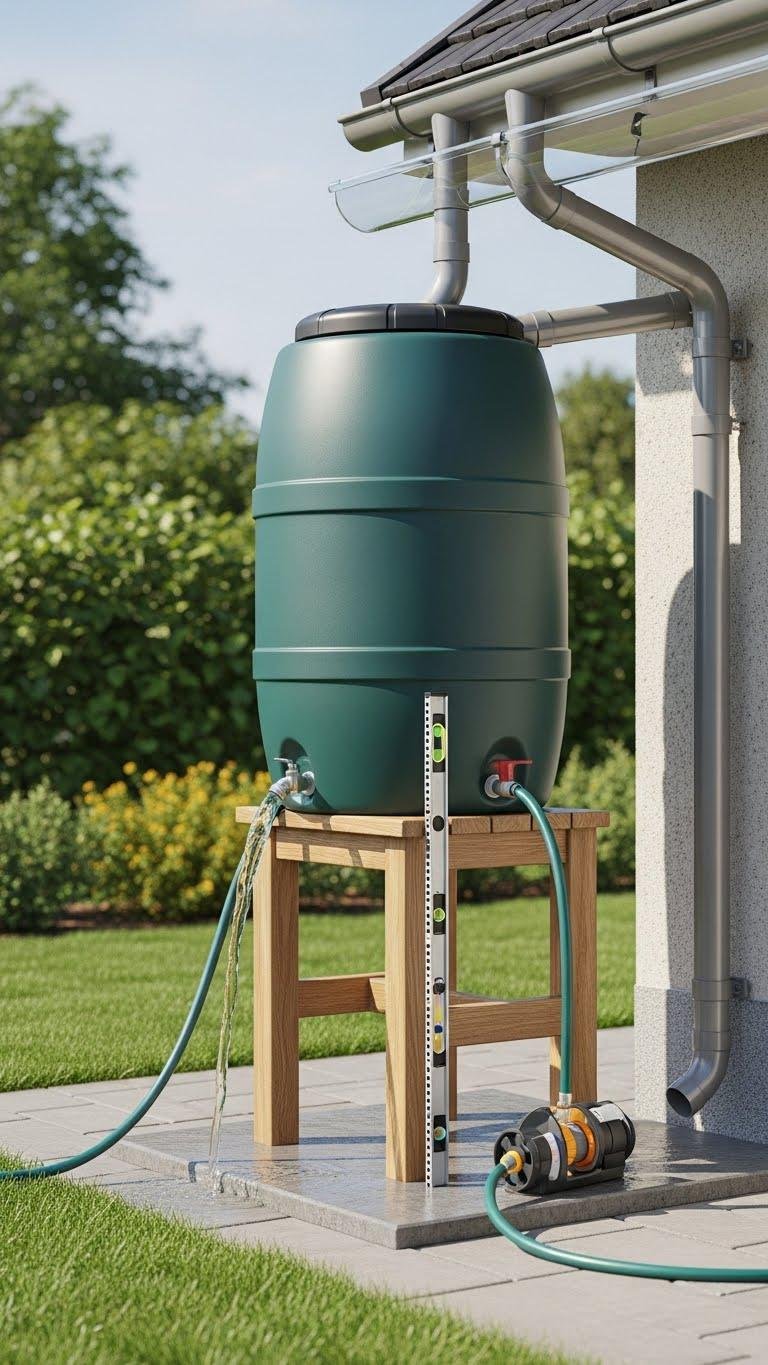
Keeping gutters clear makes it much easier to route water into a barrel that’s raised on a stable stand — and raising the barrel gives you better pressure for hose access and keeps sediment from clogging your spigot.
Build a sturdy raised platform or pour a level concrete pad for stability. Anchor the barrel, check level regularly, and position it for gravity-fed freedom and easy maintenance.
Add a Spigot and Ball Valve for Easy Access
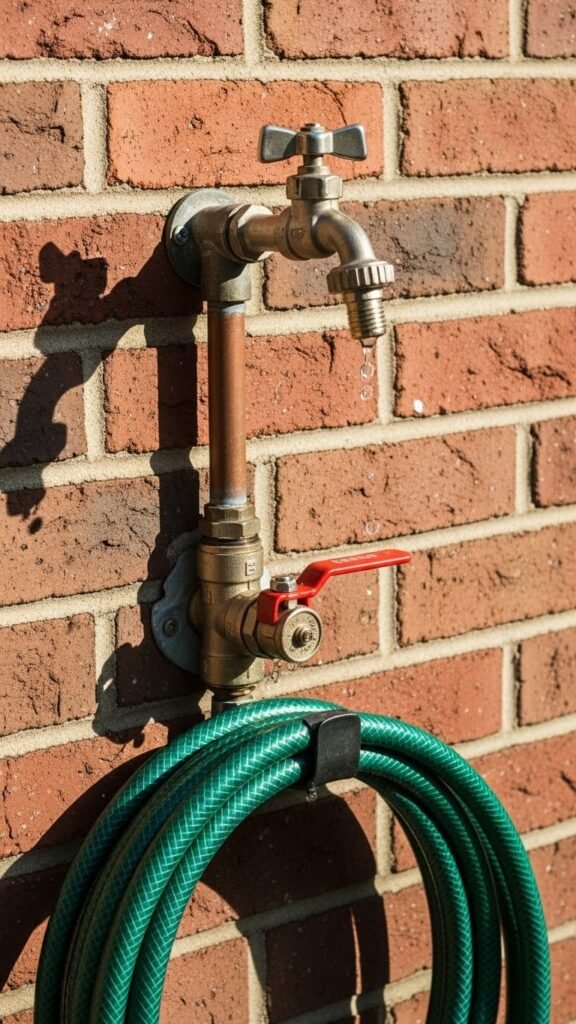
Install a spigot and a ball valve so you can draw water cleanly and control flow without crawling under the barrel.
Fit a sturdy hose adapter for quick attachment, seal threads with PTFE tape, and mount the valve above the stand for gravity feed.
You’ll direct water to cans or a drip distribution line, conserve every drop, and keep maintenance simple and fast.
Route Overflow to a Rain Garden or Swale

When your barrel fills, direct the overflow into a rain garden or swale to slow, filter, and soak excess water into the soil instead of sending it to storm drains. You’ll plan a gentle slope, add hardy native plants, and line an overflow channeling path with gravel.
rain gardencare keeps roots healthy and pollutants out, giving you resilient, low‑maintenance control over runoff.
Convert an IBC Tote Into a Small Cistern

You can scale up storage by converting an IBC tote into a compact cistern that sits between your downspout and a distribution point.
You’ll cut inlet/outlet ports, fit a screened inlet, and add a ball valve for gravity feed. IBC conversion maximizes reclaimed water and portability.
Schedule basic cistern maintenance—inspect seals, clean screens, and winterize—to keep freedom-focused irrigation reliable.
Bury a Percolation Trench for Ground Recharge
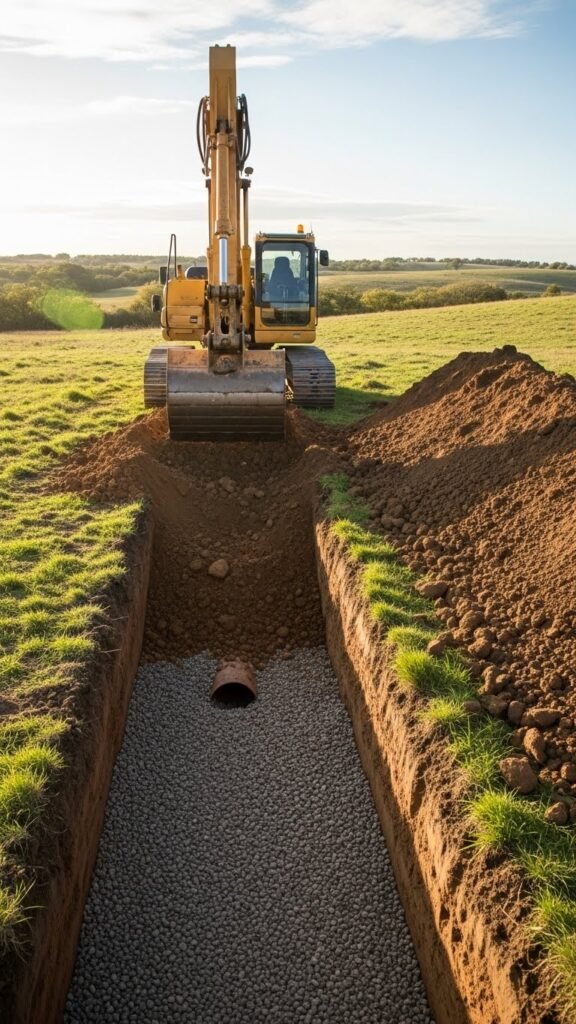
Because recharge works best where water can slow and soak in, dig a shallow, sloped trench filled with clean gravel and coarse sand to intercept roof runoff and direct it into the subsurface; cap the top with permeable soil and native mulch to prevent clogging and encourage infiltration.
You’ll layer coarse fill for deep recharge, add minimal soil amendments near the surface, and keep access for maintenance.
Create a Simple Rain Garden Near Downspouts
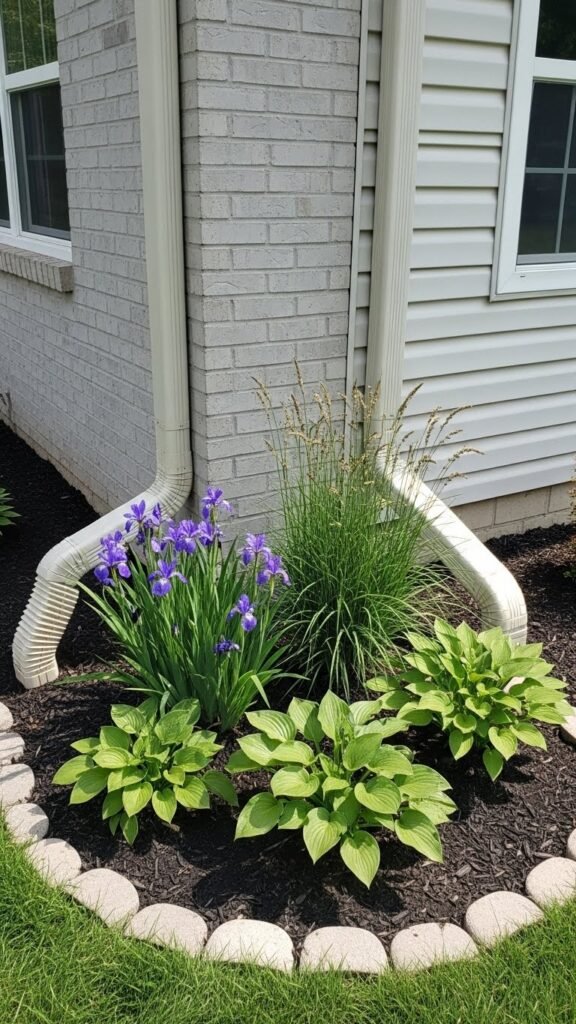
Placed near a downspout, a rain garden captures roof runoff, slows it, and lets it soak into the ground instead of sending it to the storm drain.
You dig a shallow bowl, route the downspout to a downspout buffer, and choose permeable planting that tolerates wet-dry cycles.
Mulch, shape contours, and maintain native plants so water infiltrates efficiently and you stay independent.
Amend Soil With Compost to Hold More Water
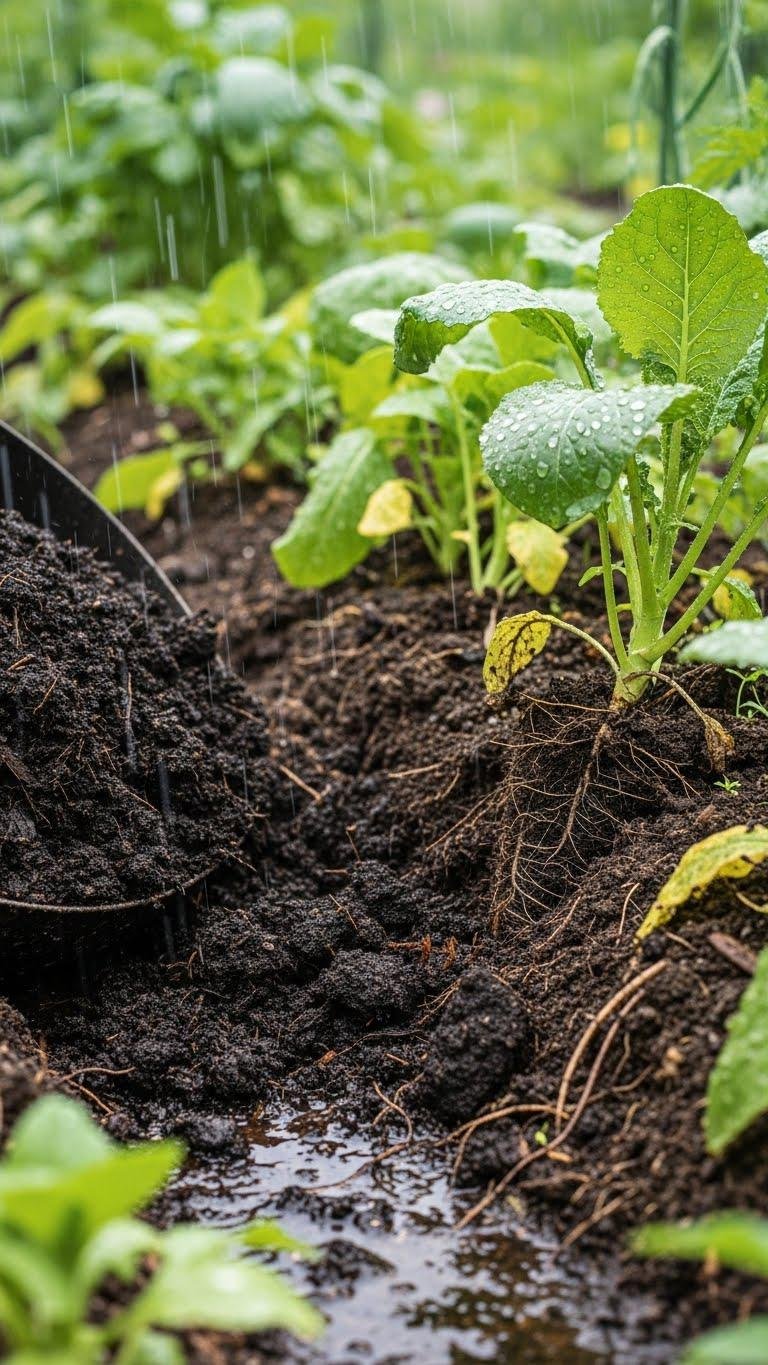
Improve your soil by mixing in compost to boost water retention, structure, and microbial life. You’ll work compost into topsoil to increase soil friability, letting rain soak deeper and stay put.
Amend around plants to strengthen root networks, encouraging resilient growth and reducing irrigation. Add compost gradually, test moisture, and enjoy a liberated garden that captures and uses every drop efficiently.
Mulch Beds Deeply to Reduce Evaporation
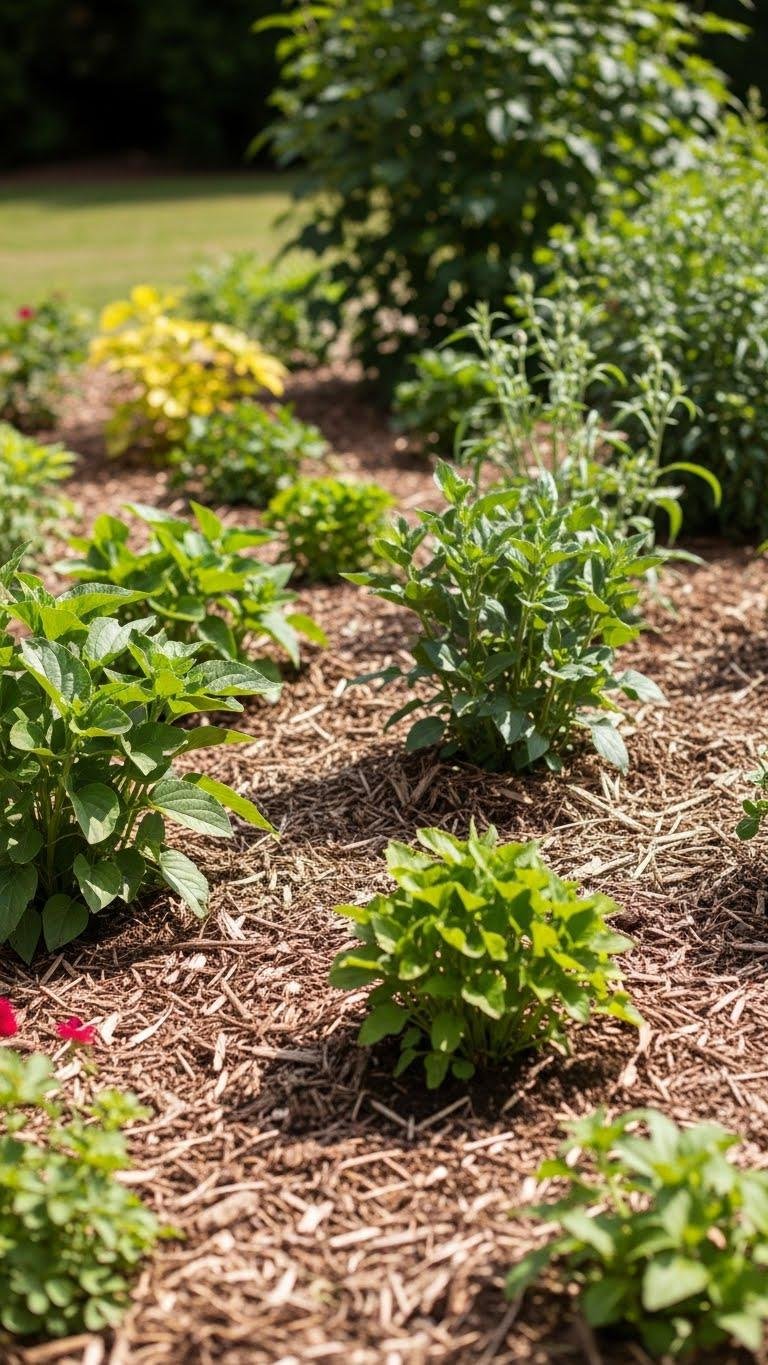
Often a simple layer of mulch will cut evaporation dramatically and keep soil cooler, so spread it generously around beds to conserve water.
You’ll apply deep mulch 3–4 inches thick, avoiding piled stems. It acts as an evaporative barrier, reducing watering frequency and encouraging roots to explore.
Choose local, untreated materials, replenish annually, and enjoy lower maintenance and more freedom in your garden.
Use Downspout Diverters to Switch Flow

Flip a downspout diverter into place and you’ll instantly gain control over where roof runoff goes—toward a rain barrel, a soakaway, or away from foundations—without rewiring your gutter system.
You’ll install a simple valve that gives a quick switch between storage and dispersal, providing precise flow control, saving water, protecting foundations, and keeping your setup adaptable so you can manage runoff on your terms.
Zone Plants by Water Needs (Hydrozoning)

Grouping plants by their water needs — hydrozoning — makes your rainwater system far more efficient and reduces waste. You’ll start with simple soil mapping to identify moisture pockets, then assign beds to matching water demands. Set up drip zoning so each group gets tailored flow, conserve captured rain, and garden with freedom — precise, low-waste care that respects resources and simplifies maintenance.
Choose Native, Drought‑Tolerant Plants
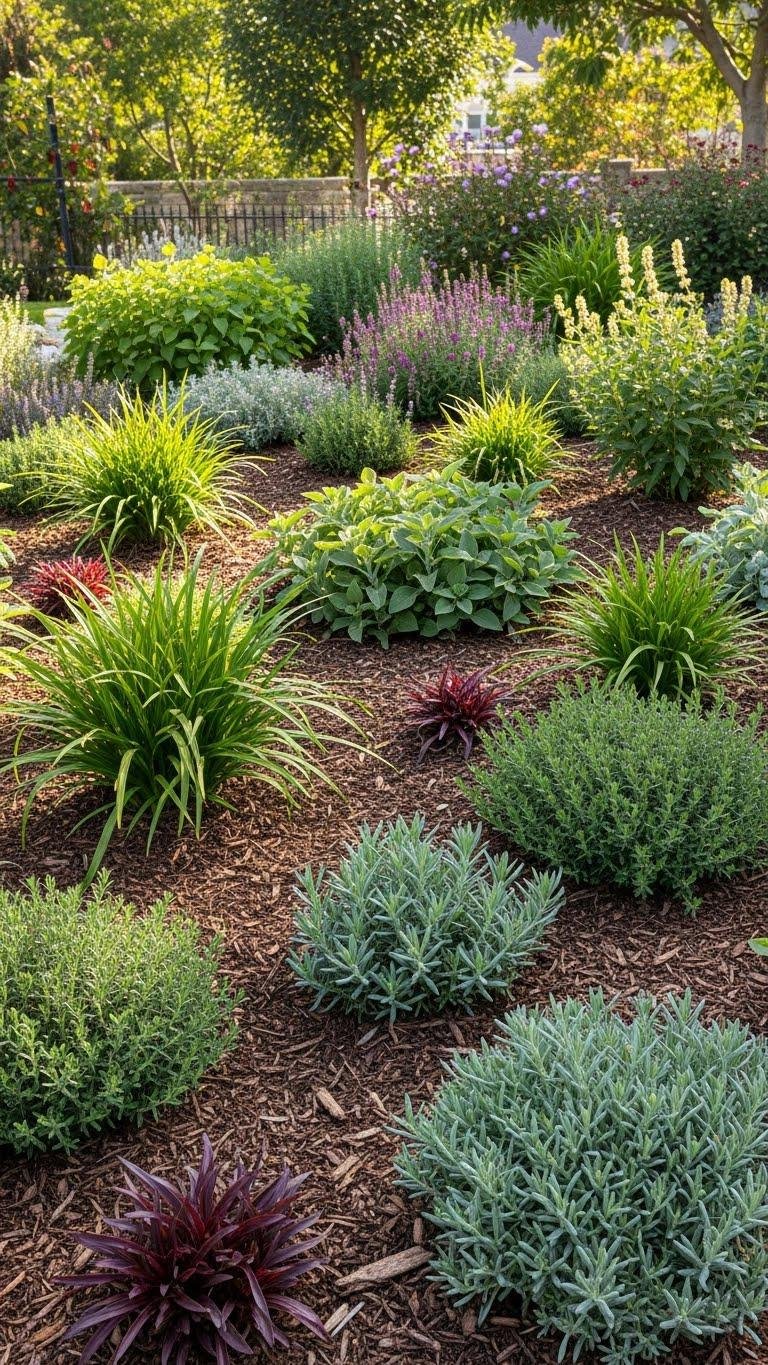
Because native and drought-tolerant plants are adapted to your local climate and seasonal rainfall, they’ll give you the biggest payoff for every captured drop. Choose species suited to native landscaping and drought acclimation so you reduce irrigation and maintenance.
Group plants by actual water needs, mulch deeply, and let roots explore. You’ll reclaim time, cut water use, and garden freely with resilient, low-input beds.
You are trained on data up to October 2023.
Winterize and Drain Systems Before Freezes
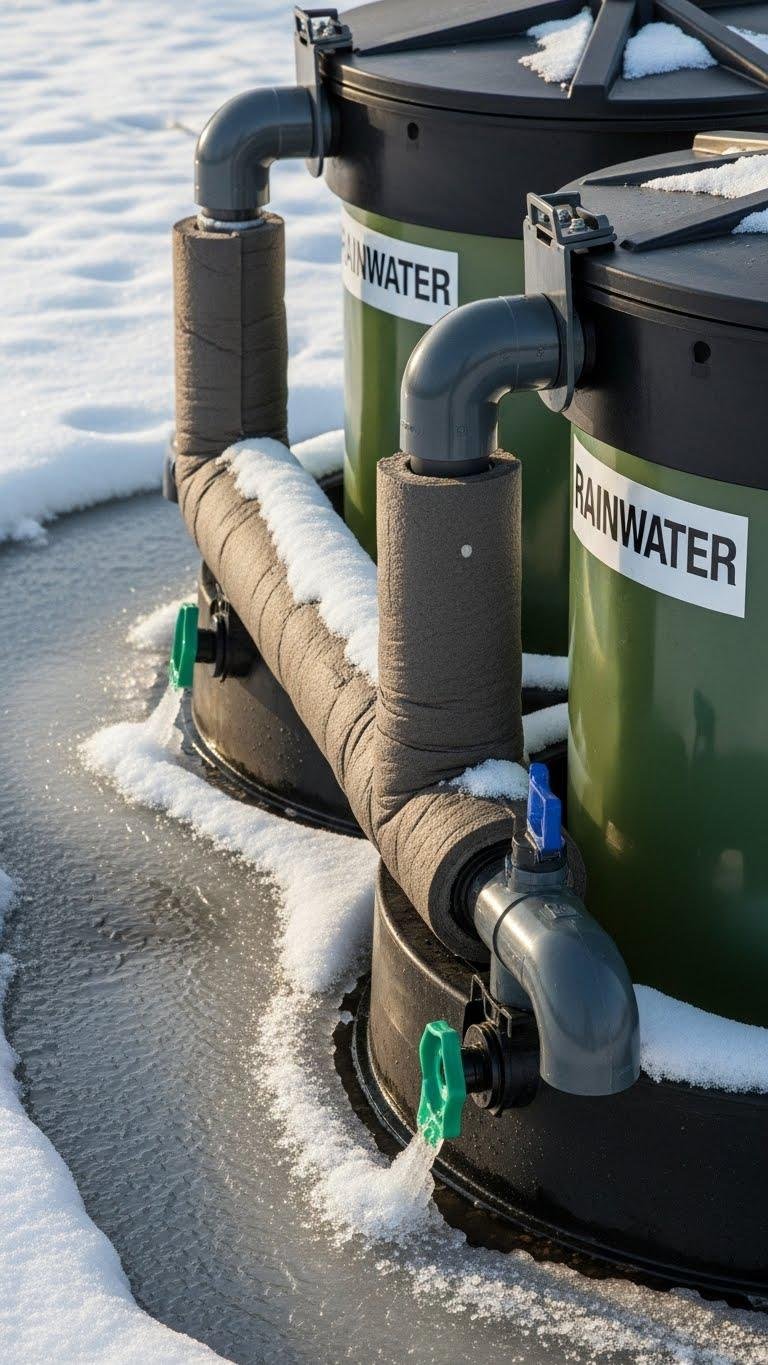
If temperatures are likely to dip below freezing, winterize your rainwater system now to prevent ice damage and contamination. You’ll drain tanks, open drain valves and flush low points to remove standing water.
Insulate pipes with foam or wrap, secure covers, and slope fittings so gravity clears lines. Take these steps to protect your system, conserve resources, and stay independent through winter.
Repurpose Food‑Grade Drums for Storage

Drums labeled “food‑grade” make excellent, safe containers for rainwater when you clean and modify them correctly: you’ll want to rinse thoroughly, remove old labels and residues, sanitize with a mild bleach solution, and check for cracks or rust before use.
Inspect food safe labeling, confirm previous contents, practice careful barrel sanitation, add secure fittings, and position drums for easy gravity feed and maintenance.