If you want to multiply plants fast, these 24 rooting tricks will give you a clear, practical roadmap. You’ll learn which stem types and growth stages work best, how to make clean, sterile cuts, when and how to use rooting hormones, and how to set up ideal media, heat, and humidity. Try a few targeted changes and you’ll see rooting improve — but there’s one tweak most people miss that makes the biggest difference.
Take Cuttings From Healthy, Vigorous Donor Plants

Now that you’ve matched cutting type to growth habit and marked the node to cut, pick donor plants that are healthy and actively growing — they give cuttings the best chance to root quickly and resist disease.
Before you cut, perform a quick vigor assessment: select donor stems with flexible growth, no pests or wounds, and several mature nodes.
Cut cleanly and transport immediately.
Time Your Cuttings to Plant Growth Stage

If you want the best rooting success, time your cuttings to the plant’s active growth phase. You’ll choose moments when seasonal timing signals vigor — spring flushes or after pruning — because hormone fluctuations favor root initiation.
Take cuttings when shoots are flexible, buds swelling, and sap moving. That practical timing boosts success, shortens establishment, and lets you multiply plants efficiently and freely.
Use Sharp, Sterile Tools for Clean Cuts
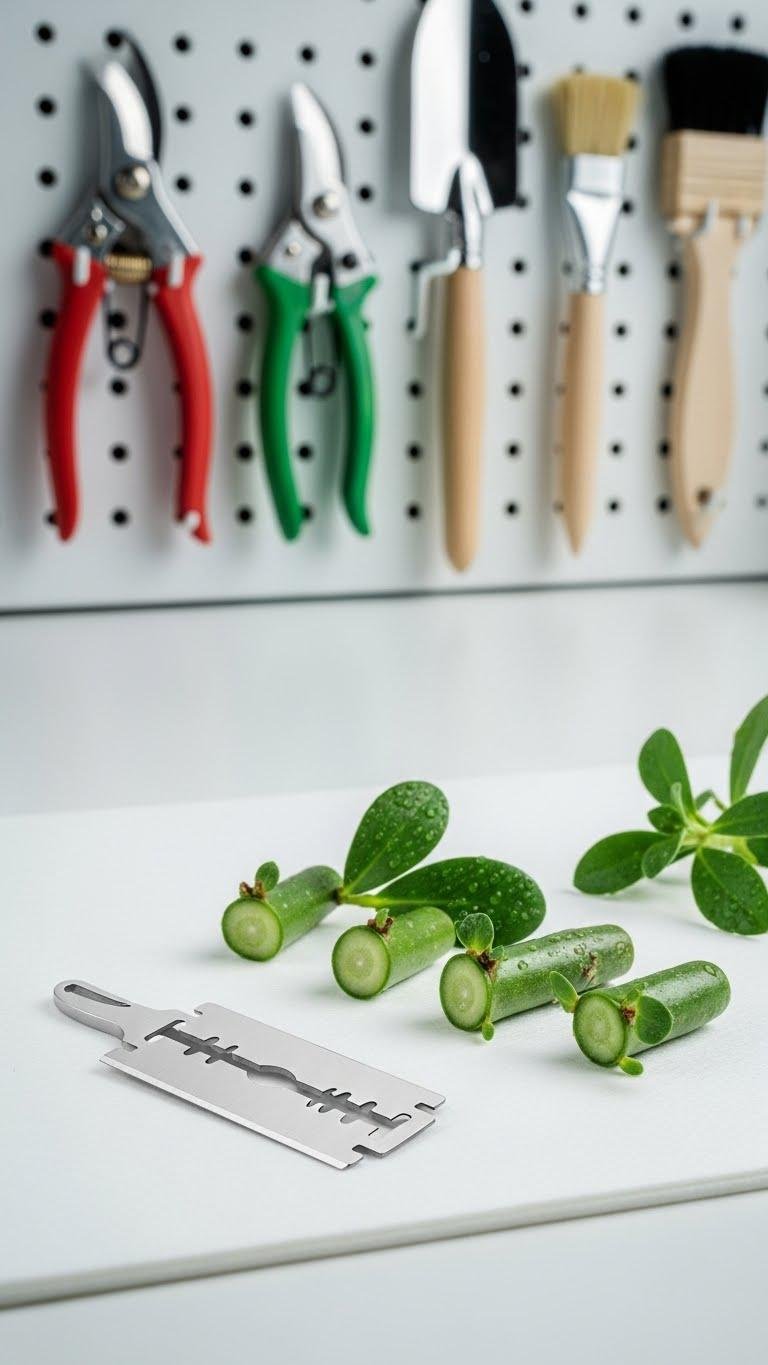
Use a razor-sharp, sterile blade when taking cuttings to give tissues the cleanest possible wound and reduce crushing that delays healing and invites infection.
You’ll keep tools tuned with simple blade maintenance: hone and replace blades regularly, disinfect between cuts, and store safely.
Work in a sterile workspace, minimize handling, and act confidently—clean cuts speed rooting and free you to propagate more plants efficiently.
Strip Lower Leaves and Reduce Leaf Area
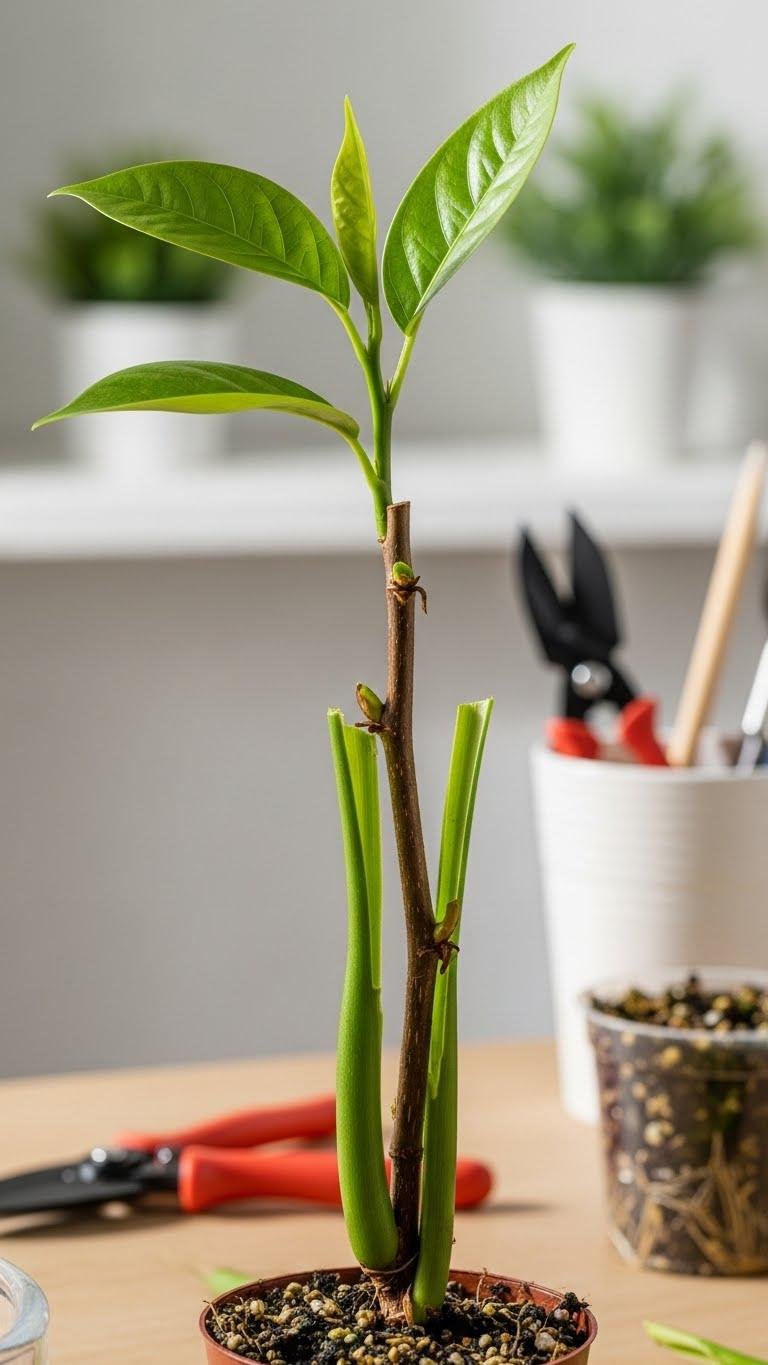
Before you stick the cutting in the medium, strip the lower leaves so only a few remain at the top. You’ll reduce transpiration and let energy focus on roots.
Remove excess foliage cleanly, balancing pruning aesthetics with function so stems look intentional, not ragged. Keep enough leaf area to photosynthesize; minimize stress, prevent rot, and speed reliable rooting without overhandling.
Make a Basal Wound to Boost Rooting

After you’ve stripped the lower leaves, it helps to make a small basal wound on the stem just above the cut end to encourage faster, denser root formation.
You’ll nick the bark shallowly; control wound depth for vigor without compromising the stem.
Time this to seasonal timing—active growth boosts success.
Keep tools clean, use firm but gentle pressure, and monitor moisture until roots form.
Select a Well‑Draining, Aerated Rooting Medium

A few simple components will give your cuttings the drainage and aeration they need to form healthy roots: choose a medium with large, stable pore spaces—such as a mix of coarse perlite or pumice combined with pine bark or coconut coir—to prevent waterlogging while retaining enough moisture at the cutting base.
Aim for particle balance and consistent air porosity so roots breathe, anchor, and expand freely.
Keep Substrate Moist but Not Waterlogged

Now that you’ve picked a free‑draining, airy mix, keep the substrate evenly moist without letting it sit in water.
Water lightly and often, letting capillary action draw moisture to cut bases. Use trays or wick systems for gentle, consistent wetting, and check with moisture sensors to avoid saturation.
You’ll encourage steady root growth while preventing rot and giving yourself freedom to propagate reliably.
Provide Bottom Heat to Speed Root Initiation
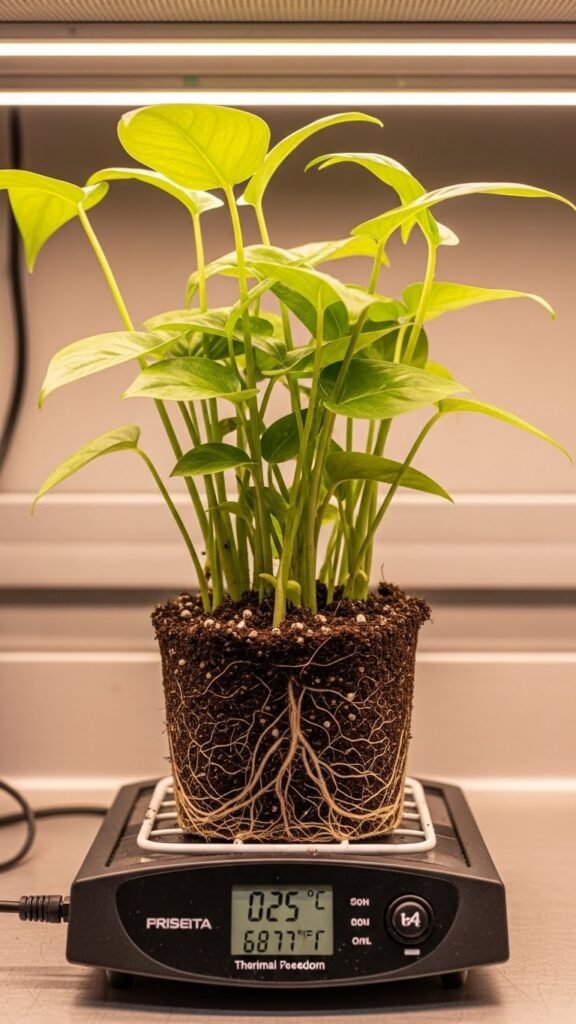
Often, you’ll speed root initiation by giving cuttings gentle bottom heat: maintaining a consistent 20–25°C (68–77°F) at the root zone stimulates cell division and encourages faster, more uniform rooting.
Use underbench heating or thermal mats with a seedling thermostat to control warmth. Place media on moisture retentive heat sources, monitor temps closely, and avoid overheating to preserve vigor and rooting freedom.
Use High Humidity With Misting or Domes

Paragraphs
Use Small Cells or Pots for Uniform Conditions

Small cells or small pots give you consistent moisture, temperature, and light exposure across all your cuttings, so roots develop more uniformly and you can spot weak performers quickly.
Choose space efficient trays and uniform soil to maintain predictable rooting microclimates. You’ll control irrigation, heat mats, and airflow precisely, accelerate rooting, and maximize bench freedom without wasting space or guessing which transplant will survive.
Sterilize Tools, Containers, and Media

Because pathogens hitch a ride on dirty tools, containers, and media, you should make sterilization a routine before every propagation cycle. You’ll use sterile technique: clean tools, rinse media, and validate autoclave maintenance if available.
Apply correct bleach concentrations for surfaces and consider UV sanitization for trays. Label cleaned items, store them dry, and protect cuttings from recontamination.
Treat Cuttings With Fungicidal or Antimicrobial Dips
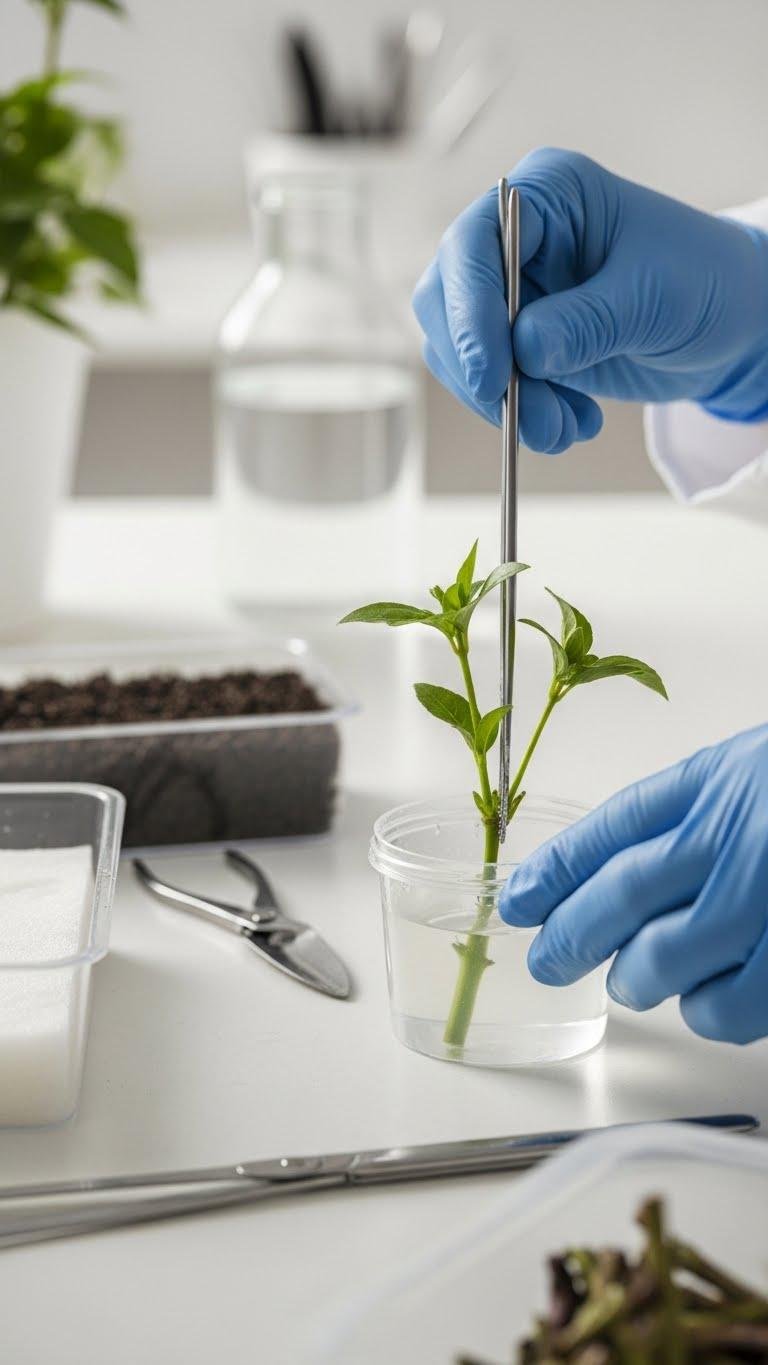
After you’ve sterilized tools and media, give each cutting a quick antimicrobial or fungicidal dip to reduce surface pathogens that may have survived handling.
You’ll control antifungal concentration per label, usually low but effective, and respect application timing to avoid tissue damage.
Dip briefly, drain excess, then plant into sterile medium.
This practical step boosts success while keeping you in charge.
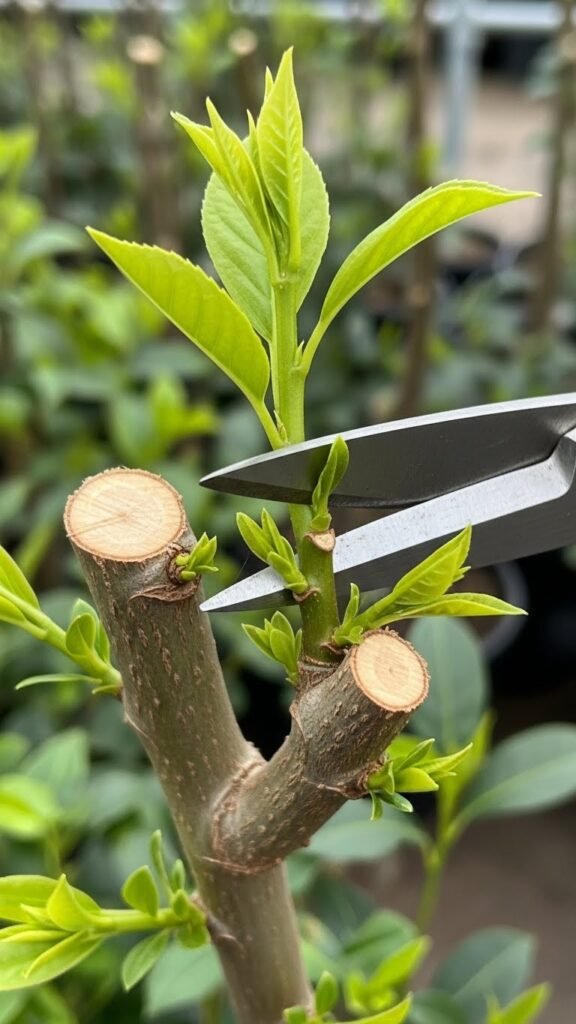
Try Root Cuttings or Layering for Tough Species

When softwood cuttings won’t take, try root cuttings or layering to propagate stubborn species — these methods tap into a plant’s natural regenerative ability and often outperform tip cuttings for woody or slow-rooting plants.
You can lift and divide roots for firm cuttings, use air layering on branches, or employ stooling propagation for compact shrubs. Each gives predictable, independent plants you’ll freely move and plant.
Use Leaf or Leaf‑Bud Methods for Succulents and Houseplants
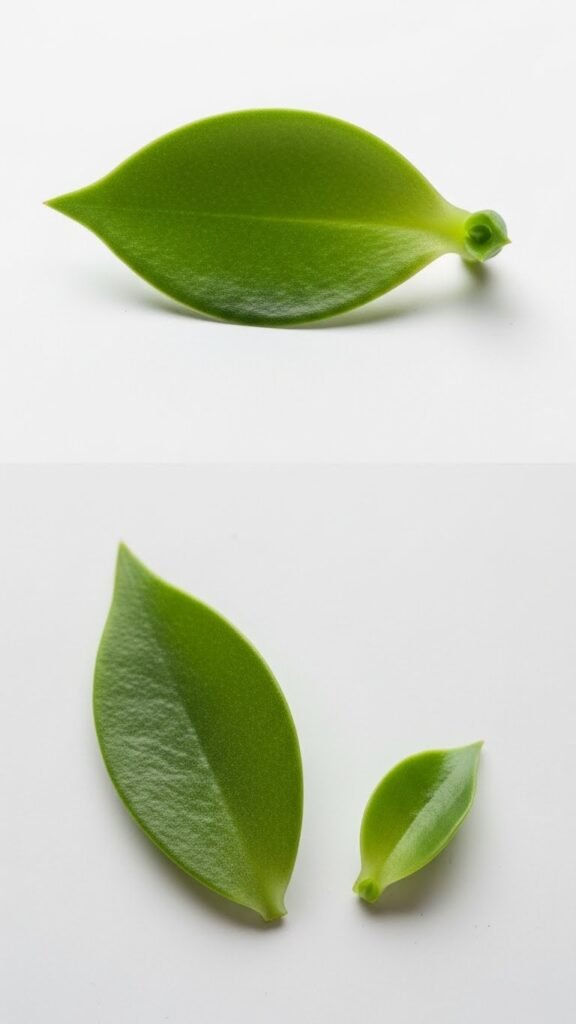
Try leaf or leaf-bud propagation for succulents and many houseplants when stem cuttings aren’t practical — these methods let you produce new plants from a single healthy leaf or a leaf plus its adjacent bud.
You’ll remove a clean leaf or take petiole cuttings, callus the wound, place on well-draining mix, keep bright indirect light and gentle humidity until roots and pups form.
Consider Beneficial Microbes and Mycorrhizae
Boosting soil biology with beneficial microbes and mycorrhizae can dramatically improve rooting success and plant vigor.
Use targeted microbial inoculants when potting or transplanting to speed root formation, improve nutrient uptake, and reduce transplant shock.
Encourage fungal networking by keeping organic matter and avoiding harsh fungicides.
You’ll get stronger, more resilient cuttings and seedlings while maintaining autonomy over your growing system.
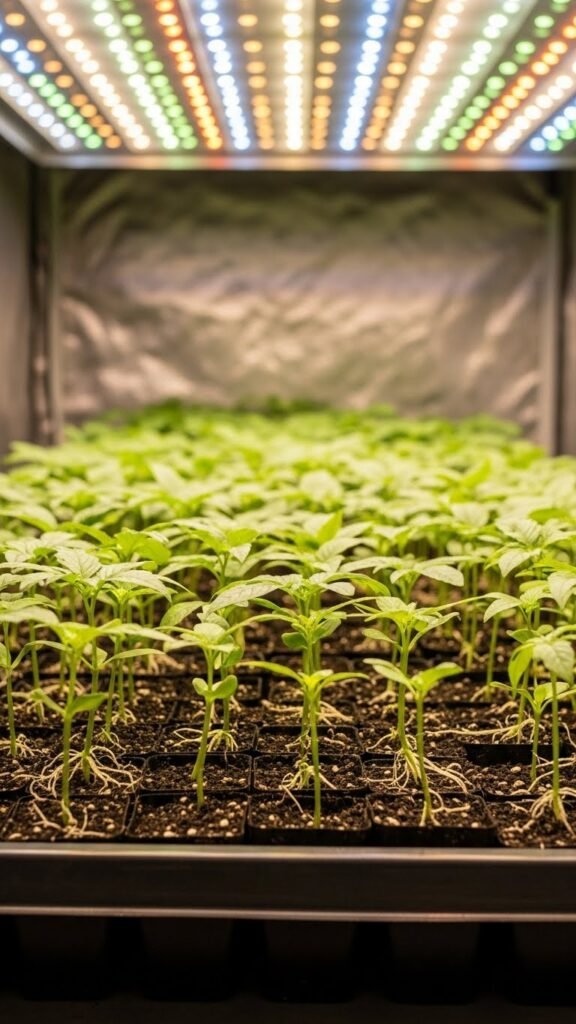
Adjust Light Intensity to Prevent Etiolation
Although seedlings and cuttings need gentler light than mature plants, you should still give them enough intensity to keep stems short and leaves compact. Calibrate distance and duration to avoid etiolation, using spectral balance for healthy morphology and growth. Employ simple shadow mapping to spot weak light zones, move fixtures or rotate trays, and increase intensity gradually so roots and shoots develop strong, free-form structure.
Use Juvenile Wood or Rejuvenation Techniques
Selecting juvenile wood or using rejuvenation methods gives you cuttings with the best chance of quick rooting and vigorous, flexible growth. You’ll target soft, low nodes via juvenile source selection, pruning older stems to encourage basal shoots.
Try coppicing schedule trials to find ideal timing and frequency. You’ll handle cuttings promptly, keep wounds clean, and favor active-season harvests for reliable, fast establishment.
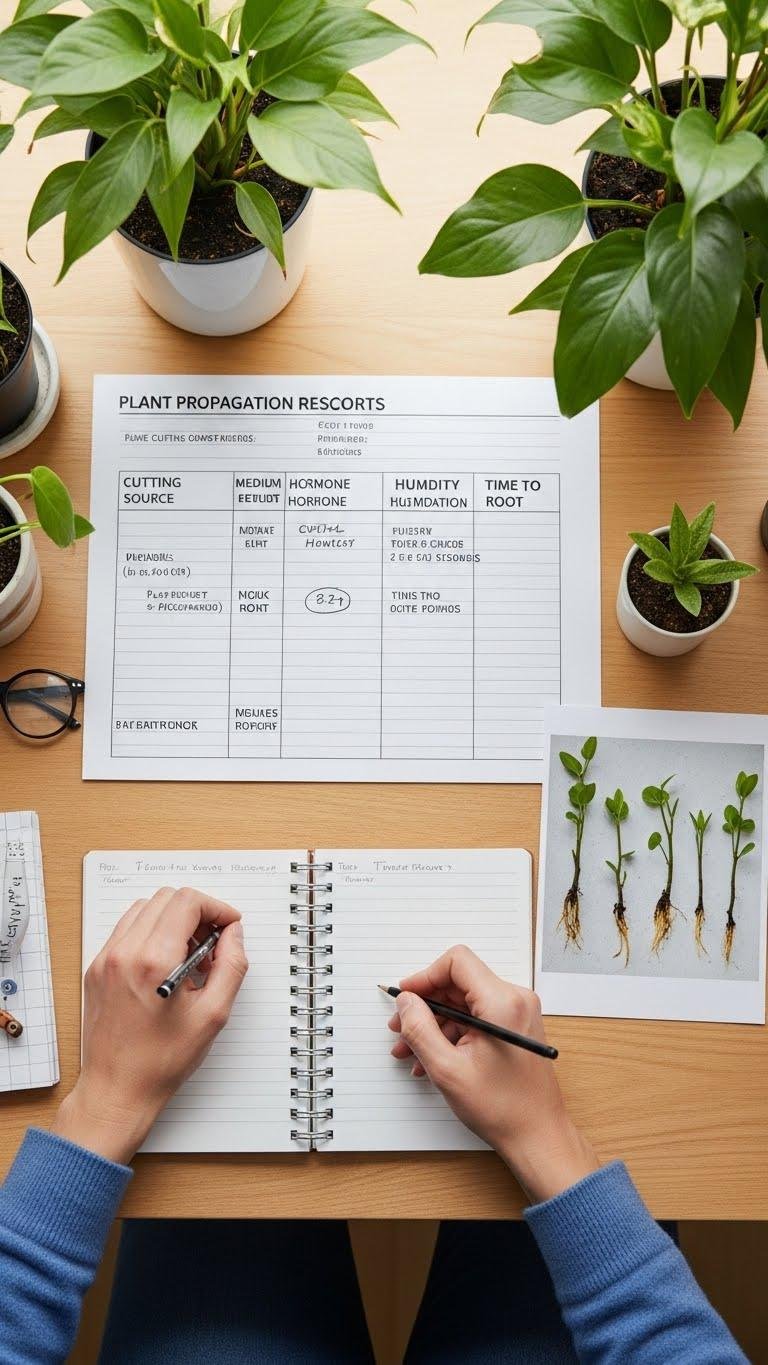
Record Keeping to Optimize Reproducible Results
Paragraphs
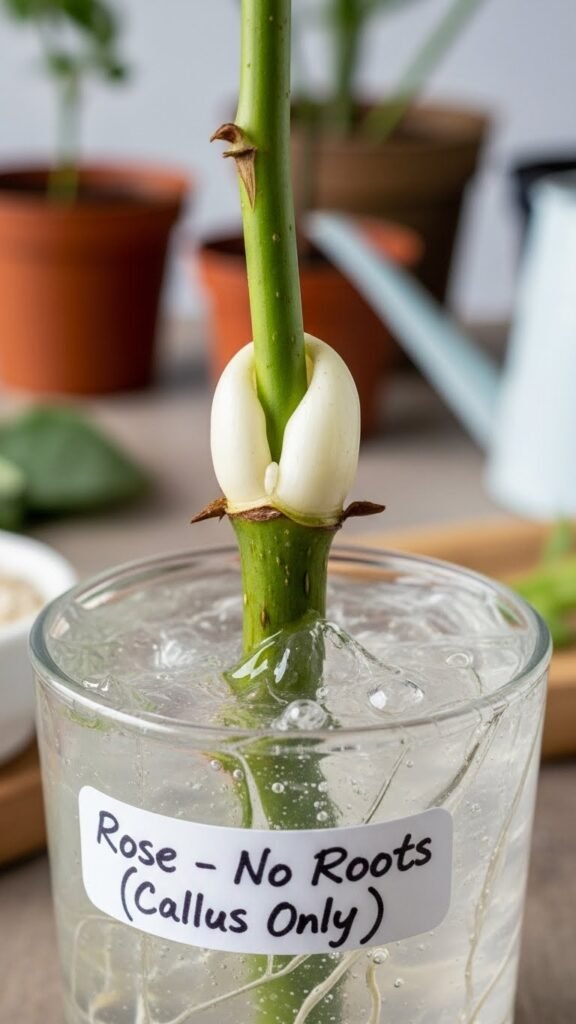
Troubleshoot Callus Without Roots and Other Issues

Your records will help you spot patterns when cuttings form a healthy callus but fail to produce roots, which is one of the most common propagation headaches.
Diagnose hormonal imbalance, callus physiology and environmental stressors: adjust light, humidity, and auxin source.
Monitor microbial interactions; sterile technique or beneficial inoculants can restore balance.
Log changes, test one variable at a time, and reclaim confident, freer propagation.
Use Tissue Culture When Conventional Methods Fail
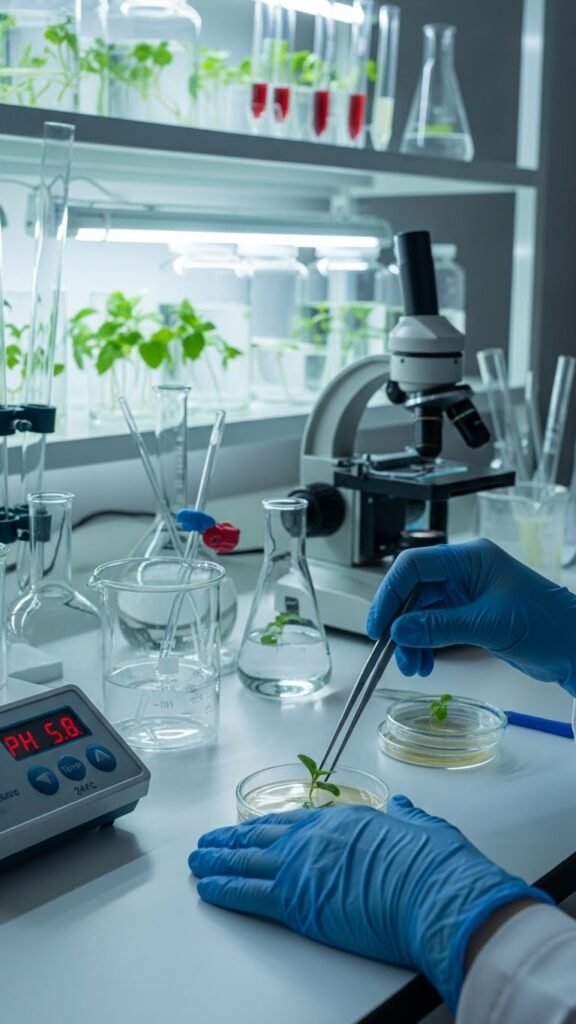
When cuttings won’t root despite corrected hormones, environment, and sterile technique, tissue culture gives you a controlled alternative for rescuing valuable or stubborn plants.
You’ll learn sterile labware handling, aseptic transfers, and media formulation. Follow protocol optimization to adjust growth regulators and light cycles. Tissue culture lets you reclaim genetics, scale quickly, and maintain freedom from pests—if you work methodically and document each step.