If you want faster, more reliable germination, these 23 seed‑starting hacks will give you practical, evidence‑based steps to try. You’ll learn which seeds benefit from soaking or pre‑sprouting, how consistent bottom heat and steady moisture boost radicle emergence, when to use sterile starter mix and a humidity dome, and how to test old seed viability — plus simple fixes for damping‑off. Try a few and you’ll see predictable results that make you want to apply the rest.
Soak Seeds to Speed Up Germination
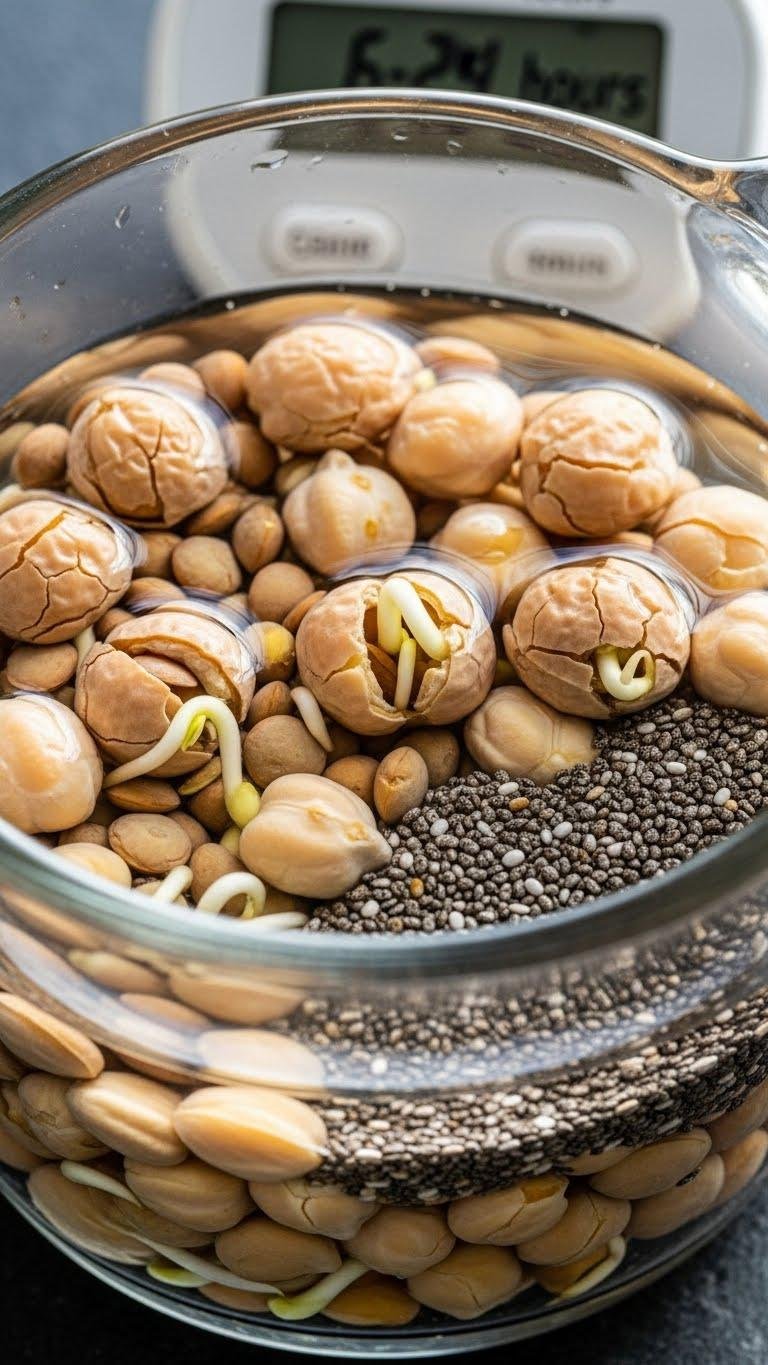
Soaking seeds before planting can shave days off germination by softening tough seed coats and jump‑starting metabolism; you’ll typically soak small to medium seeds for 6–12 hours and larger, harder seeds (beans, peas, corn) for 12–24 hours.
You’ll see seed swelling and enzyme activation within hours; drain, pat dry, and plant promptly. This simple step speeds uniform emergence and boosts your control.
Use a Heated Propagation Mat
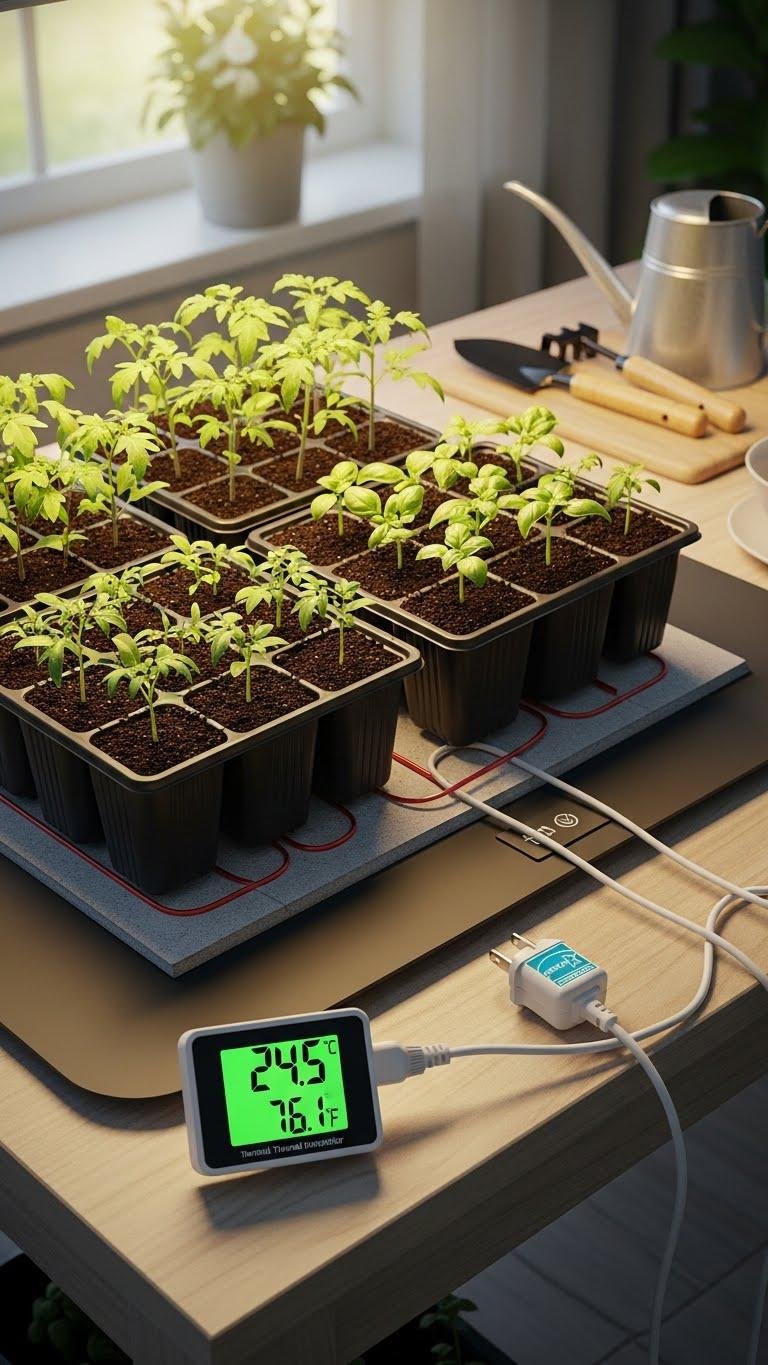
After soaking helps seeds swell and kickstart metabolism, giving them consistent bottom warmth with a heated propagation mat will greatly improve germination speed and uniformity.
You’ll set a thermal thermostat to species-appropriate temps, avoid overheating, and enjoy predictable, faster trays.
Choose mats with energy efficiency ratings, insulated seed trays, and simple controls so you conserve power while maintaining freedom to start seedlings on your schedule.
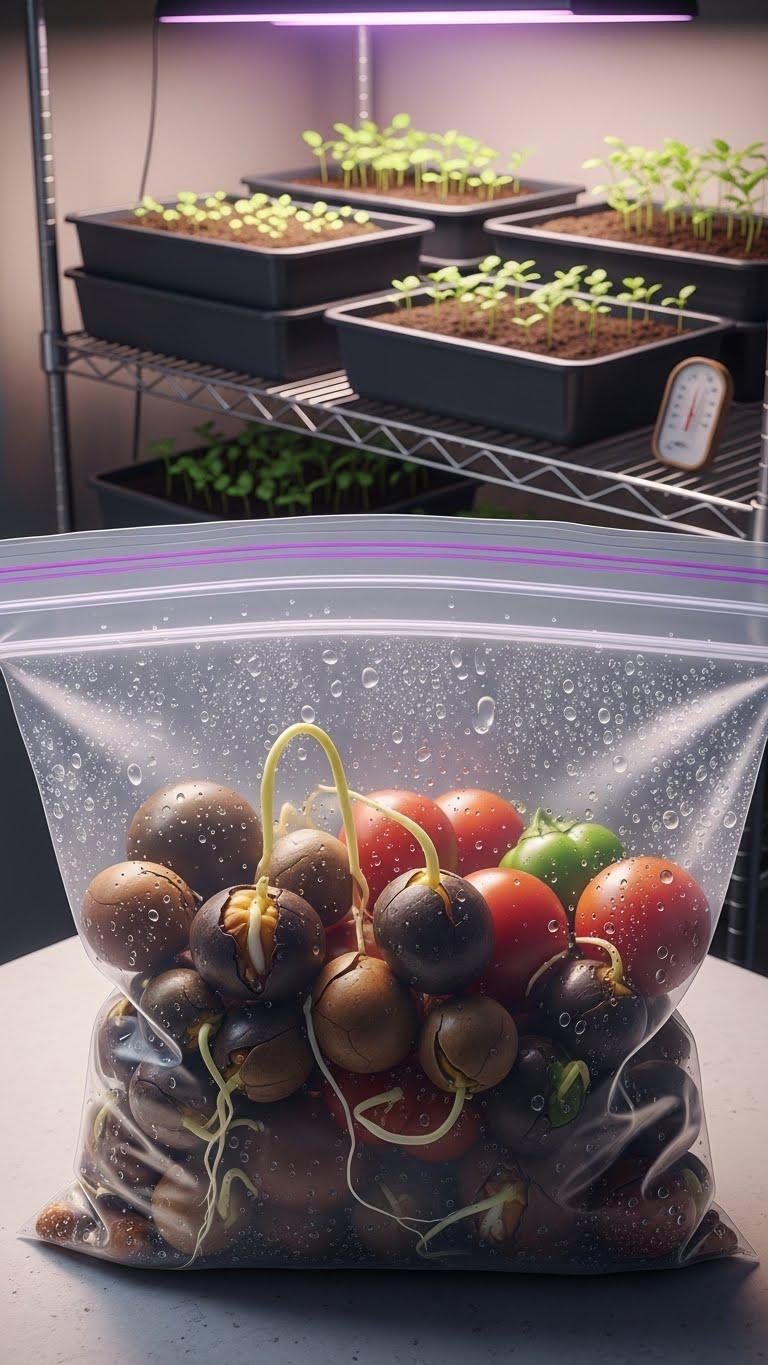
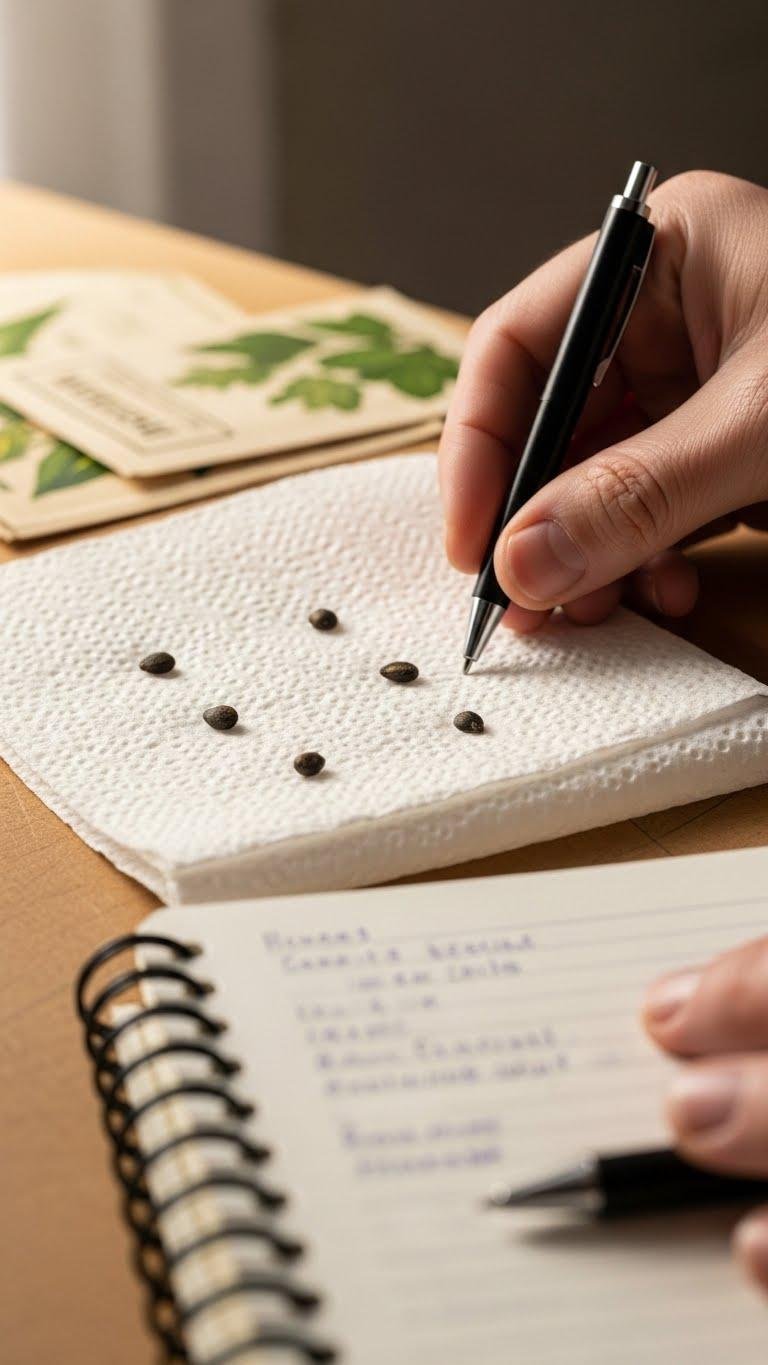
Pre-Sprout Seeds on a Moist Paper Towel
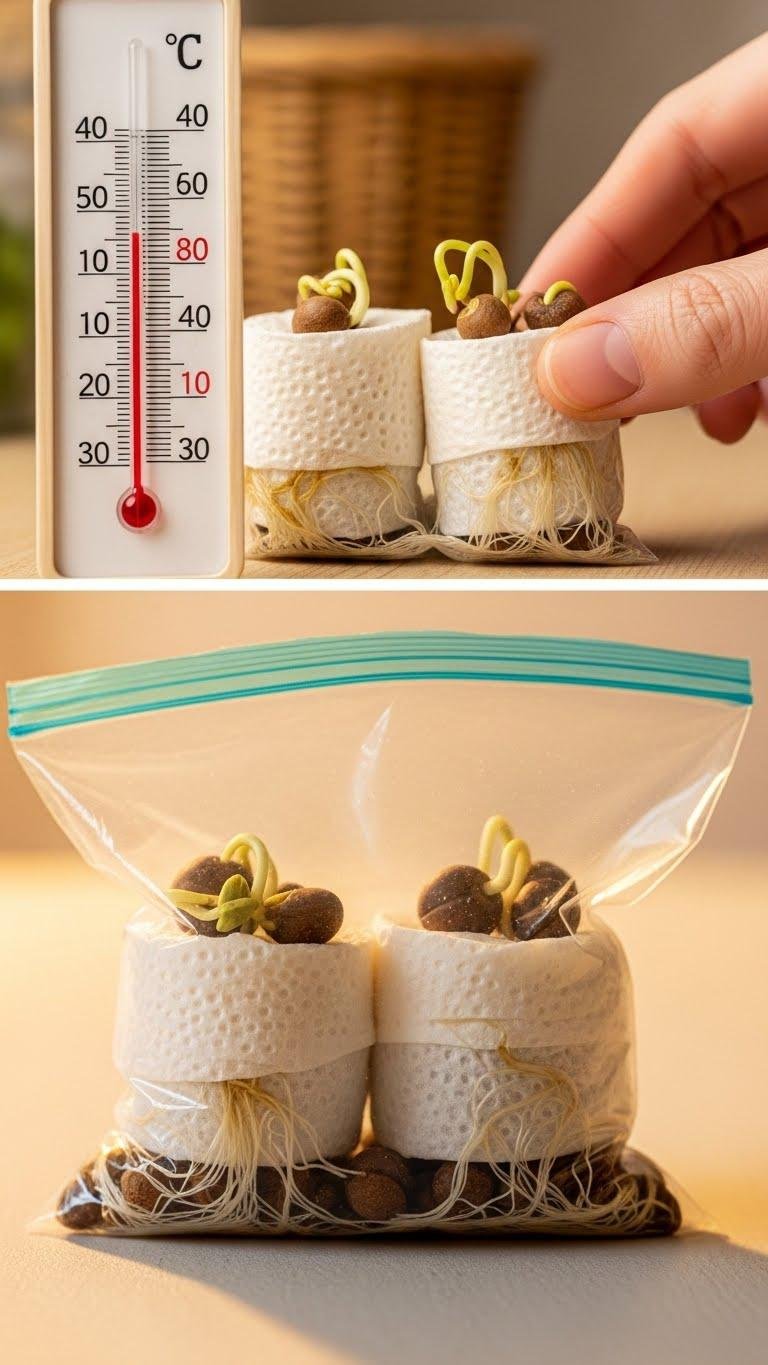
Frequently, gardeners get faster, more reliable germination by pre-sprouting seeds on a moist paper towel before sowing them.
You’ll place seeds between damp towels, seal in a clear bag, and monitor warmth — temperature control speeds emergence.
Check daily for roots, transfer promptly to avoid seed contamination.
This method saves time, boosts success, and lets you choose only viable seedlings to plant.
Create a Humidity Chamber for Trays

When you enclose seed trays in a clear dome or plastic cover, you create a simple humidity chamber that keeps air moist around germinating seeds and speeds consistent emergence.
You’ll control humidity with a clear dome and a venting schedule: open vents briefly each day to prevent mold, monitor seedlings, and gradually increase airflow as cotyledons expand so you don’t shock young plants.
Moisten Soil Surface Deeply After Planting
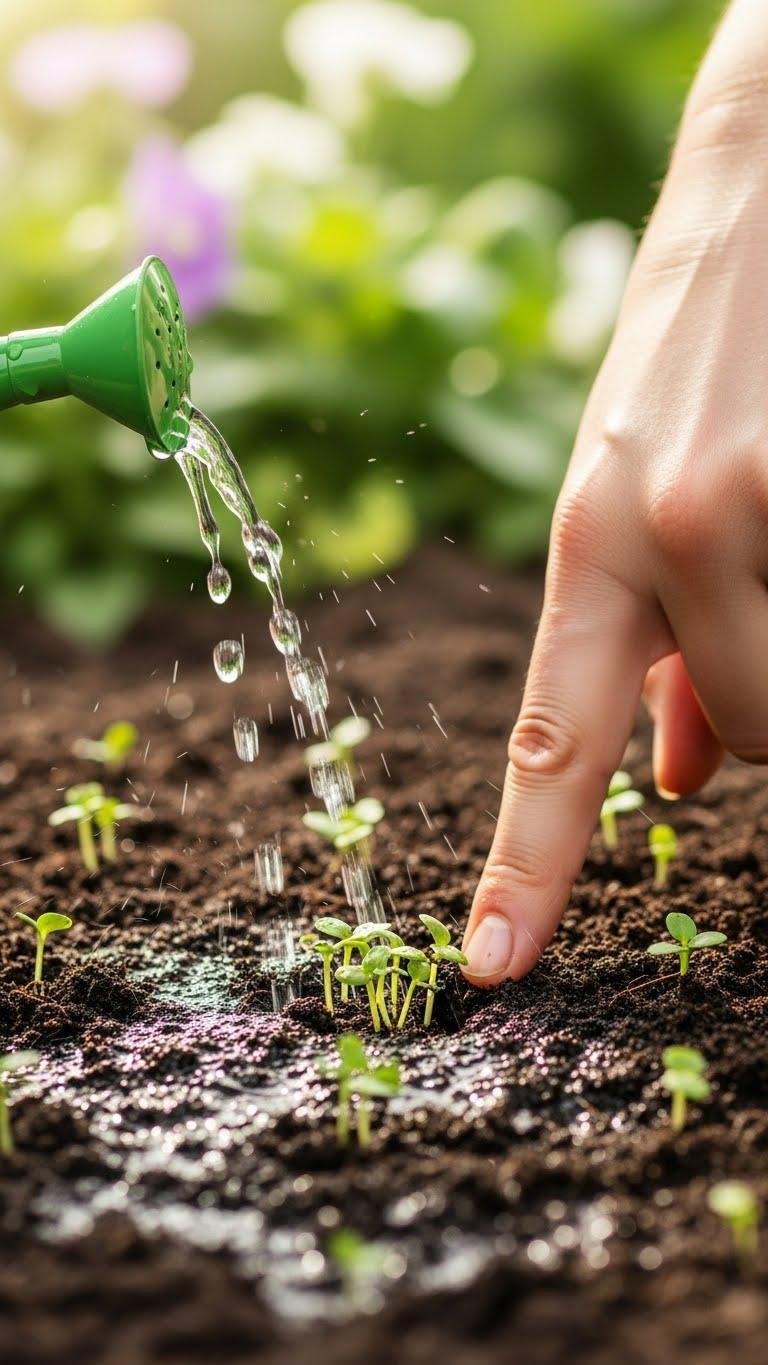
After planting, always wet the soil surface deeply so water reaches the seed zone without displacing seeds or compacting the mix.
You’ll avoid surface tension that repels water by pre-wetting mix or using a fine mister, then irrigating slowly to the correct watering depth.
Stay hands-on, monitor moisture with your finger or probe, and adjust volume to keep soil evenly moist for reliable germination.
Employ Bottom Heat for Warm-Loving Seeds
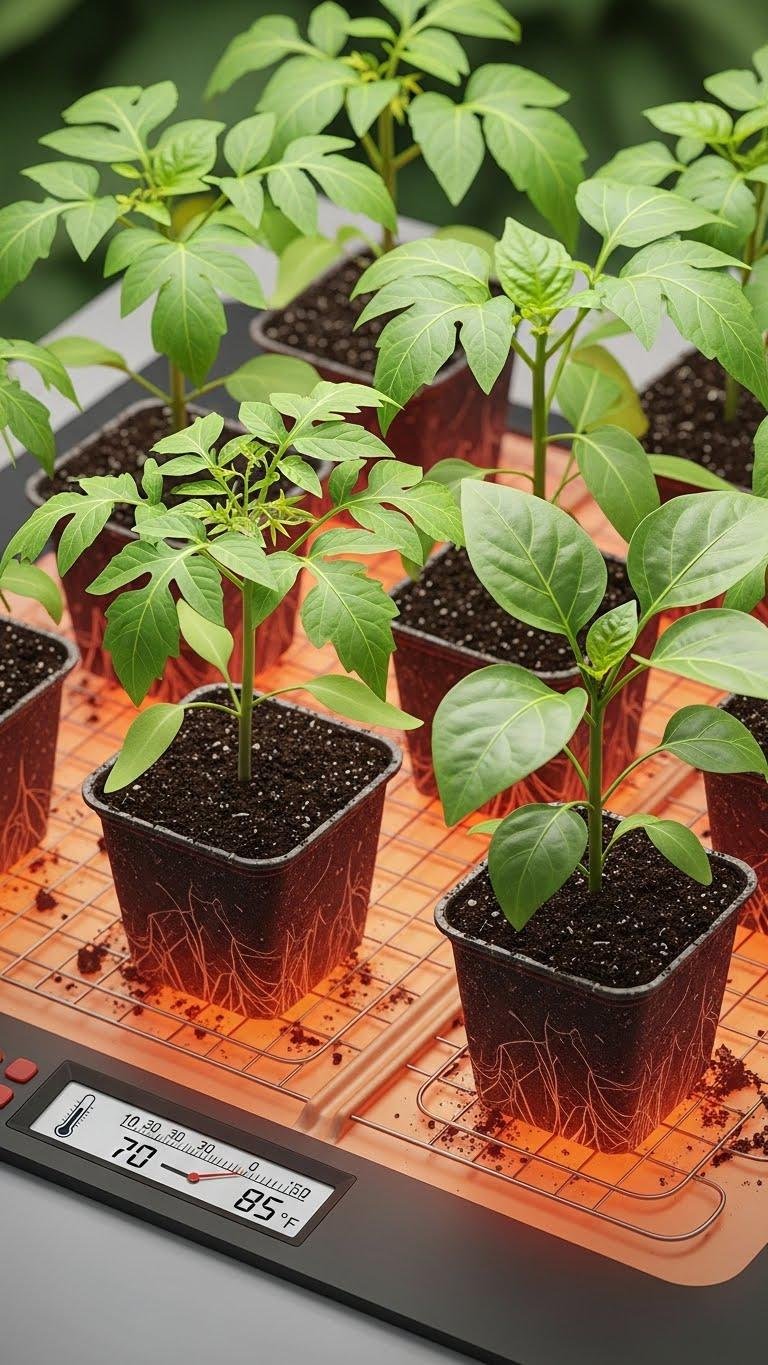
If you want faster, more uniform germination for heat-loving seeds like tomatoes, peppers, and eggplants, use bottom heat to keep the root zone consistently warm without overheating the surface.
You’ll control a soil thermostat or seedling mat to maintain an ideal heat gradient (usually 70–85°F at roots).
This steady warmth speeds enzymatic activity, boosts germination rates, and preserves your freedom to schedule sowings.
Choose a Sterile Seed-Starting Mix
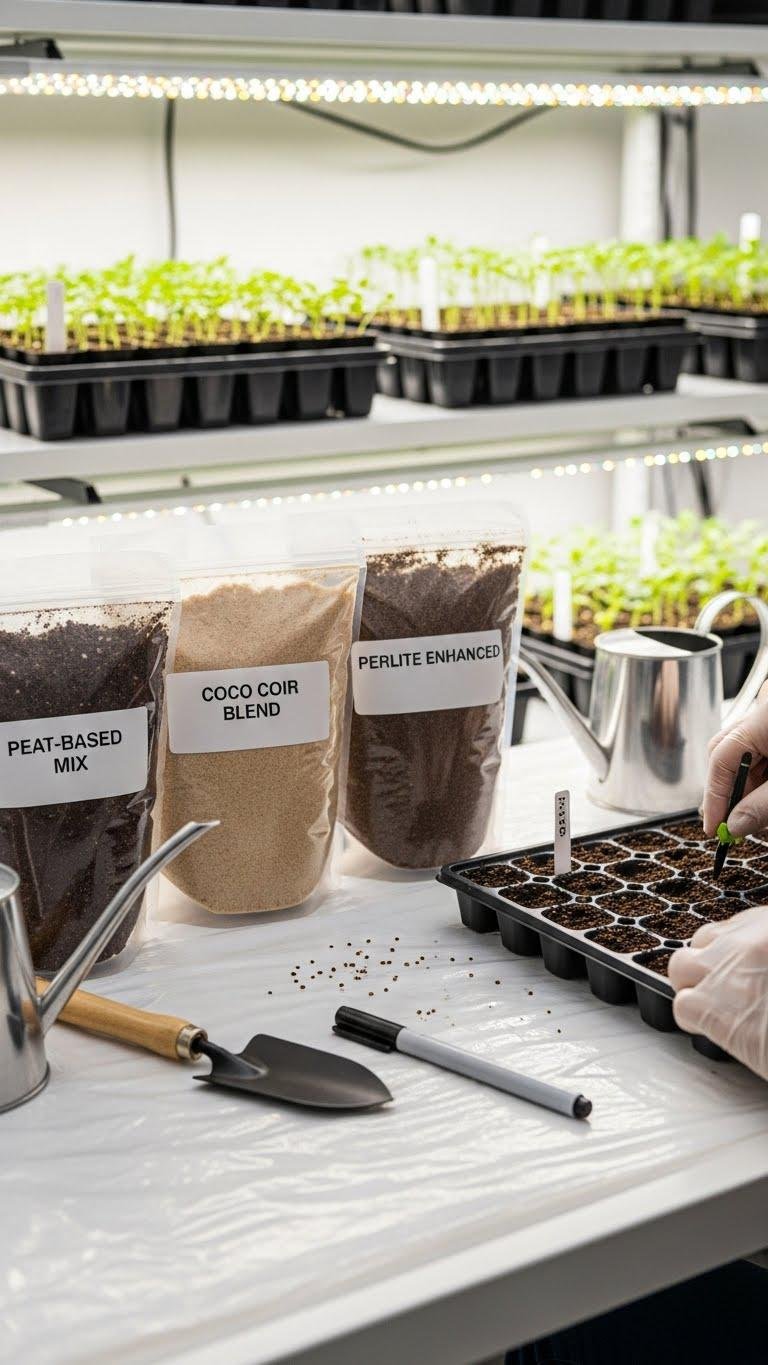
A sterile seed-starting mix gives your seeds the clean, consistent environment they need to germinate without competing microbes or weed seeds.
Choose a sterile medium based on peat, coir, and perlite for drainage and uniform moisture. That reduces damping-off and supports pathogen control. Buy commercial mixes or sterilize homemade blends. You’ll speed germination and protect seedlings while keeping setup simple and portable.
Press Seeds Into Mix for Good Contact
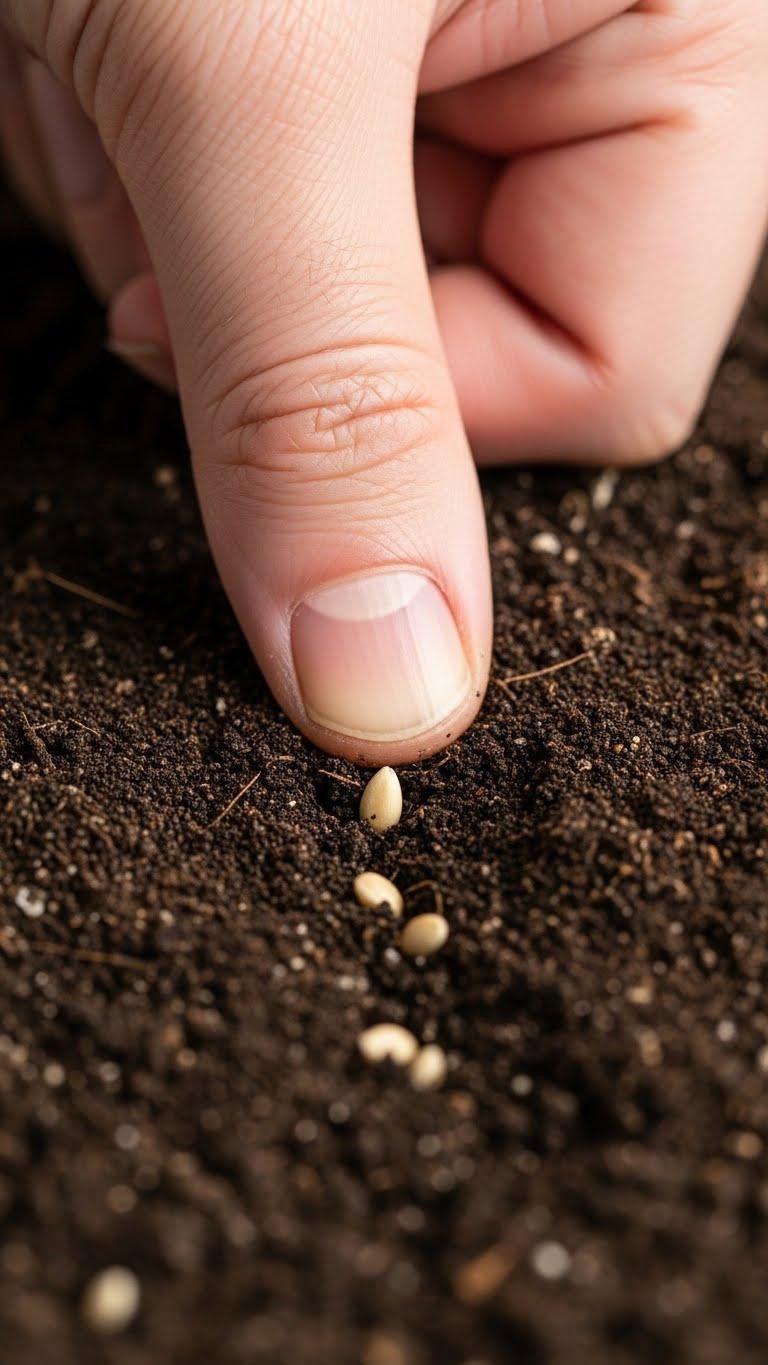
Press seeds gently into the mix so they make firm contact with the soil surface—this improves moisture transfer and boosts germination rates.
You’ll press each seed lightly with a fingertip or flat tool to encourage seed settling and eliminate air gaps.
Consistent firm contact speeds uptake, reduces crusting risk, and gives you predictable, faster sprouts without extra fuss—ideal when you want reliable, independent results.
Leave Tiny Seeds on the Surface

Ever wondered why some packets instruct you to simply scatter seeds on the surface? You’ll use surface sowing for tiny, light-dependent seeds — no burying.
Gently seed dusting guarantees even spacing and air contact, which boosts germination rates and reduces damping-off risk.
You’ll mist rather than drench, keep humidity steady, and transplant seedlings once true leaves appear to preserve freedom and control.
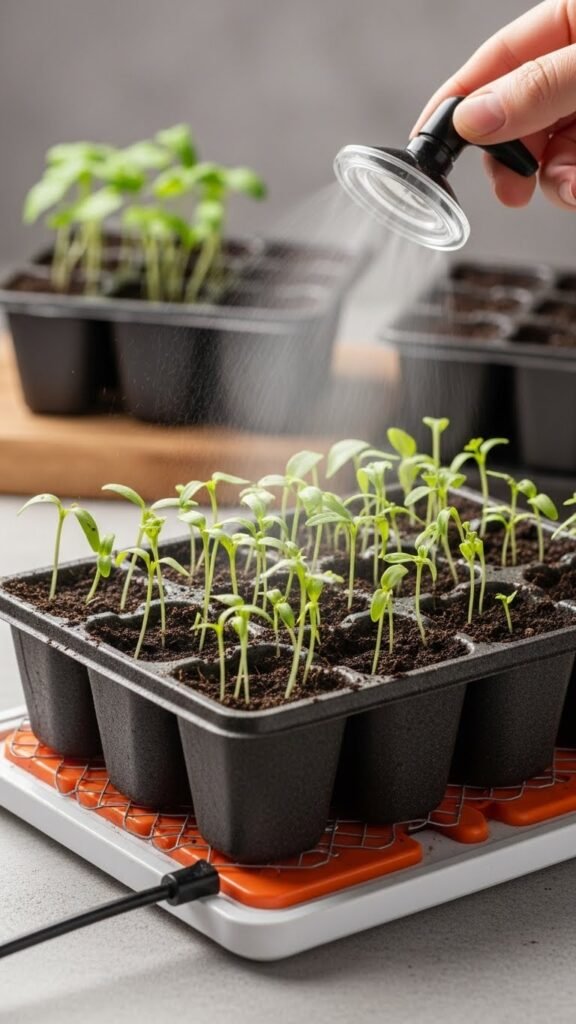
Use Grow Lights Above Heated Trays
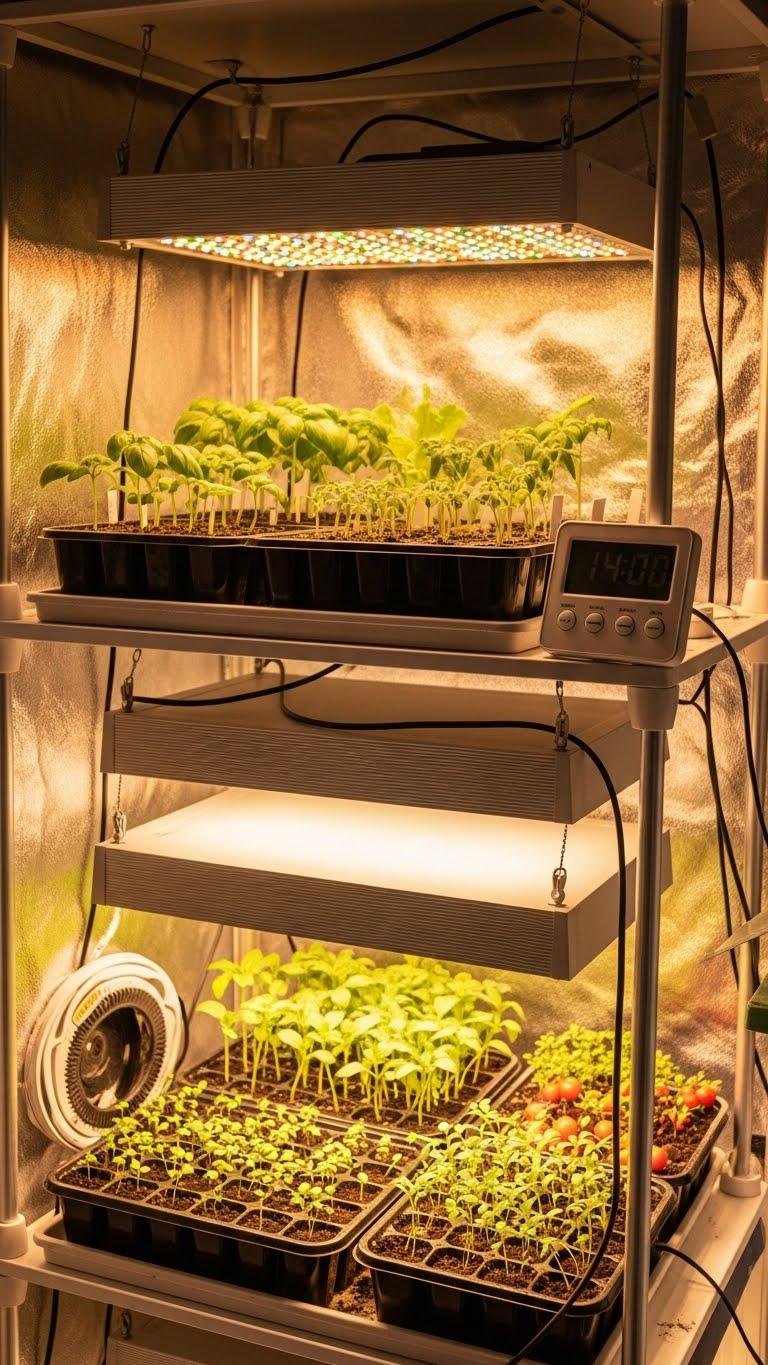
After surface sowing, you’ll want consistent warmth and light to coax those tiny seedlings along—use grow lights mounted above heated seed trays to provide both.
Place lights on adjustable height rigs so seedlings get even photosynthetic exposure as they grow.
Add reflective timers to mimic daylength and reduce waste.
You’ll speed germination, cut failures, and keep control without fuss.
Seal Sprouted Seeds in Bags for Humidity
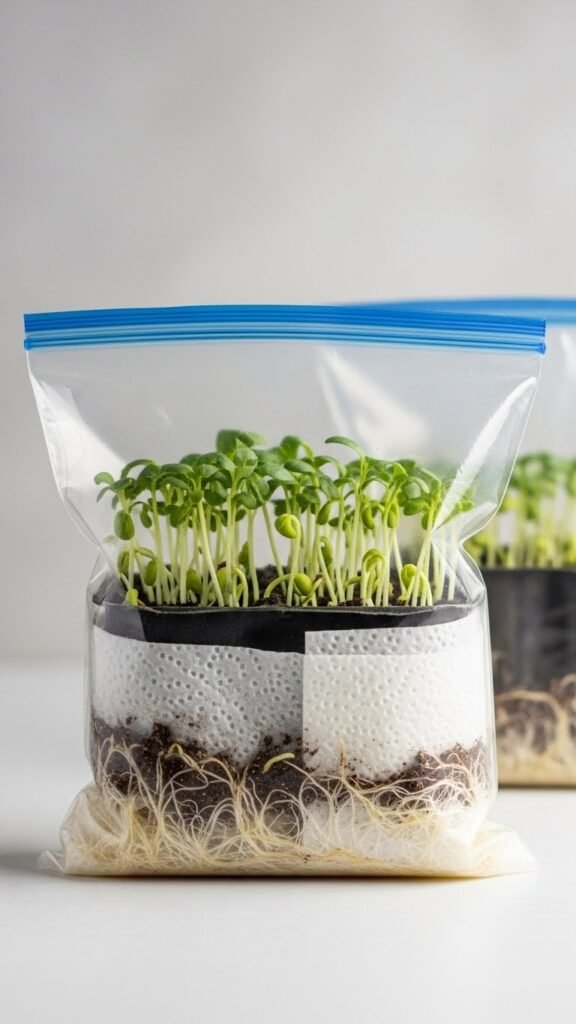
Frequently, sealing sprouted seeds in clear plastic bags creates a mini greenhouse that keeps humidity high and reduces transplant shock, and you can do this simply by placing damp paper towels and seed flats inside breathable but sealed bags for a few days.
You’ll practice bag sterilization, monitor condensation control, open bags daily to air and prevent mold, and transplant when roots touch the medium.
Pre-Germinate to Conserve Seeds
Keeping sprouted seeds in a humid bag helps them recover, but you can go further by pre-germinating seeds to save time, space, and seed stock.
You’ll soak or paper-towel seeds, monitor for radicles, then transplant early. This boosts seedling viability and lets you control germination timing, reducing wasted trays and preserving rare seeds so you can grow what you choose, efficiently and reliably.
Layer Starter Mix Over Carton Seedbeds
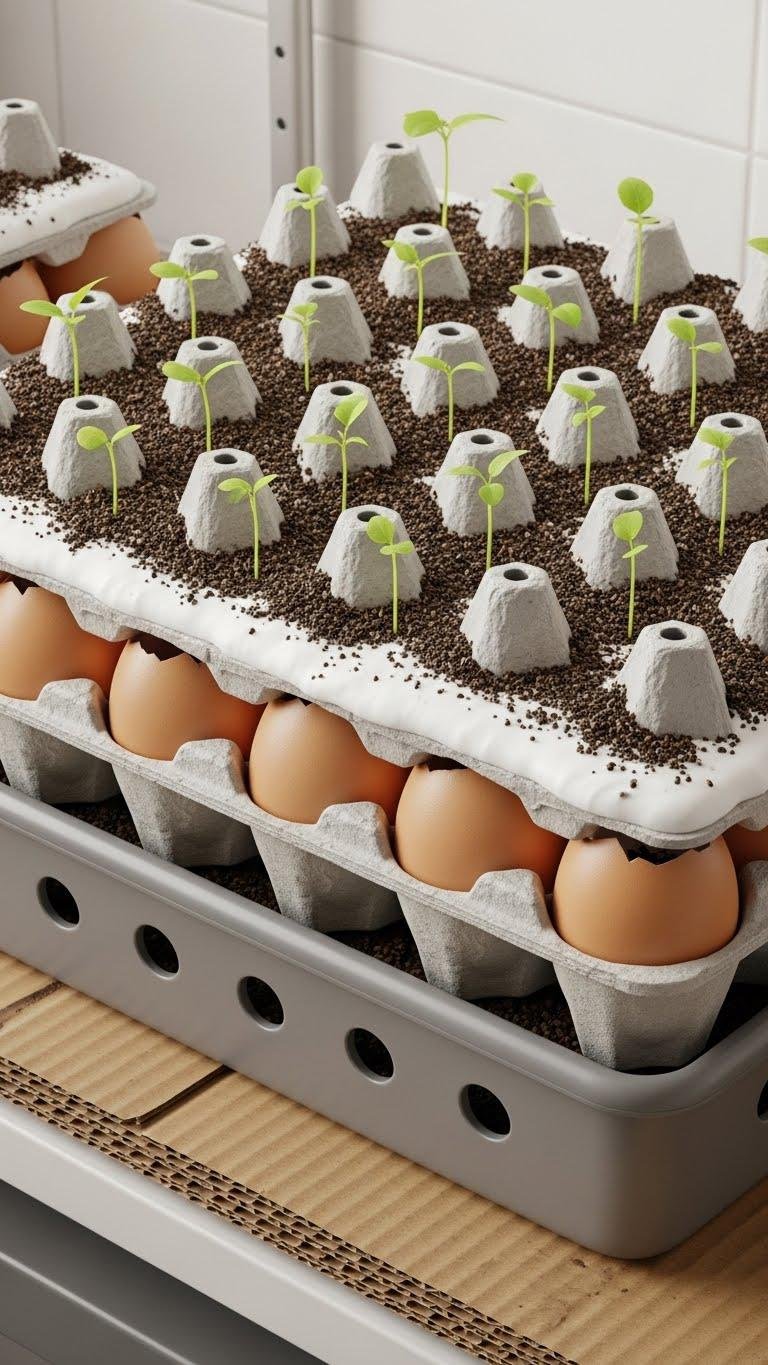
Layering a sterile starter mix over carton seedbeds gives you fast, uniform germination while using minimal space and seed. Use recycled egg cartons with cardboard insulation under trays to retain warmth.
Fill cells with fine mix, firm lightly, and punch drainage holes in the tray base. Keep moist but not soggy; monitor humidity and transplant seedlings once true leaves appear for maximum success.
Avoid Mini Peat Pots for Small Seeds
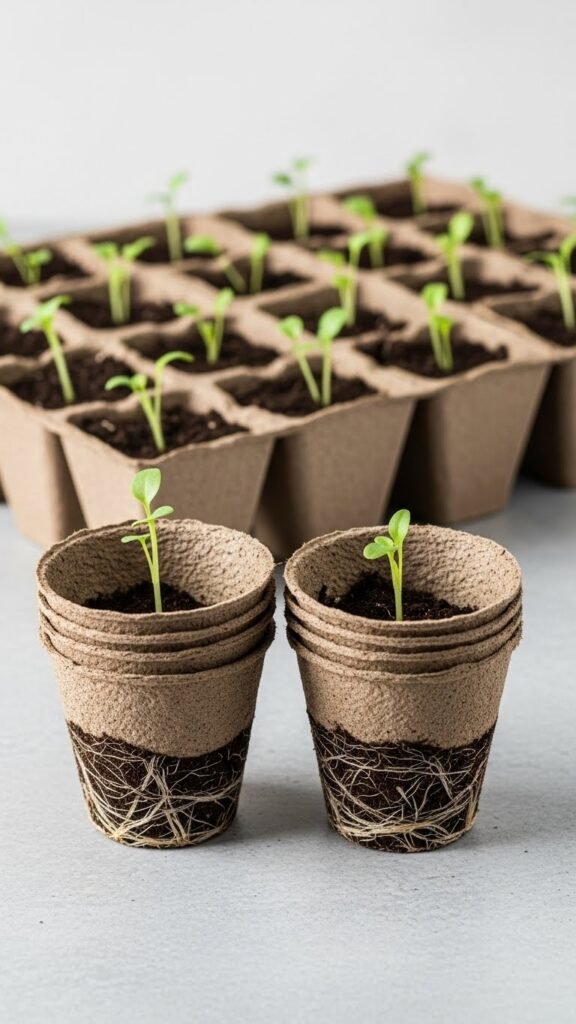
Why pick mini peat pots for small seeds when they often do more harm than good? You’ll limit root expansion, retain excess moisture and slow germination.
Choose peat free alternatives like sterile seed trays or biodegradable mesh pots to promote airflow and gentle root guidance. You’ll get faster, healthier starts and keep freedom from peat dependency while using proven, practical approaches that save time and waste.
Time Starts by Last Frost Date
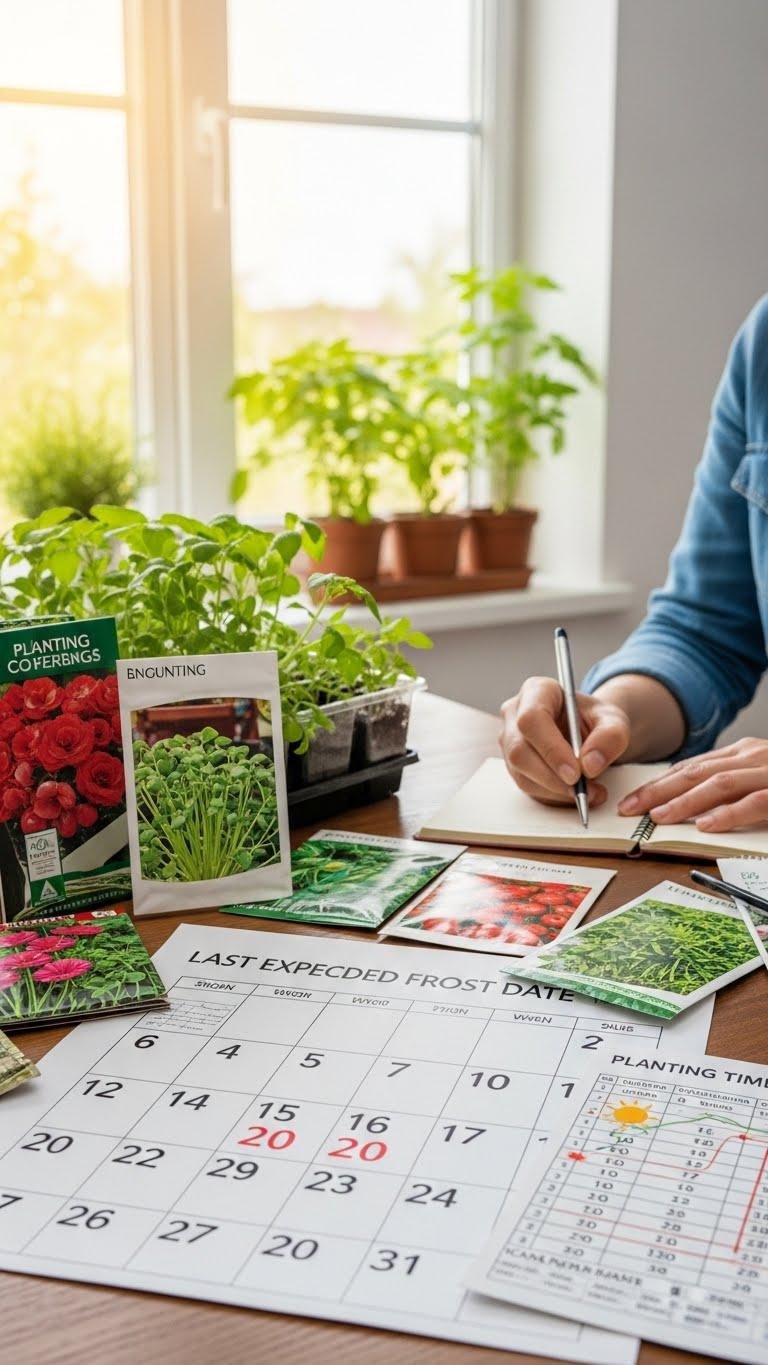
If you count back from your area’s last expected frost date, you can schedule seed starting so seedlings hit transplant size just as outdoor conditions become safe. Use a frost countdown to set sowing dates, note each species’ days-to-transplant, and build a planting timetable. You’ll avoid wasted starts, maximize success, and retain flexibility to shift dates if weather forecasts change.
Soak Tough Seeds Briefly With Warm Water
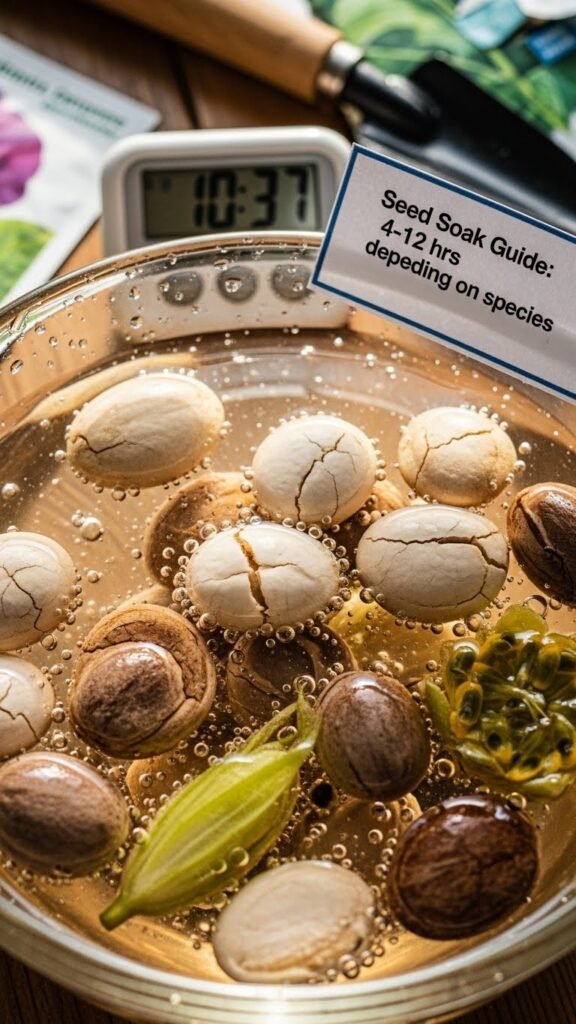
Soak tough seeds briefly in warm water to speed up germination and soften hard seed coats that slow or prevent sprouting. You’ll do a warm soak for 4–12 hours depending on species, then drain and sow.
This jumpstarts enzyme activation, helps radicles emerge sooner, and raises your success rate. Don’t over-soak; check seed packets or reliable references for timing.
Test Older Seeds Sparingly Before Sowing
Occasionally you’ll have seed packets that are a year or more old, and testing a small sample first can save time and space; germination rates decline with age, so do a quick paper-towel or plate test on 10–20 seeds to estimate viability before sowing the whole batch.
Keep simple viability testing notes and update germination records so you can decide whether to sow, buy fresh seeds, or thin losses.
Direct Sow Pre-Soaked Seeds Outdoors When Appropriate

When conditions suit the crop, pre-soaking seeds and sowing them directly outdoors speeds germination and evens emergence, especially for large or hard-coated seeds like peas, beans, corn, and nasturtiums.
You’ll cut transplant shock, let soil microbes kickstart roots, and save time.
Watch for field pests, sow at proper depth, stagger batches, and mark rows so you can intervene quickly without losing freedom.
Pair Heat and Humidity to Triple Germination Rates
Pre-soaking and direct sowing give seeds a head start, but you can push germination further by pairing consistent warmth with elevated humidity. You’ll use thermal insulation—heat mats, insulated trays—and ambient misting to keep moisture uniform without drowning seeds.
Maintain stable soil temps and a humid microclimate; germination speeds and rates improve. Monitor, adjust, and remove humidity once sprouts emerge to prevent damping-off.