You can save money and add character to your yard by turning everyday castoffs into useful garden features. With a few tools and basic supplies you’ll make planters, hanging displays, stepping stones, and decorative accents that look deliberate, not junky. Each idea focuses on durability and simple techniques like adding drainage, sealing wood, and lining baskets so your work lasts. Keep going to see practical projects you can start this weekend.
Galvanized Washtub Planters With Drainage Holes
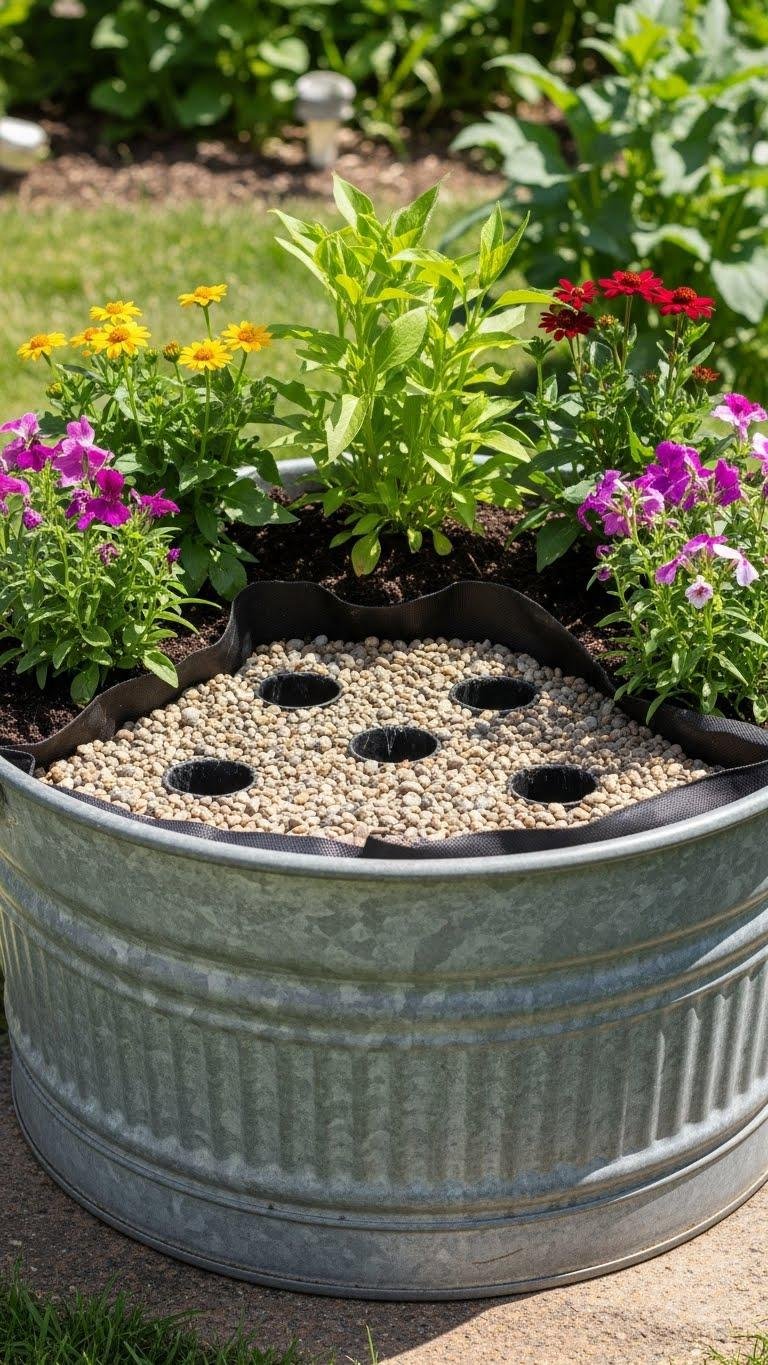
Drill a few evenly spaced holes in the bottom of an old galvanized washtub and you’ve got a sturdy, rustic planter ready for sun-loving annuals or deep-rooted perennials.
You’ll handle drainage installation by adding gravel and landscape fabric, then soil.
Apply simple rust proofing techniques—clear sealant or wax—to protect metal while keeping the upcycled edge.
You’ll plant and roam free.
Coco-Lined Basket Flower Displays
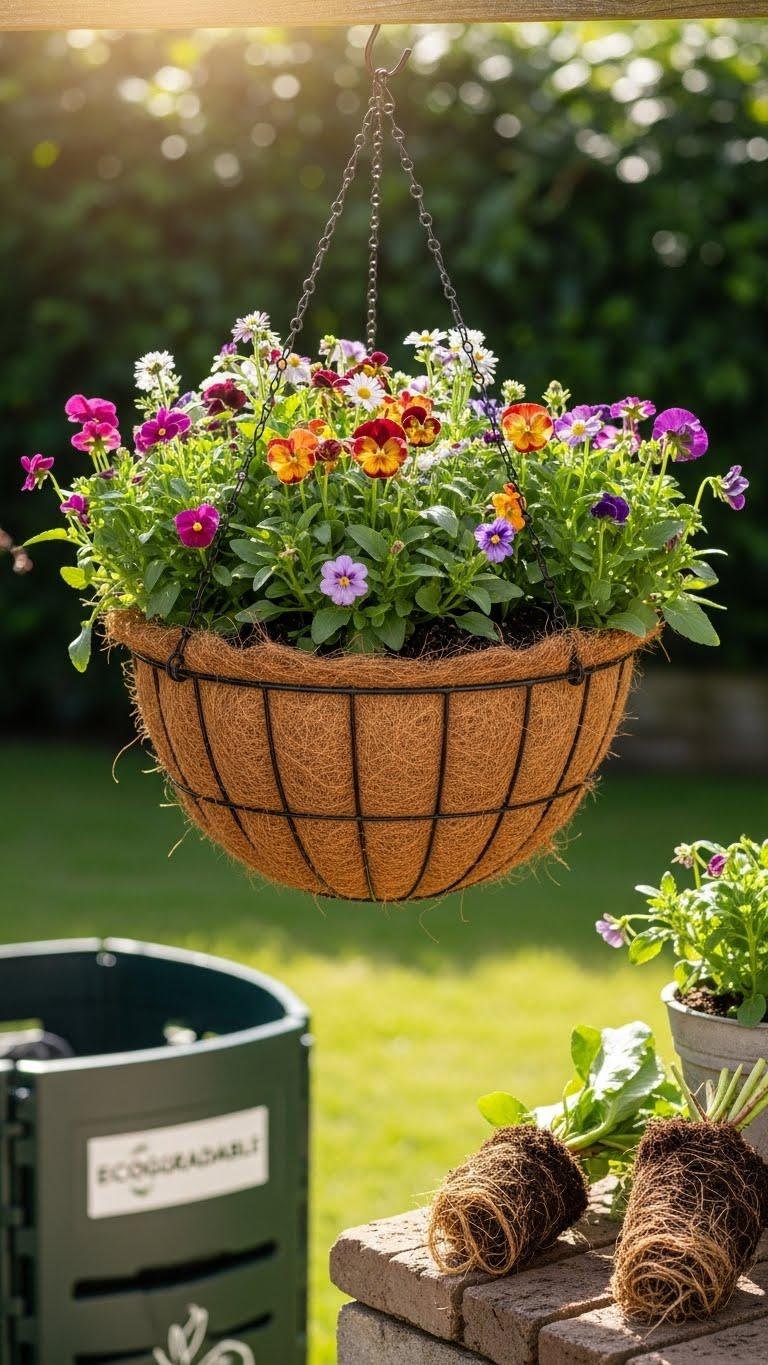
Line a woven basket with a coco coir liner and you’ve got an instantly charming, breathable planter that keeps soil moist while letting excess water escape.
You’ll fill it with hardy blooms, hang or set it free as hanging baskets, and trim roots as needed.
Biodegradable liners mean effortless composting when the season ends, giving you portable, low-waste floral displays.
Repurposed Coffee Pots on Thrifted Stands
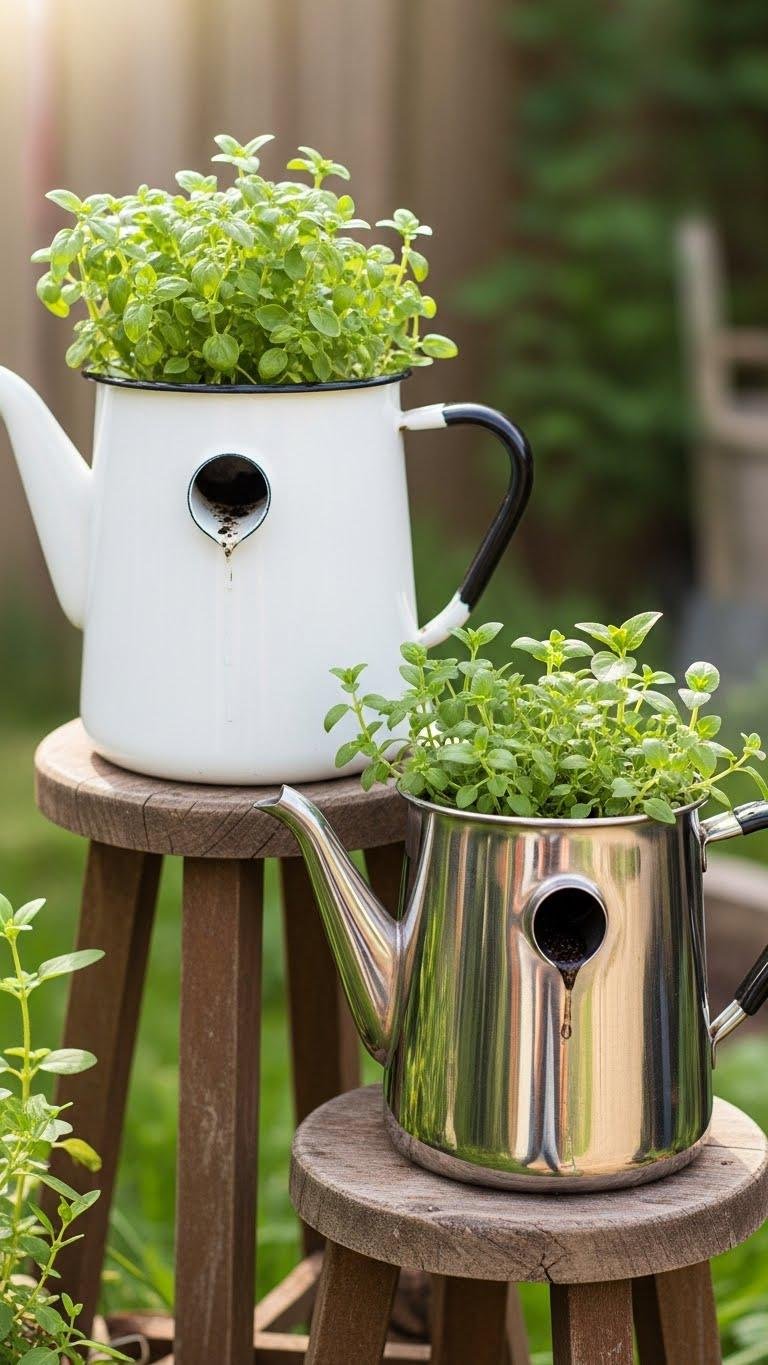
When you pair an old enamel or stainless coffee pot with a thrifted plant stand, you get an instant, sturdy planter that’s full of character and built to last; the spout doubles as a built-in drain and the handle makes it easy to move.
Mount vintage kettles on saucer bases or stands, add drainage holes, soil, and hearty herbs—stylish, portable, and defiantly free.
Old Cooler Hidden Birdseed Planters
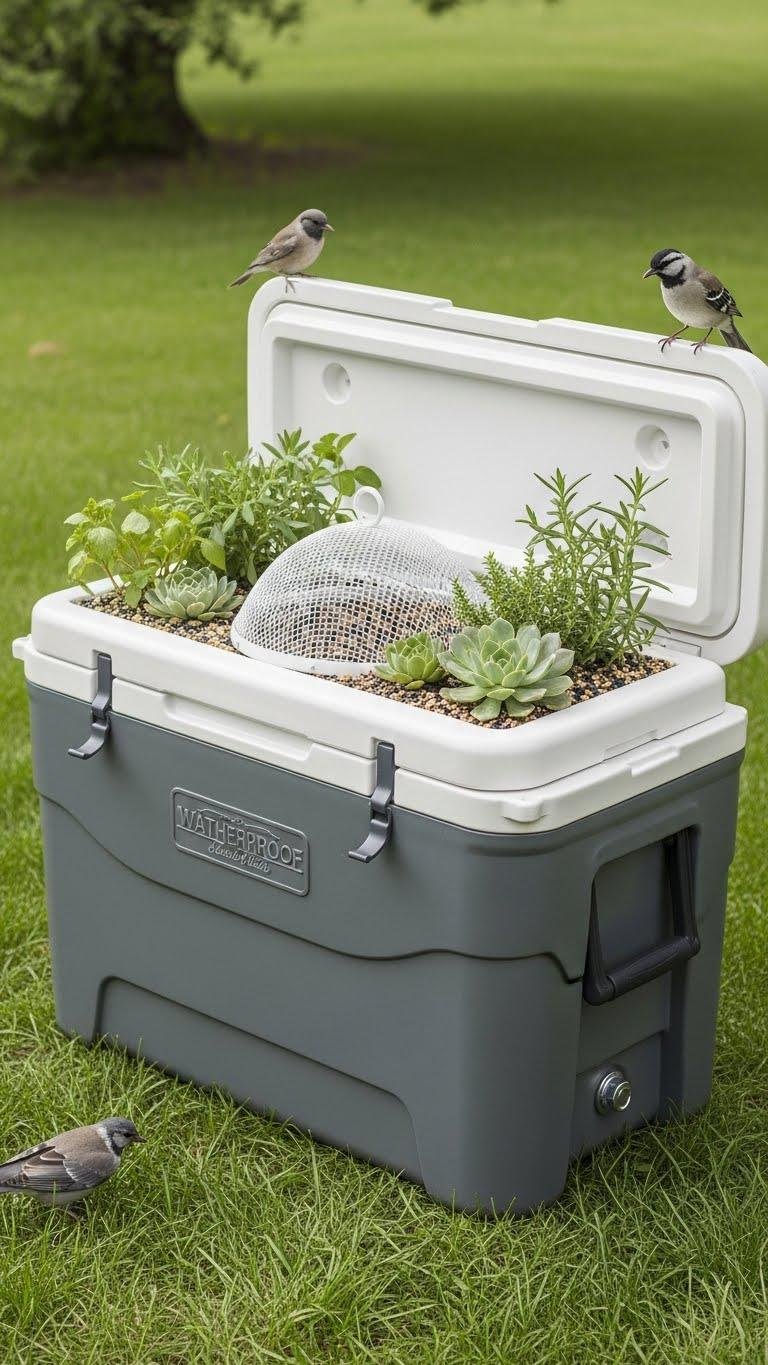
Convert an old cooler into a hidden birdseed planter and you’ll get a weatherproof, discreet feeding station that doubles as a low-maintenance container garden.
You cut drainage, add mesh to keep seed dry, and plant shallow herbs or succulents around the lid.
Use it as an insulated planter and hidden feeder to attract birds without sacrificing neatness — portable, sturdy, and freedom-friendly.
Curbside Containers for Quick Greenery
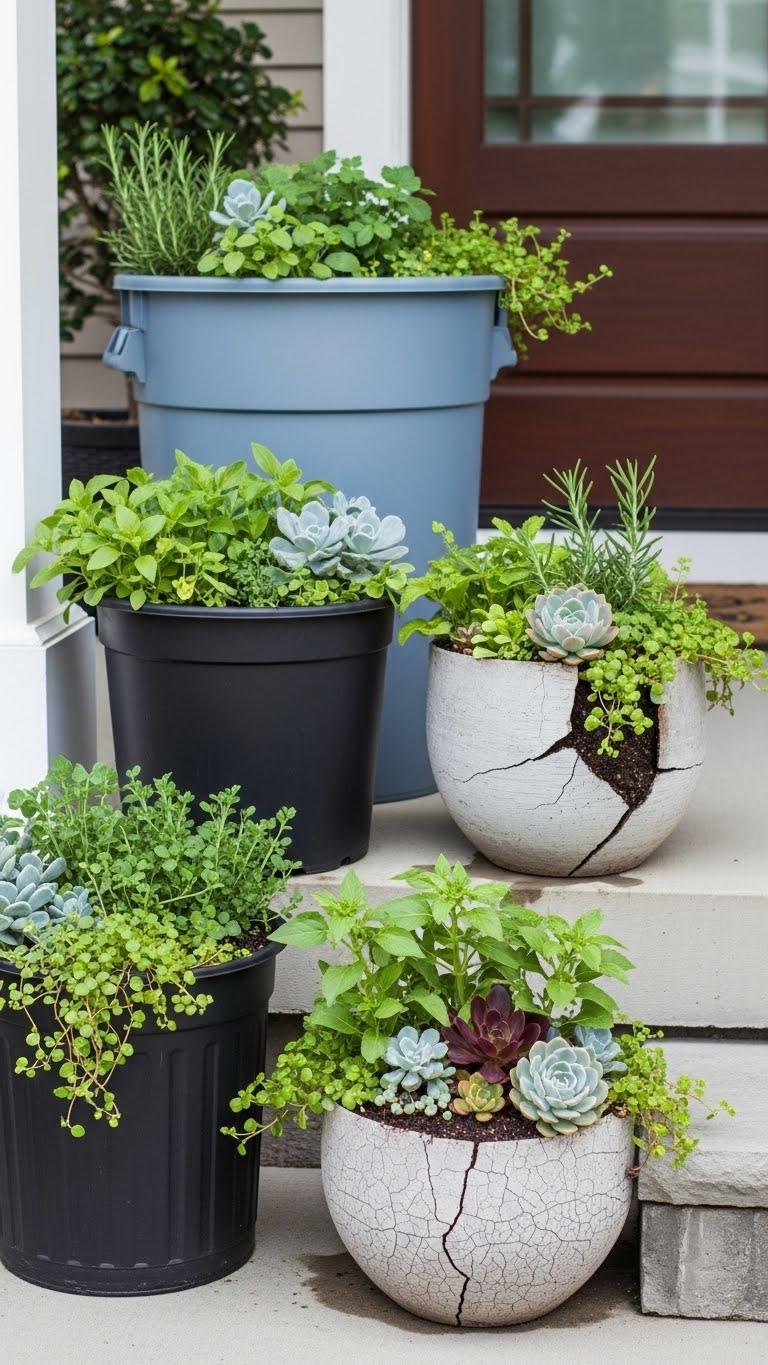
Often overlooked, curbside containers let you add instant greenery with minimal effort and cost. You’ll scout sturdy bins, decant rust, drill drainage, and fill with soil and tough herbs or succulents.
A yard dumpster find or a cracked pot can become a statement. Use porch repurposing to stage containers, securing freedom to rearrange and refresh your entry without buying new.
Vertical Pallet Garden Wall
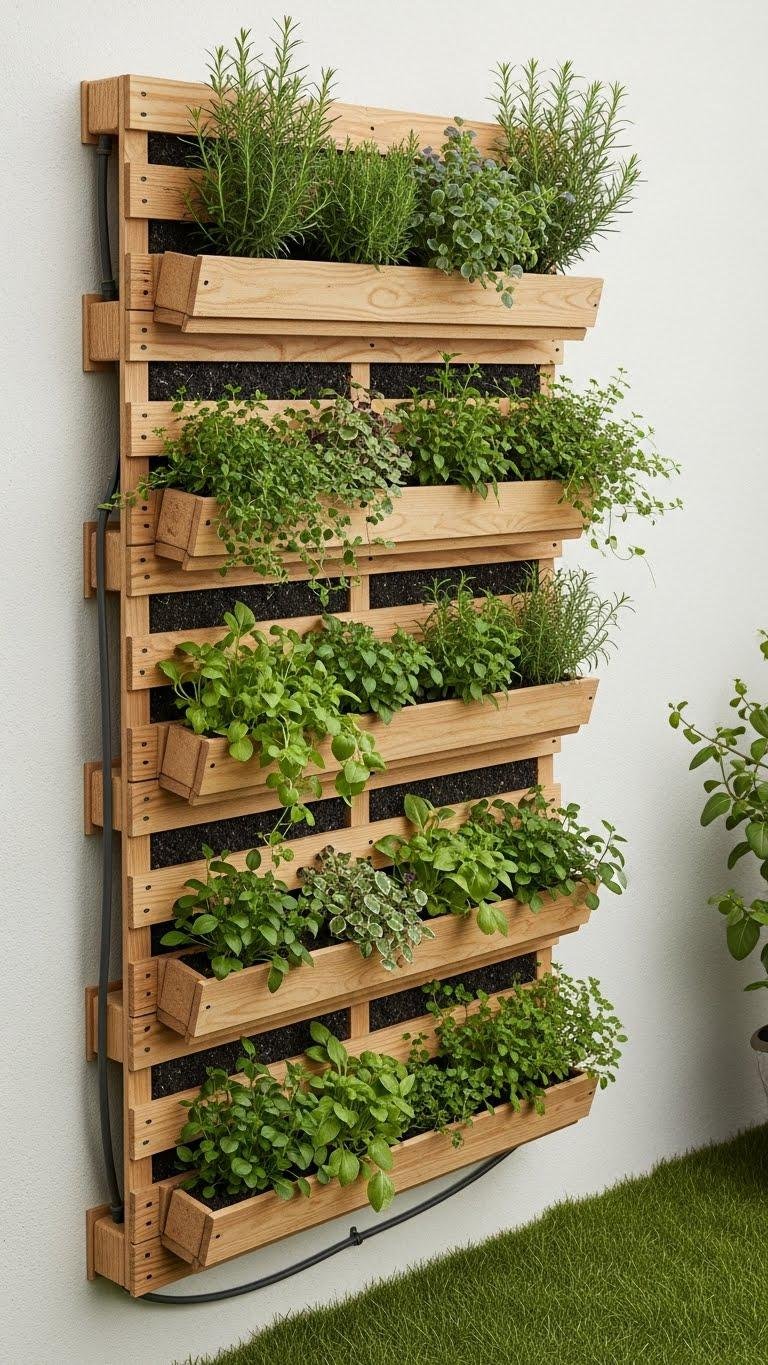
A simple pallet can give you a high-impact vertical garden with minimal tools and space—just secure the boards, add a backing for soil retention, and arrange pockets or planters for herbs, trailing plants, and compact veggies.
Mount it as a vertical trellis, attach a simple pallet irrigation line, and plant drought-tough herbs and vines. You’ll reclaim wall space, save money, and enjoy easy maintenance.
Stacked Pallet Herb Beds
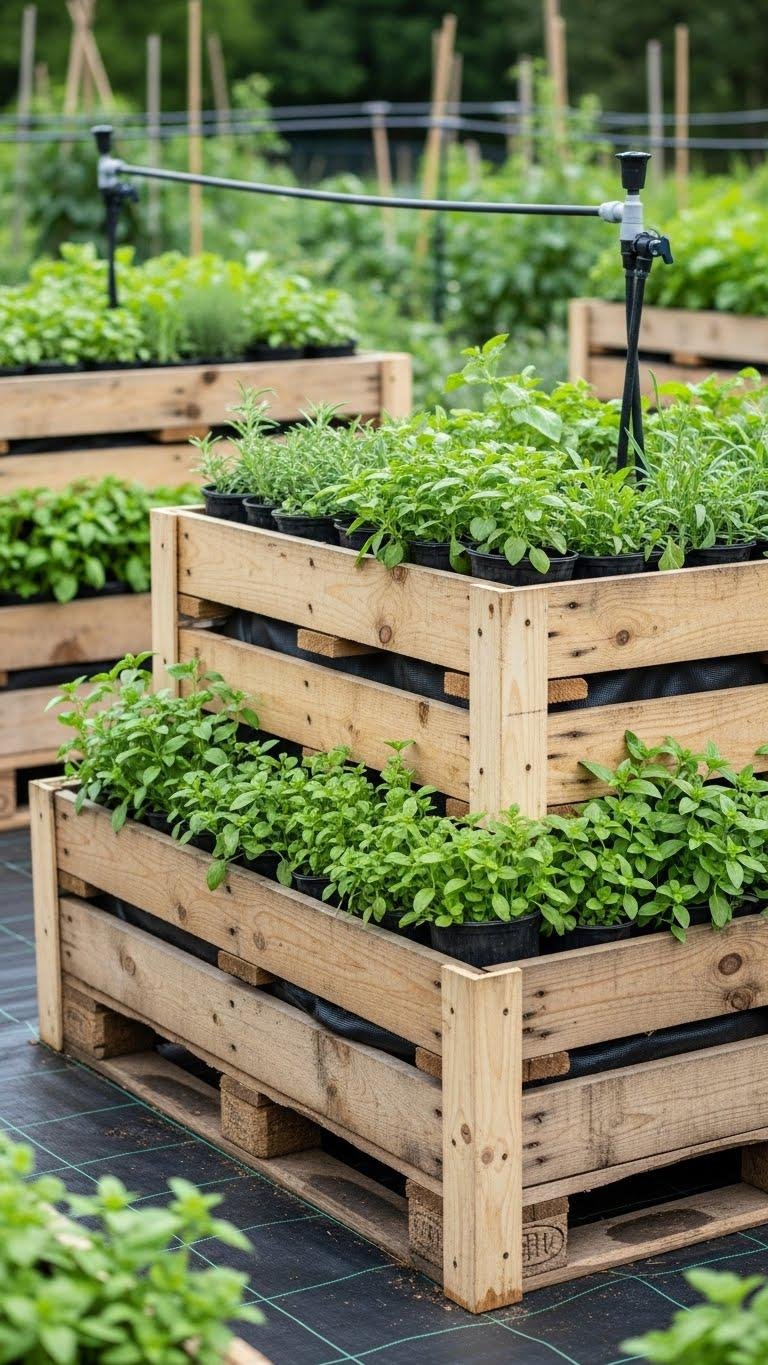
If you liked the vertical pallet wall, stacked pallet herb beds give you the same reclaimed-wood savings but with deeper root space and easier harvesting at waist height.
You stack pallets into vertical tiers, reinforce corners, line with landscape fabric, and fill with soil. Add simple drip irrigation to conserve water and free you from daily watering, letting herbs thrive while you enjoy independent, low-cost upkeep.
Painted Pallet Flowerbed Edging
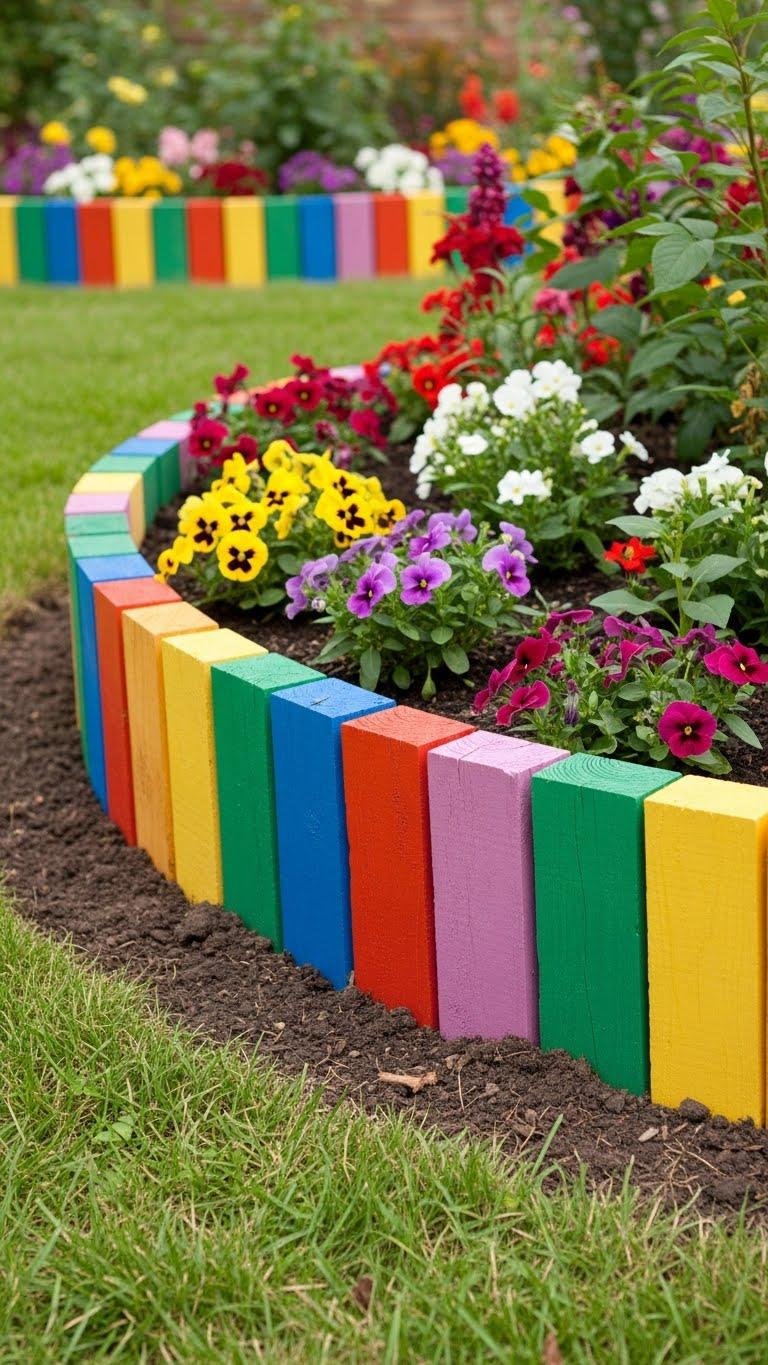
When you cut a pallet into uniform boards and paint them in weatherproof colors, you get sturdy, eye-catching edging that frames beds without costing much or wasting materials.
You’ll drive the rustic edging low into soil, align colorful slats for a clean curve, and seal ends for longevity.
It’s a bold, inexpensive way to define planting zones and express practical freedom.
Rustic Raw Pallet Plant Wall
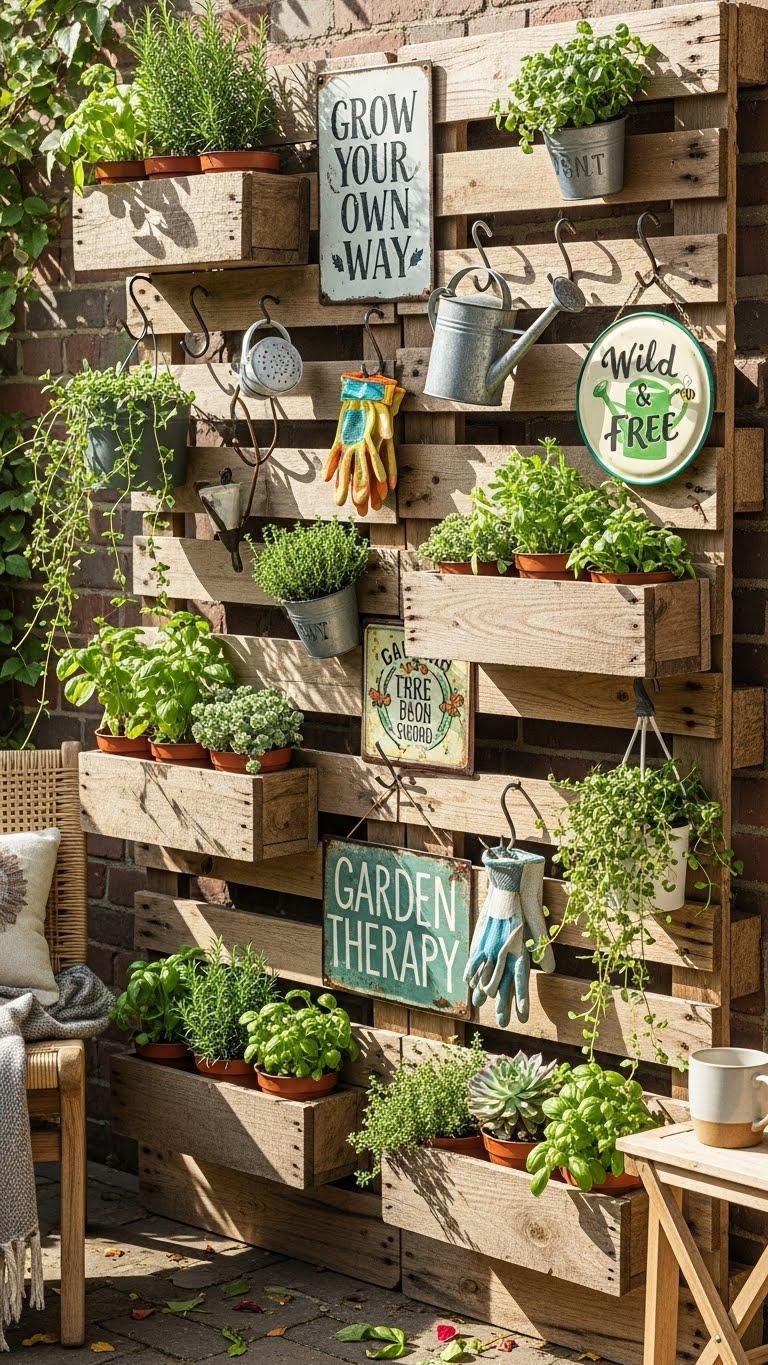
Build a rustic raw pallet plant wall to maximize vertical space and give weathered wood a new purpose. You’ll strip, sand, and seal pallets, then mount them as a slatted trellis, creating pockets for herbs and succulents.
Attach reclaimed hooks and weathered signage for character. It’s affordable, portable, and lets you craft a free-spirited garden feature that’s sturdy and simple to maintain.
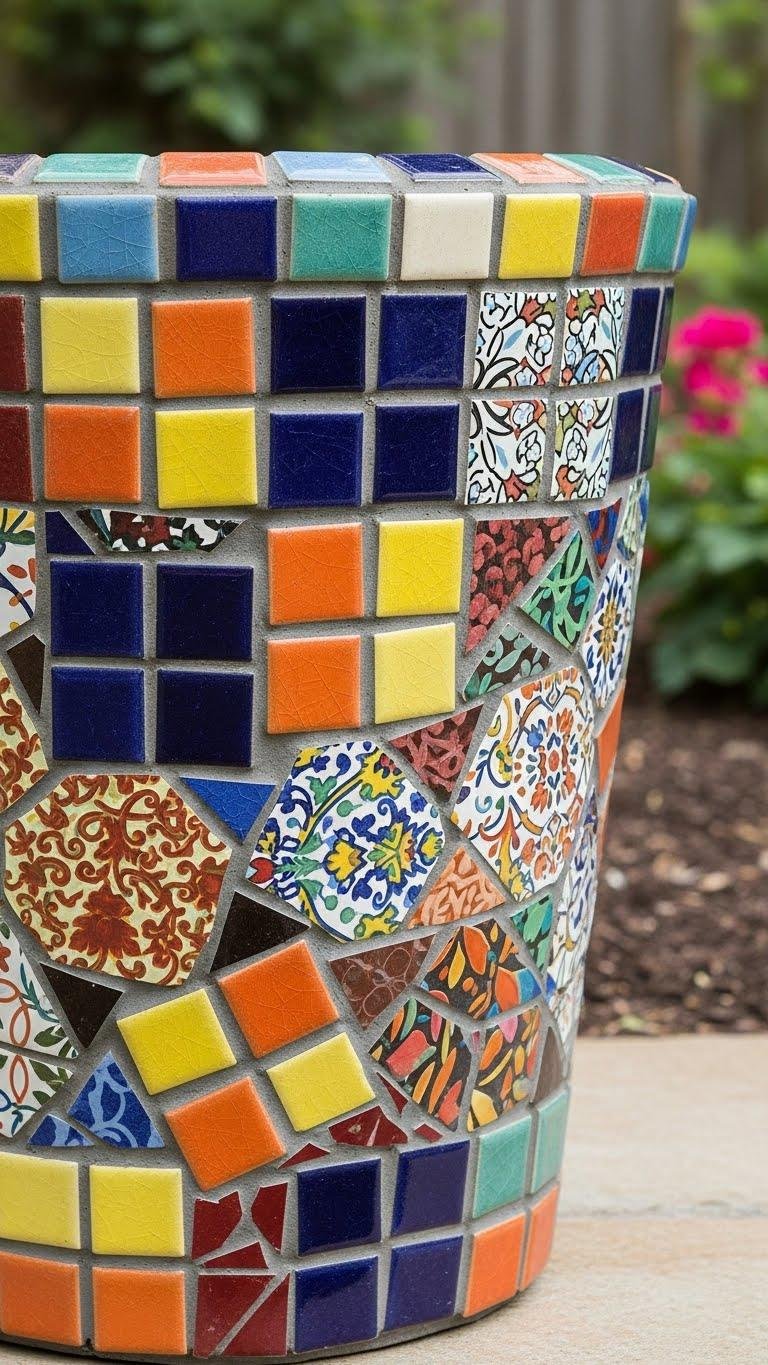
Mosaic Pots From Broken Plates and Tiles
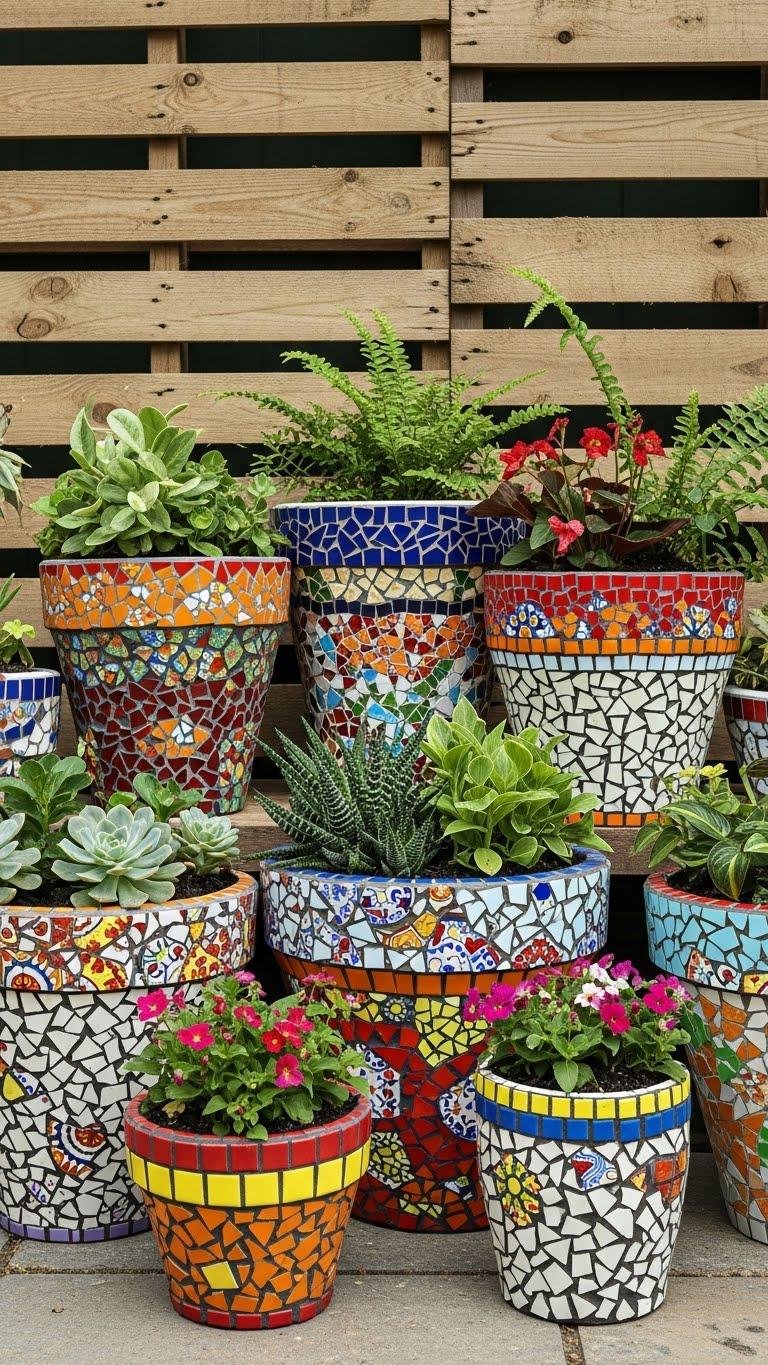
After you finish mounting that pallet wall, bring the same weathered, handmade vibe down to the ground with mosaic pots made from broken plates and tiles. You’ll arrange shard mosaics into bold patterns, glue pieces securely, then apply grout techniques that seal and smooth.
Sealant protects colors and soil; pick compact pots, mix contrasting shards, and plant freely for a personal, rugged garden statement.
Ceramic Stepping Stones From Shards

Using broken ceramic shards and a simple mold, you can craft durable, decorative stepping stones that add color and texture to paths or flower beds.
You’ll press shards for mosaic imprinting, pour concrete, then tap pieces for even placement.
After curing, apply grout with intentional grout coloring to match your palette.
Place stones to define routes, express independence, and reclaim outdoor space.
Glass-Fragment Mosaic Gazing Balls
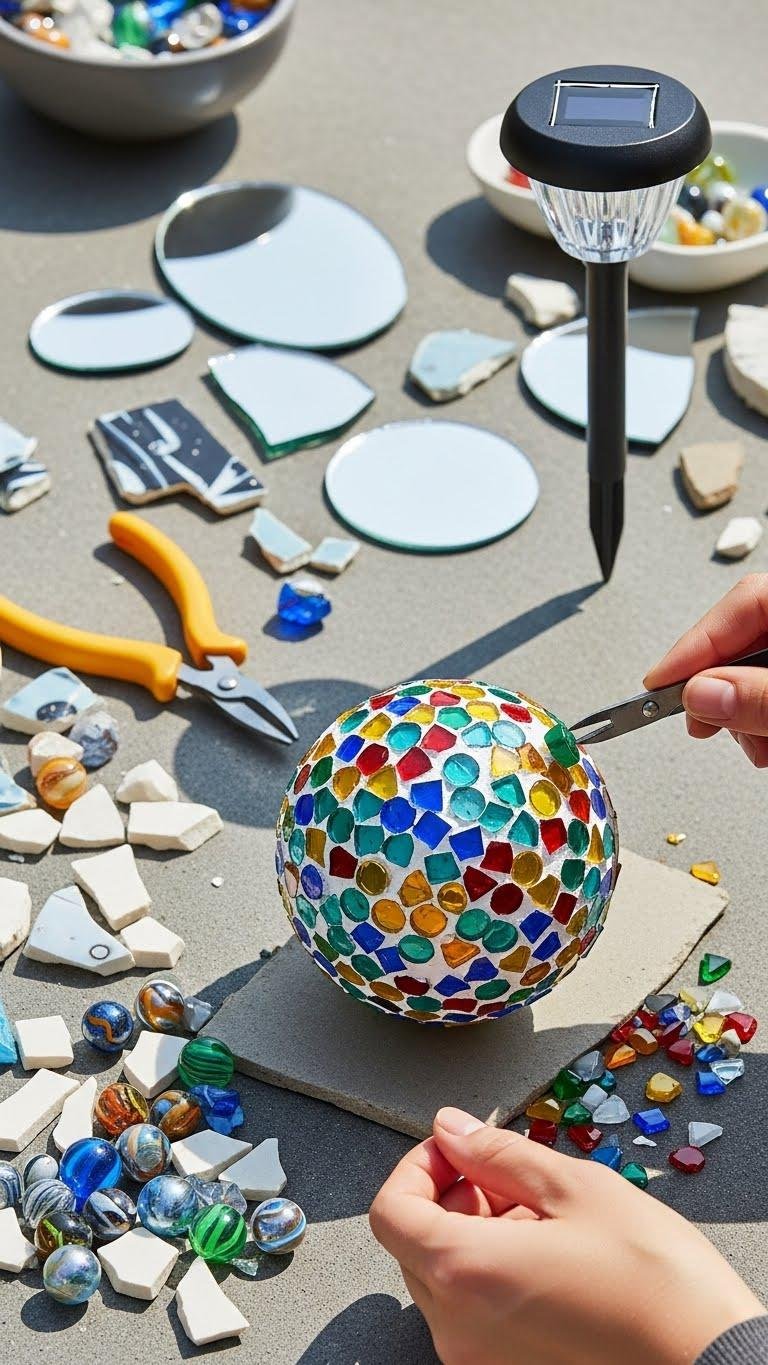
If you’ve enjoyed pressing ceramic shards into concrete for stepping stones, you’ll find the same satisfying hands-on rhythm when covering a foam or wire sphere with colorful glass fragments to make a mosaic gazing ball.
You can nestle recycled marbles, add mirror fragments for flash, incorporate a solar lit stake beneath, and finish with color sealing to protect and free your decor from weather.
Whimsical Pathway Art With Dish Pieces
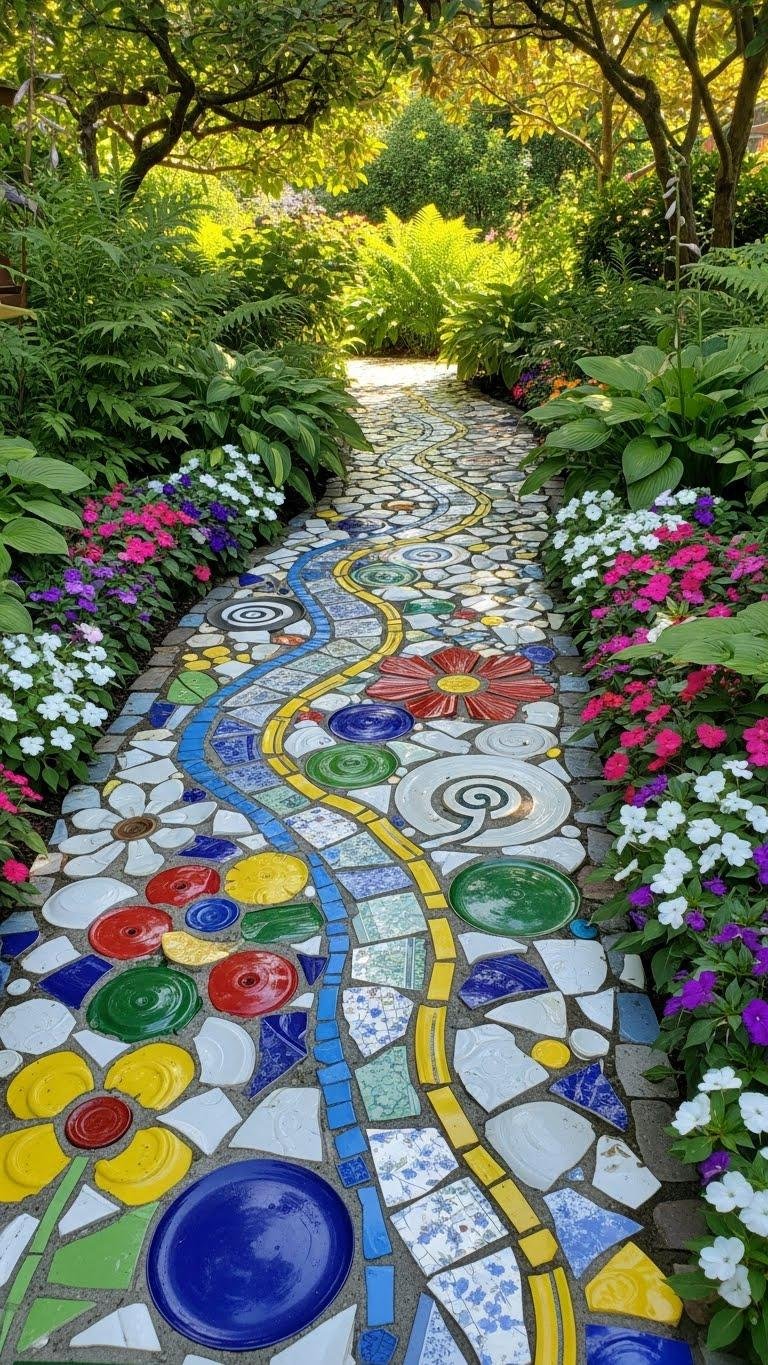
Turn ordinary paving into a playful route by embedding broken dish pieces into mortar to create whimsical pathway art that guides guests and brightens your yard.
You’ll gather broken crockery, sort by color and shape, then press shards into wet mortar in flowing patterns.
Work in small sections, grout carefully, and seal for durability.
These whimsical mosaics express individuality and freedom while saving money.
Tile-Shard Patterned Planter Surfaces
Give plain planters a fresh look by pressing colorful tile shards into their surfaces to form repeating patterns or freeform mosaics.
You’ll choose shards with varied broken glaze textures, arrange them for rhythm or wild freedom, then secure and grout.
Play with grout color contrasts to sharpen shapes or blend tones.
Seal for weather resistance, and enjoy a bold, budget-friendly planter.
Fence Flowers From Cut Plastic Party Trays
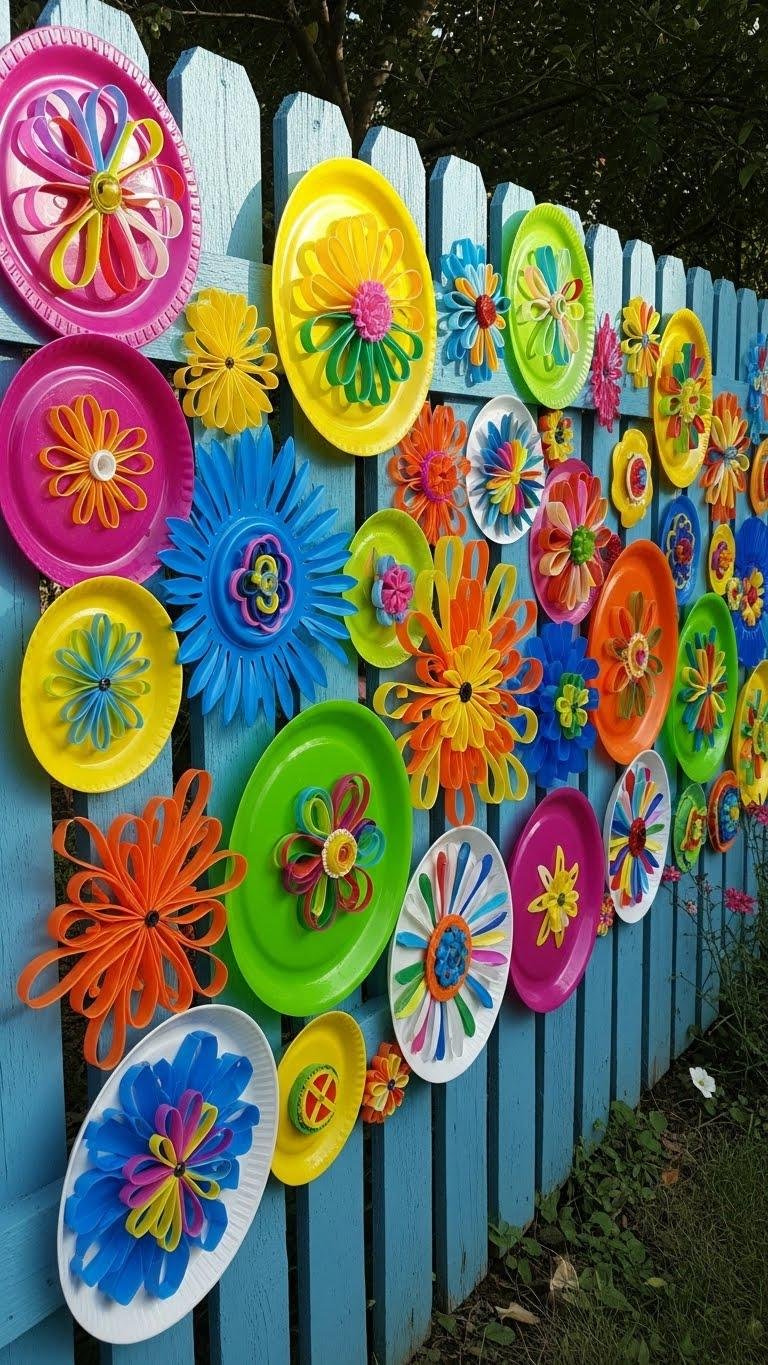
Poke new life into a plain fence by cutting colorful plastic party trays into petal shapes and wiring or hot-gluing them into layered flowers that clamp or tie onto pickets. You’ll create bold, low-cost accents with tray layering and colorful spirals by curling strips, stacking sizes, and fastening centers with beads or bolts. Quick, durable, and freely customizable.
Faucet-Handle Flower Patterns for Arbors
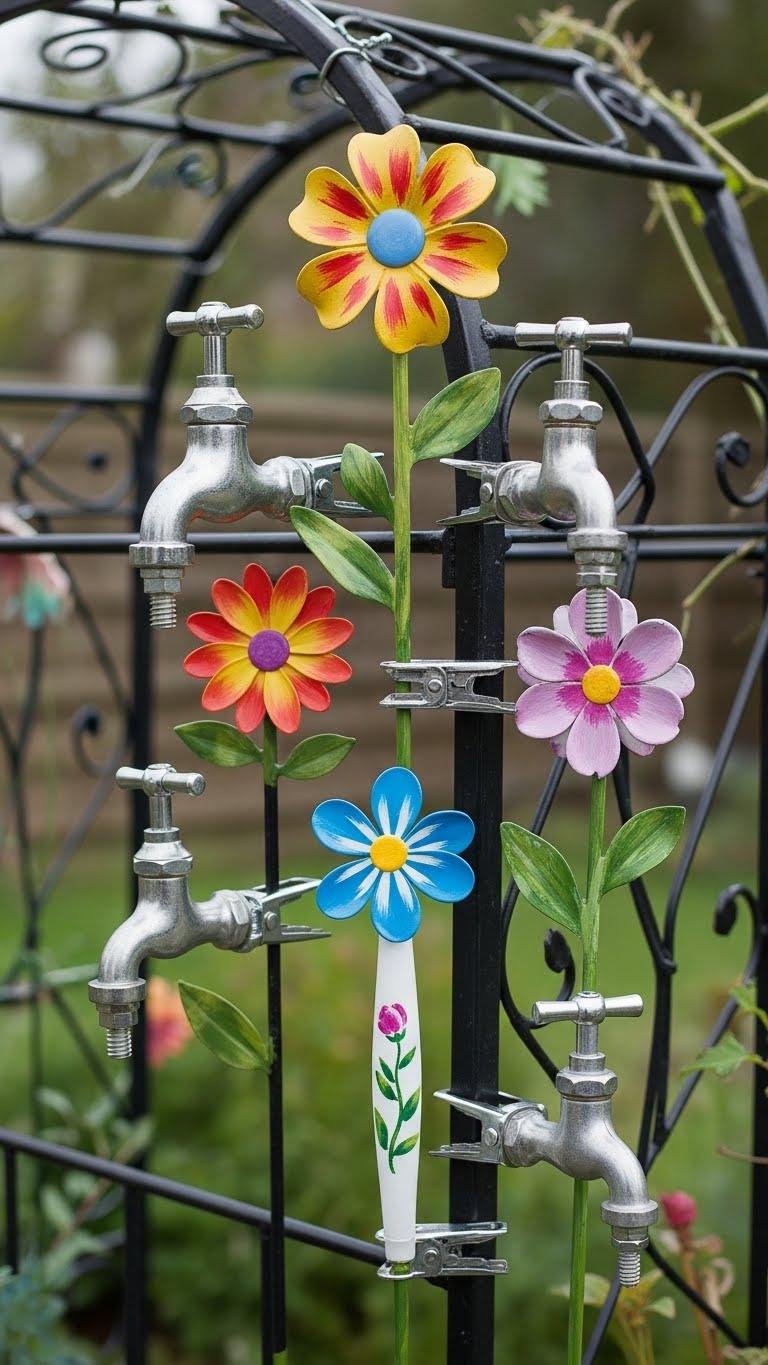
Transform old faucet handles into charming, weatherproof flower motifs that clip or bolt onto arbors to add quirky, low-cost detail. You’ll clean and prime vintage handles, arrange petals around a center, and use floral stencils to mark paint patterns.
Drill mounting holes, seal with clear coat, and attach with clips or screws. The result’s durable, personal, and lets you express creative freedom in the garden.
Rusted Gear Wall Sculptures

Give old, mismatched gears new life by arranging them into layered wall sculptures that celebrate patina and industrial texture.
You’ll weld or bolt pieces into bold mechanical silhouettes, preserving industrial patina for rugged charm.
Mount them on reclaimed wood or metal panels, stagger sizes for depth, and seal with clear matte spray.
This creates a liberated, low-cost focal point that feels handcrafted and timeless.
Ladder Plant Stand for Seasonal Displays
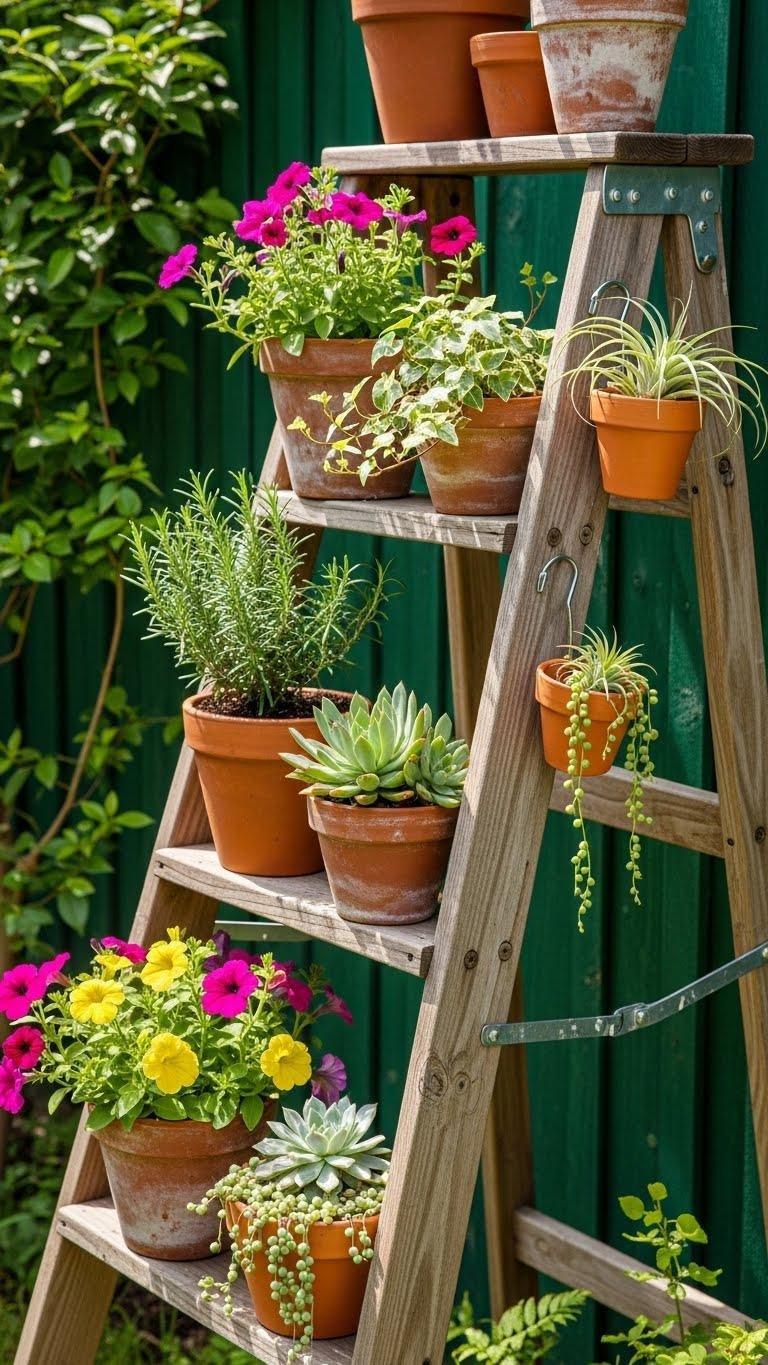
Lean an old wooden ladder against a fence or porch and you’ve got an instant, tiered plant stand that’s perfect for seasonal displays. You’ll secure shelves or hooks, sand rough spots, and seal with a clear outdoor finish for weatherproof staging.
Mix pots of seasonal foliage, herbs, and succulents, rearranging freely as seasons change to keep your garden bold, simple, and budget-wise.
Antique Stove-Top Garden Vignette Shelves
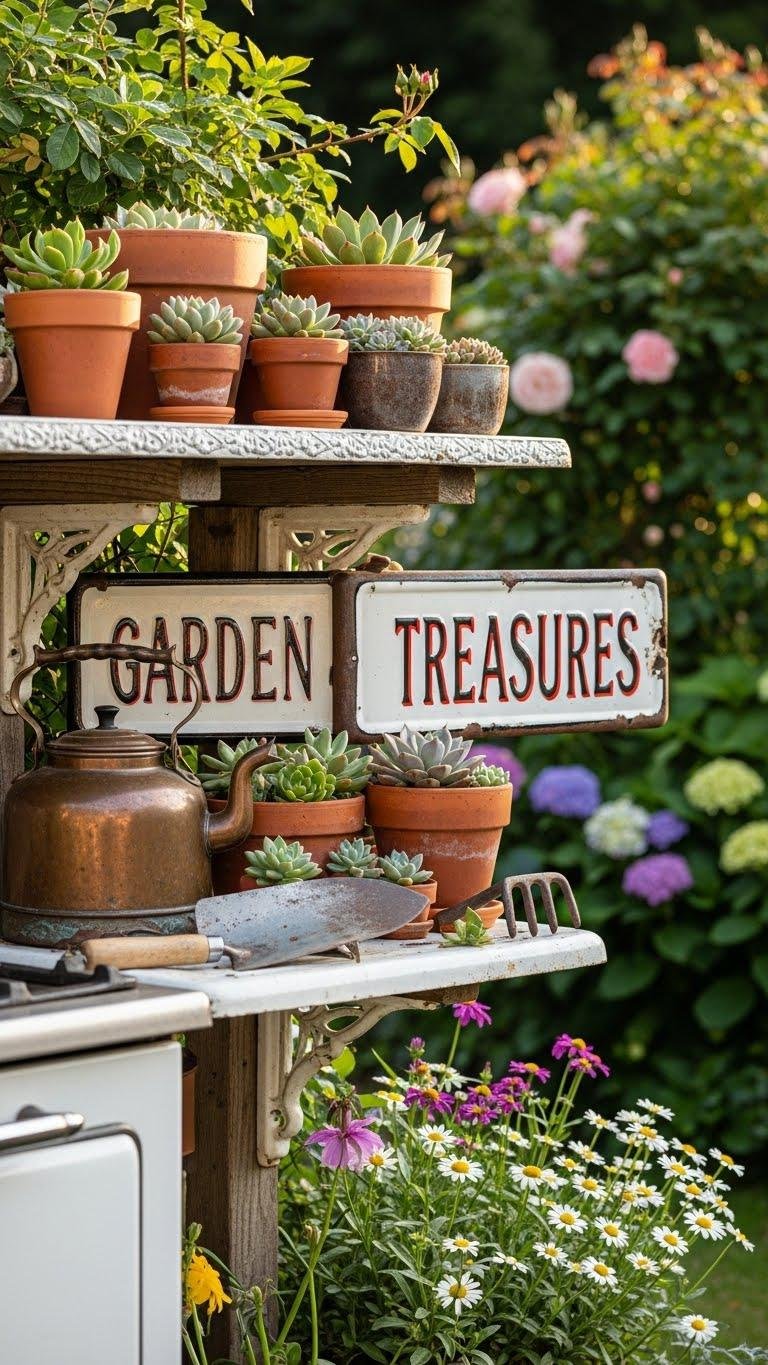
Repurpose an old stove-top or range hood into charming vignette shelves that bring vintage character to your garden nook. You’ll mount brackets, sand and seal surfaces, then display a vintage kettle, potted succulents and small tools. Add a piece of enamel signage for personality and weatherproofing. This DIY saves money, maximizes reclaimed materials and lets you craft a free-spirited outdoor focal point.
Magazine Rack Coco-Lined Porch Planters
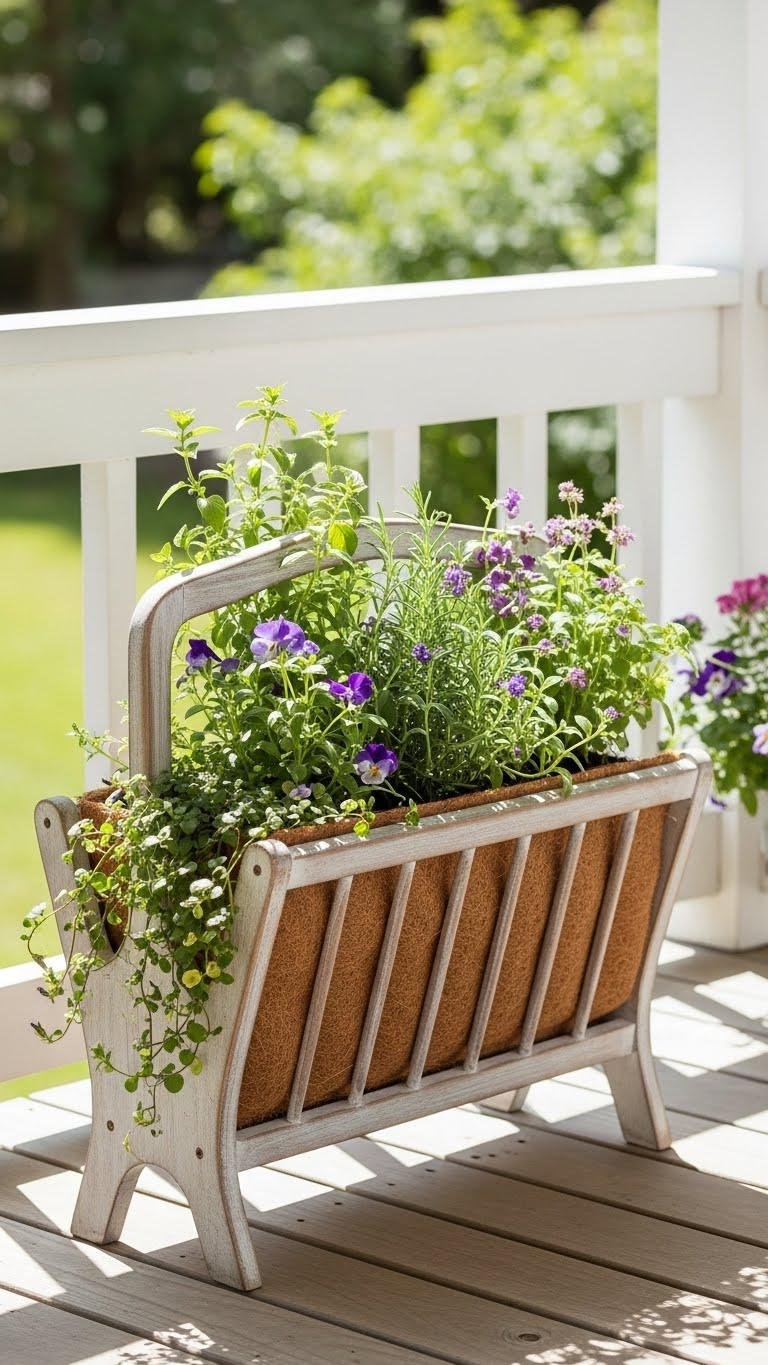
Turn an old magazine rack into a snug coco-lined porch planter that’s both tidy and tough against weather. You’ll sand, paint, and secure a vintage magazine rack, then fit a coco liner refurbishment for drainage and soil retention. Plant hardy herbs or trailing flowers, hang or set it where breeze and sun reach, and enjoy a liberated, low-cost green statement on your porch.
Copper Jell-O Mold Concrete Garden Stones
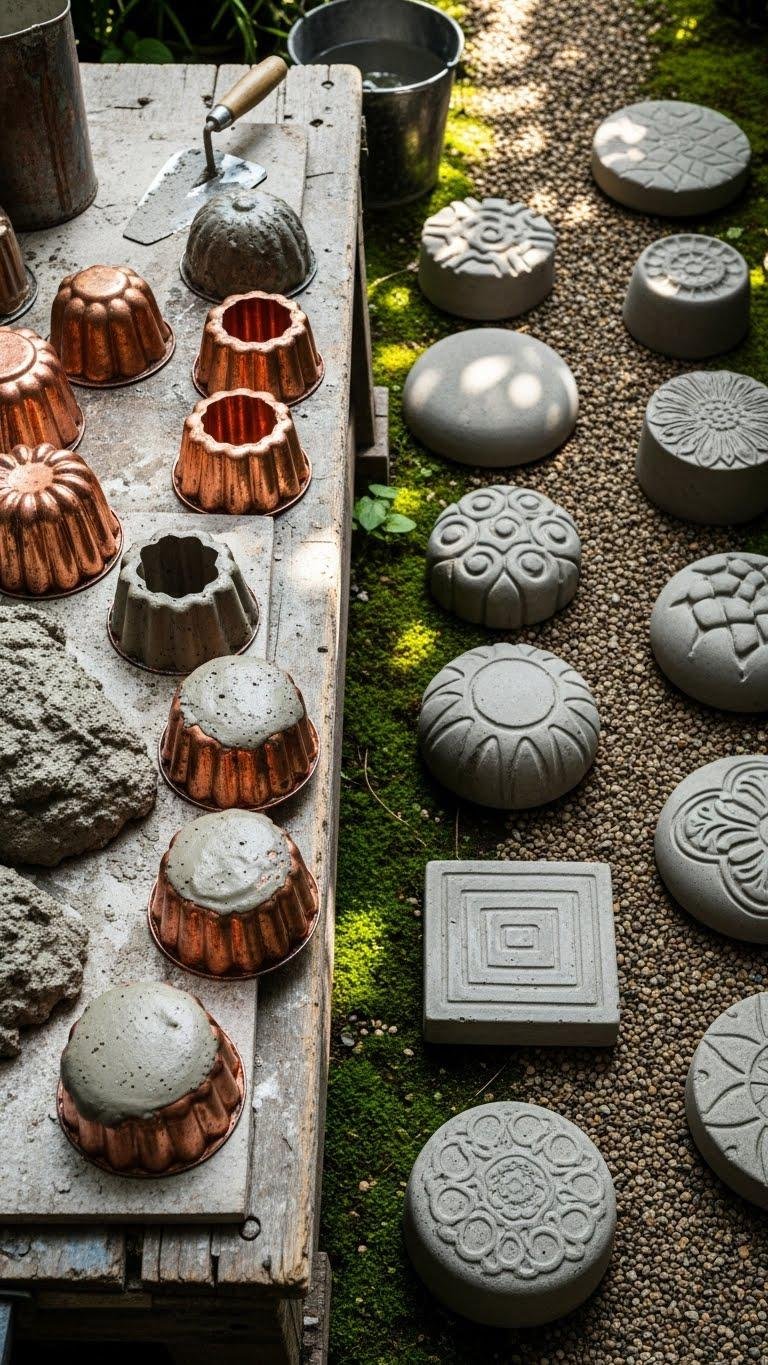
If you loved the tidy, weather-ready feel of the coco-lined magazine rack, you’ll find similar satisfaction in making copper Jell-O mold concrete garden stones—small, durable accents that catch light and add vintage charm to paths or planters.
You’ll salvage copper molds, mix concrete casting batches, press, cure, then release polished pieces. Arrange freely; they anchor spaces without fuss.
Pedestal Birdbath Succulent Planters
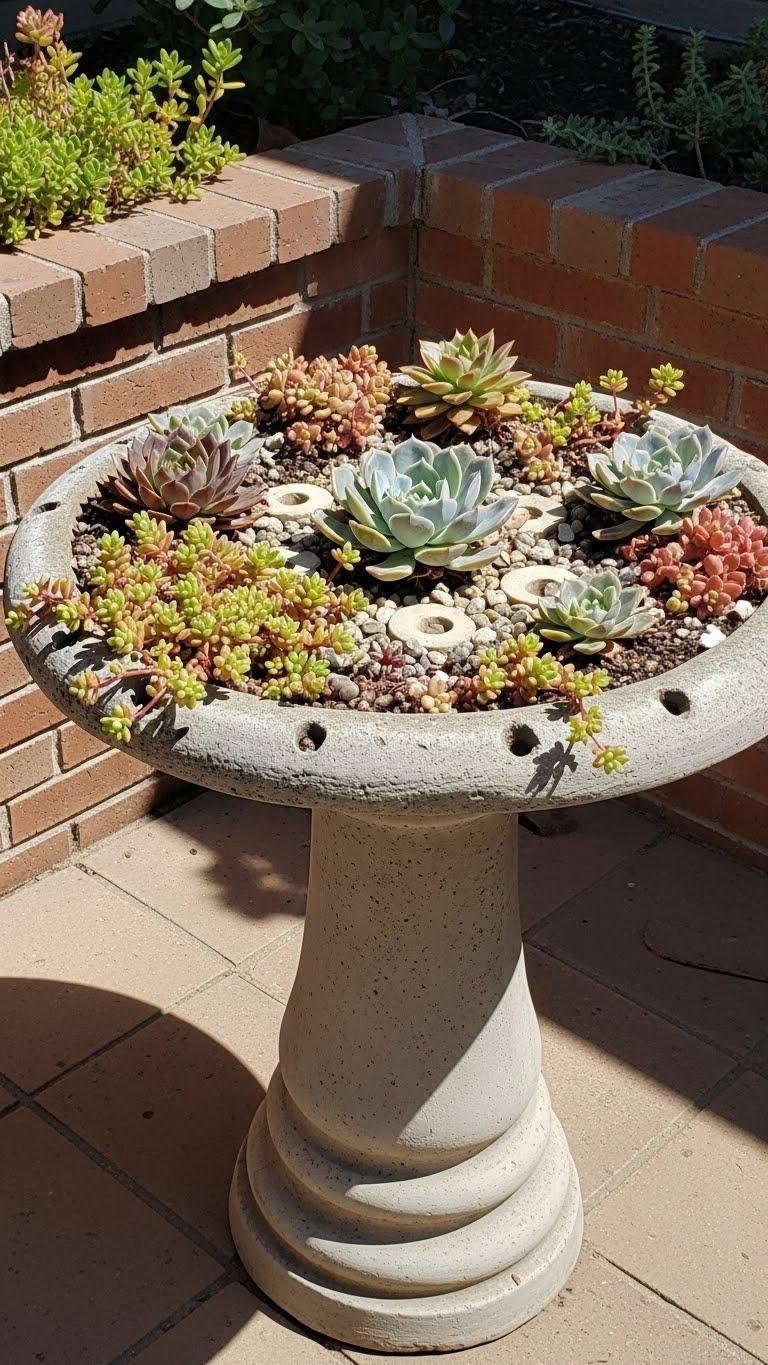
Elevate small succulents on a sturdy pedestal birdbath to create a charming, low-maintenance focal point for a patio or sunny corner of your garden.
You can convert an old birdbath into an upcycled pedestal by drilling drainage holes, sealing chips, and layering gravel. Plant drought-tolerant varieties to craft a succulent centerpiece that frees you from constant upkeep while adding sculptural, budget-friendly style.